scrappy winter quilt
Making quilts
has always been a rich part of my family's creative DNA. My grandma, who is almost 100, made them until only a few years ago. My mom is currently on a quilt making binge, my sister recently learned how to quilt and now is an AMAZING quilter, and 2 of our daughters have mad skills in assembling fabrics into art. (My other sister is the hold out. She refuses to learn or be interested in learning. Still trying to win her over).
I've made lots of quilts through the years, most of them gifts and gone without even a photograph to fill a portfolio. <insert sad face>
I haven't made one in several years just because I've been so busy, but this fall I knew I wanted a new quilt. A Christmas quilt, but not too Christmasy. No reindeer. Or Santas. More like a winter quilt that would feel quite comfy near an adorned tree, but equally at home draped over a chair in January & February.
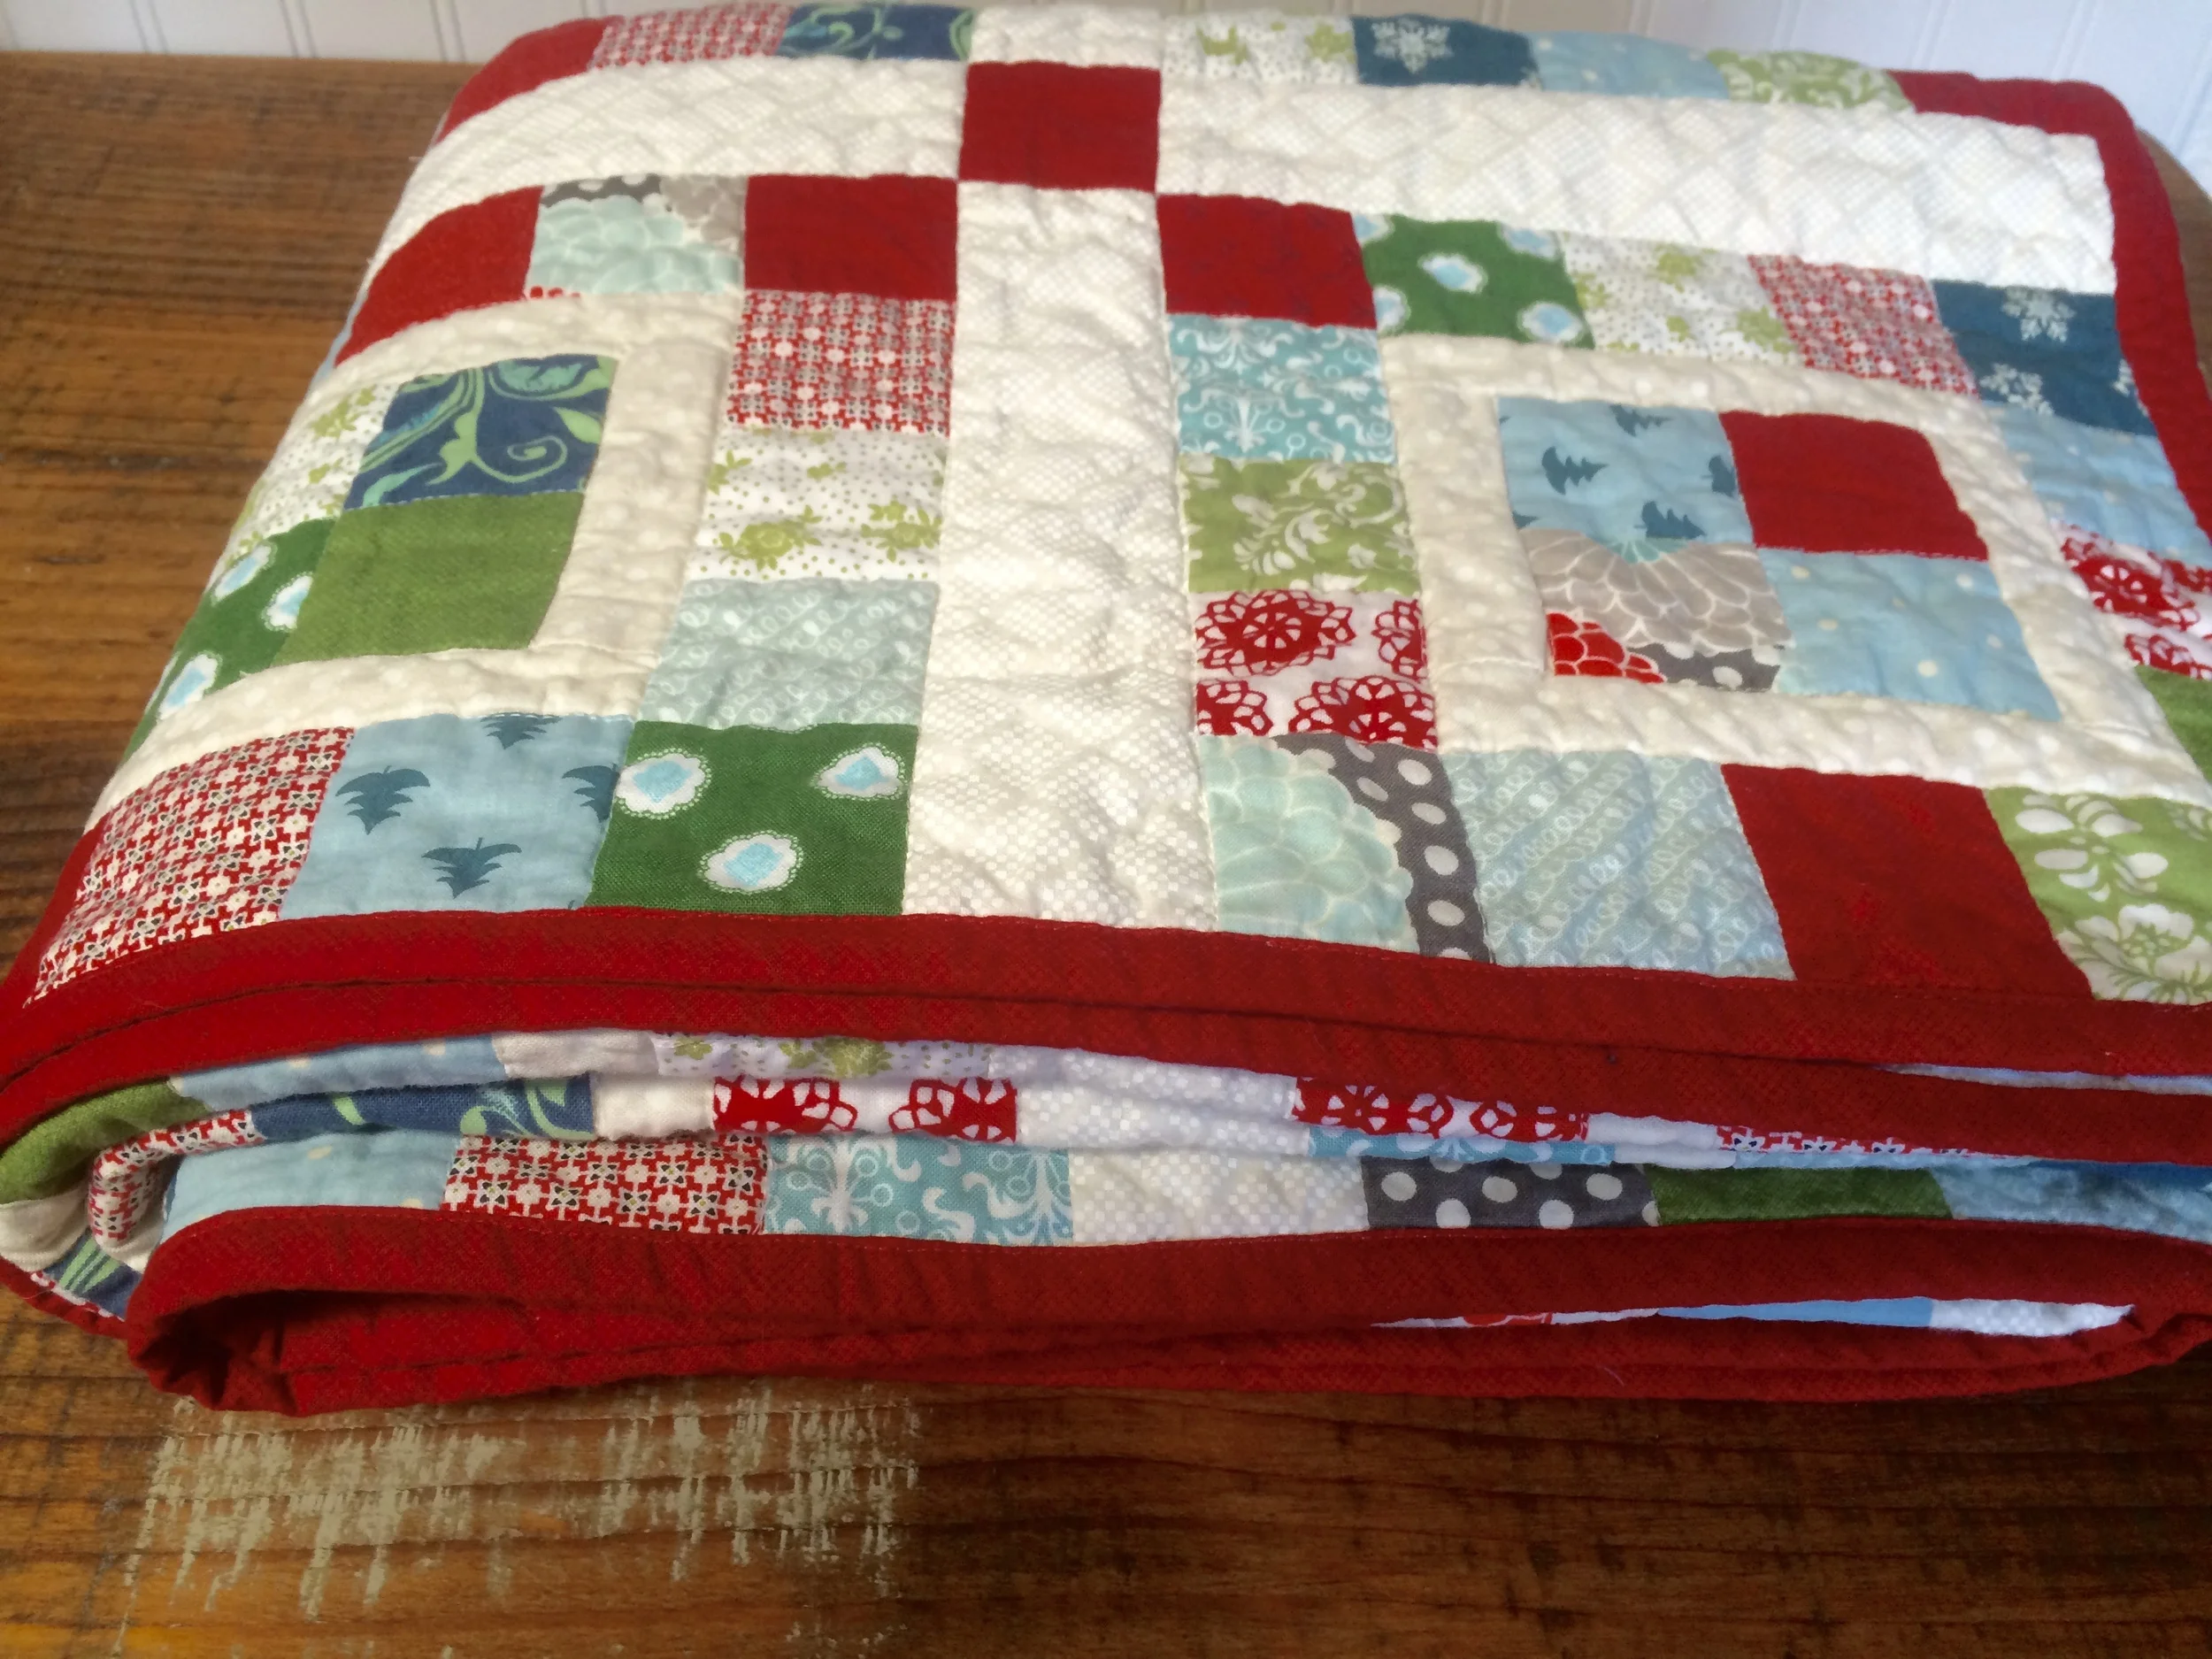
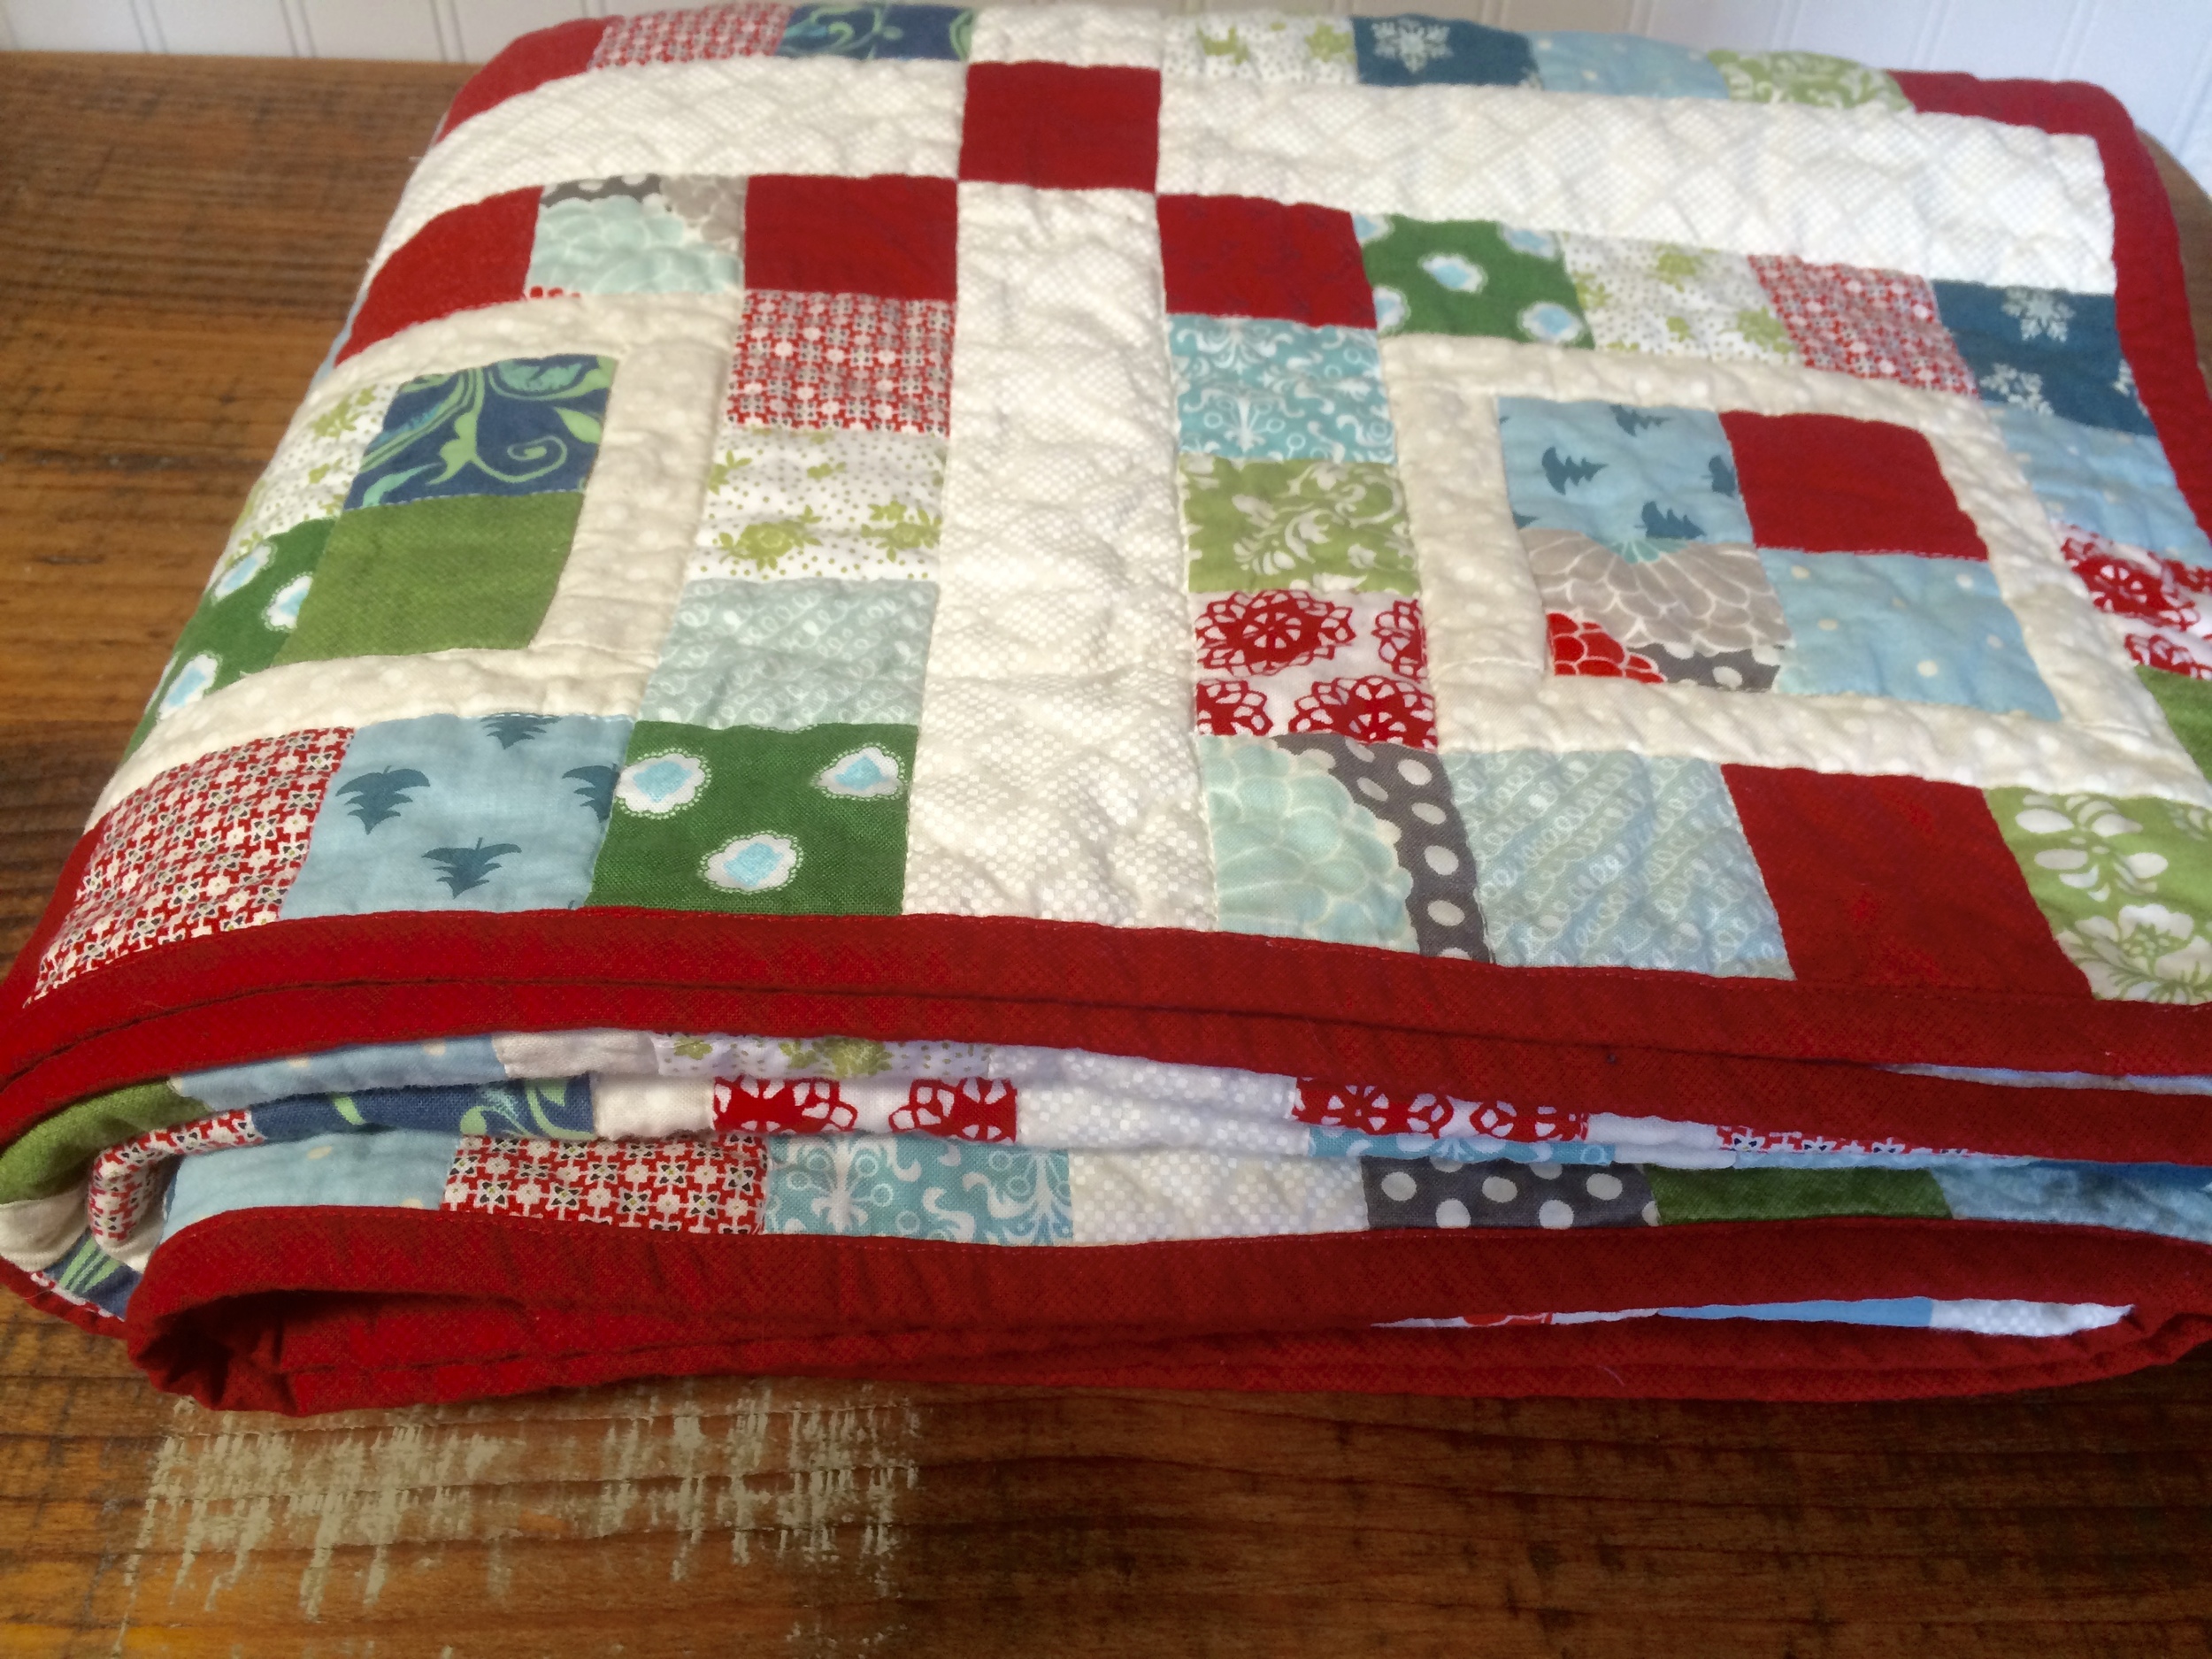
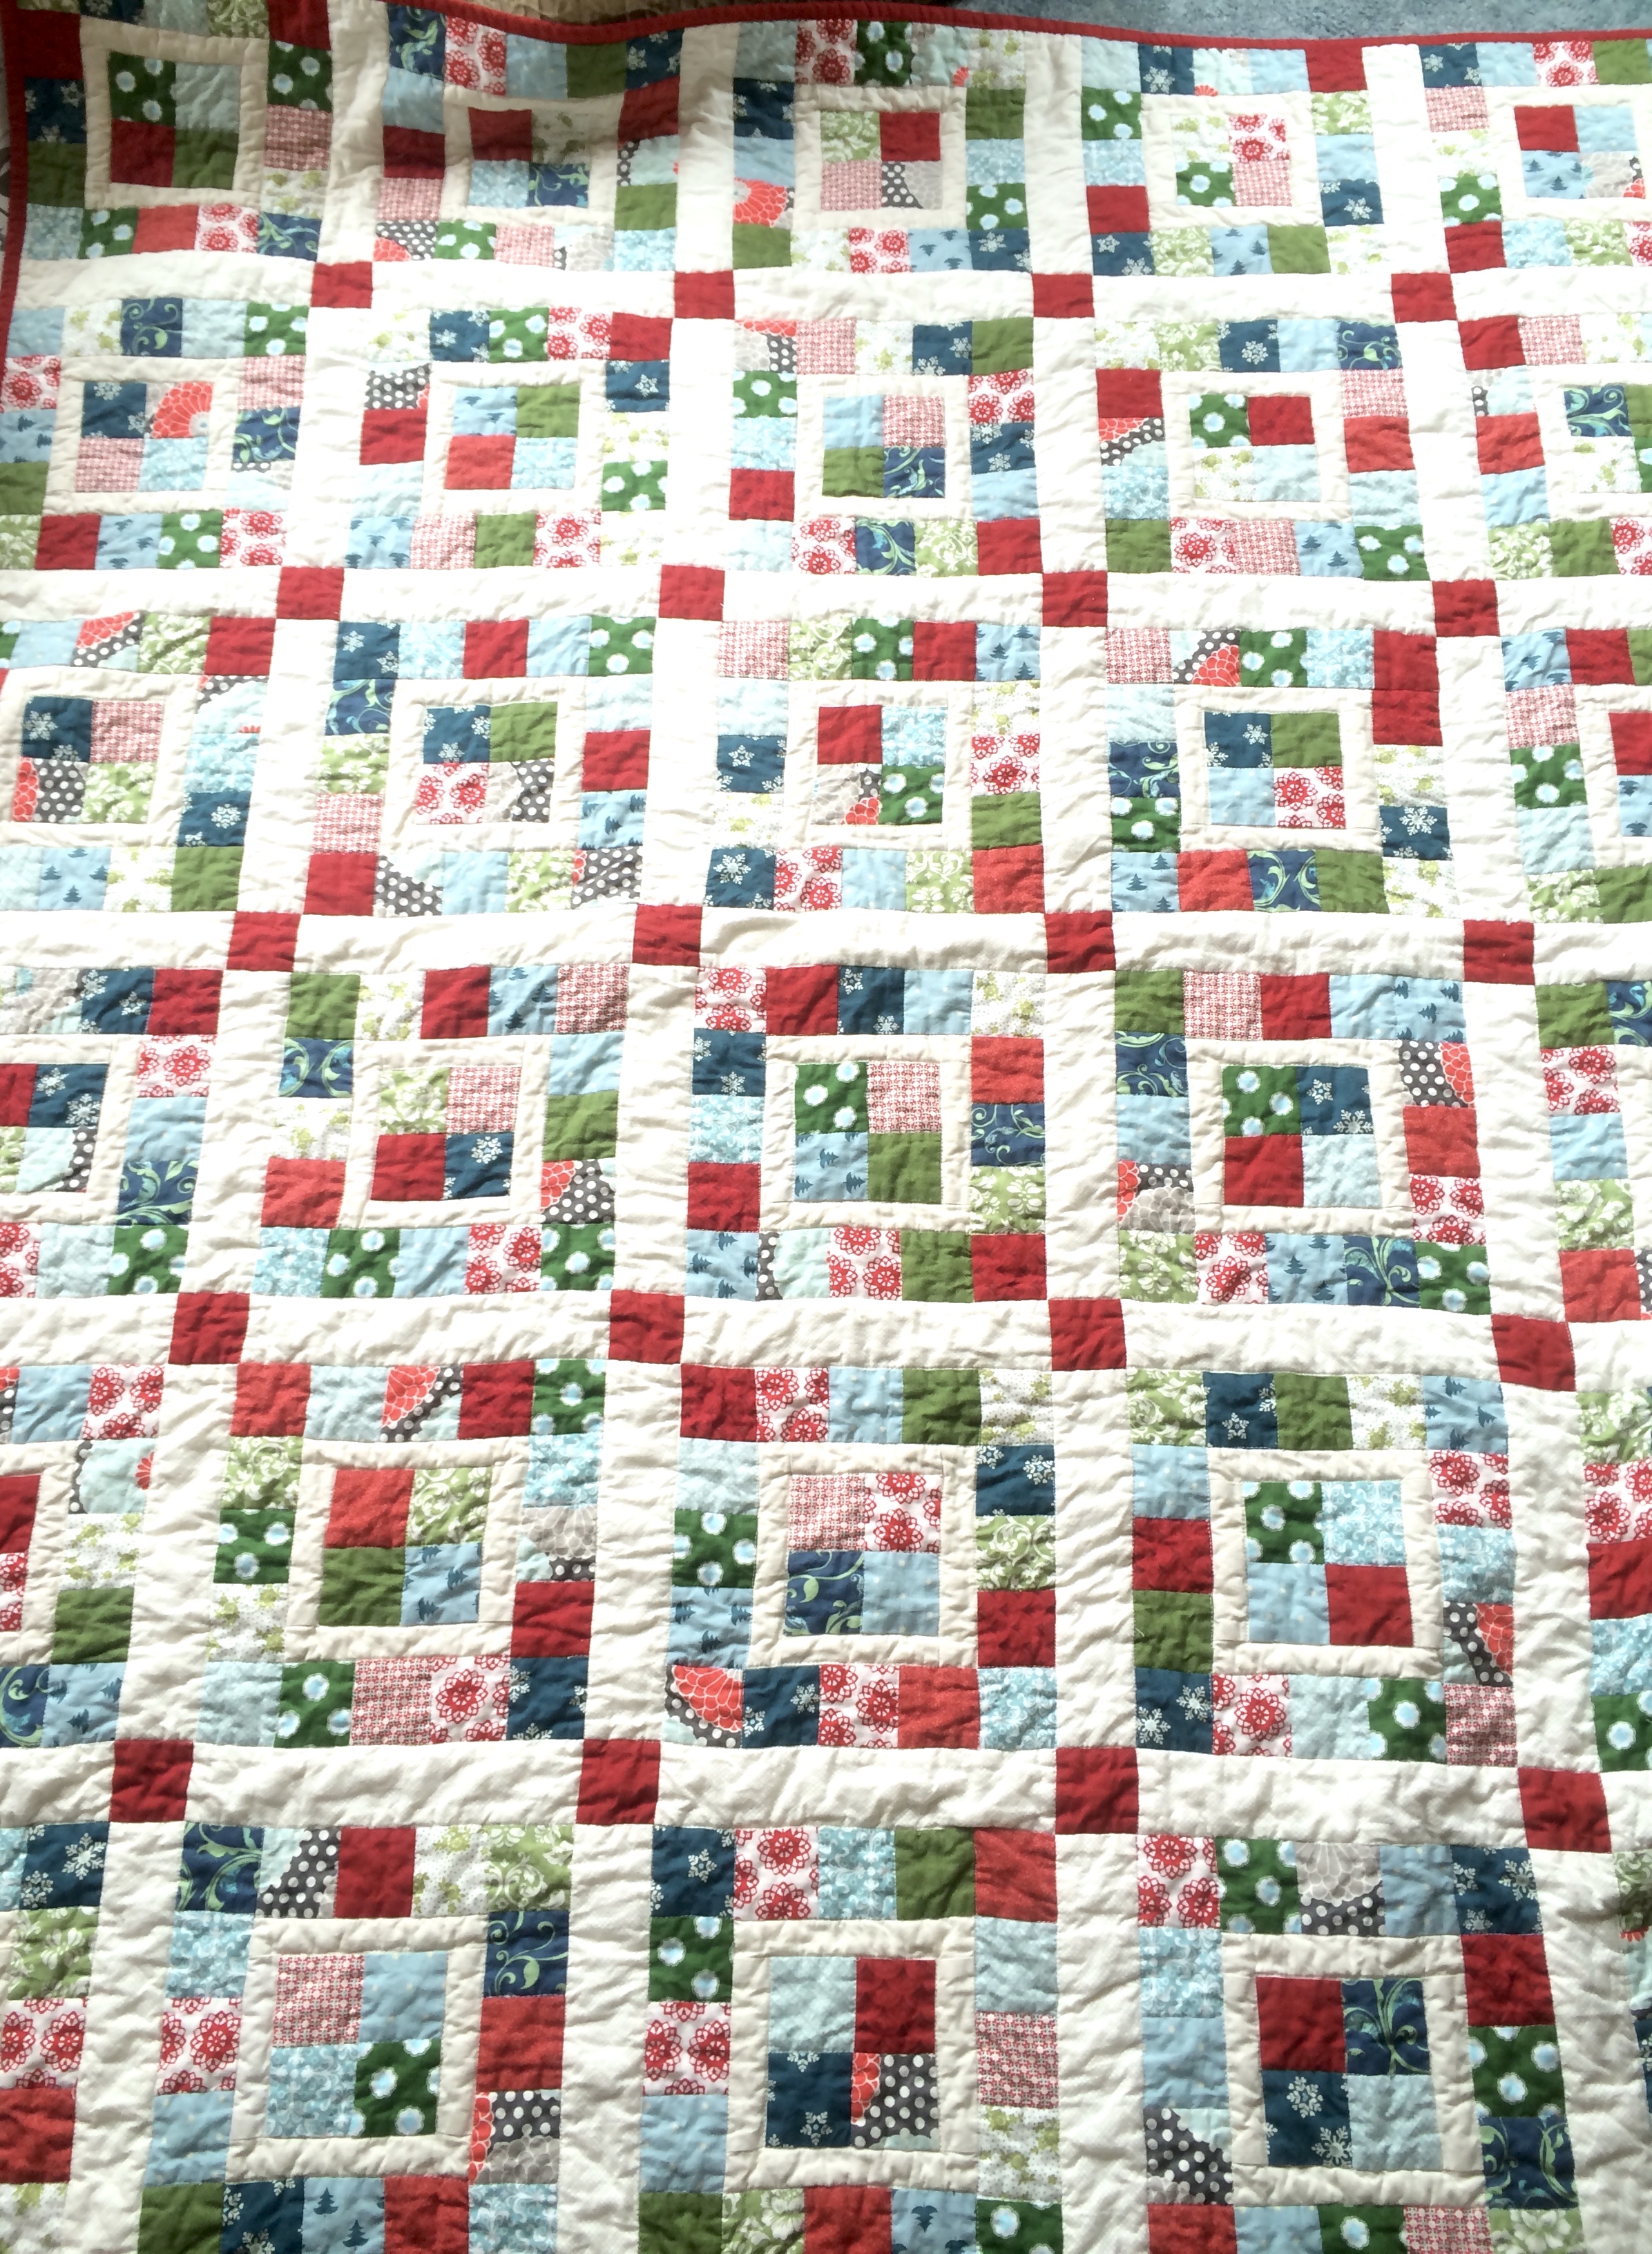
My scrappy winter quilt
I started with a basic color idea but it really came together the way most creative projects do for me. Messily. I pulled possible scraps from my bins and then took them to the fabric store. There I started grabbing bolts from the racks and piling them up, laying them alongside each other, then replacing the ones that didn't seem quite right.
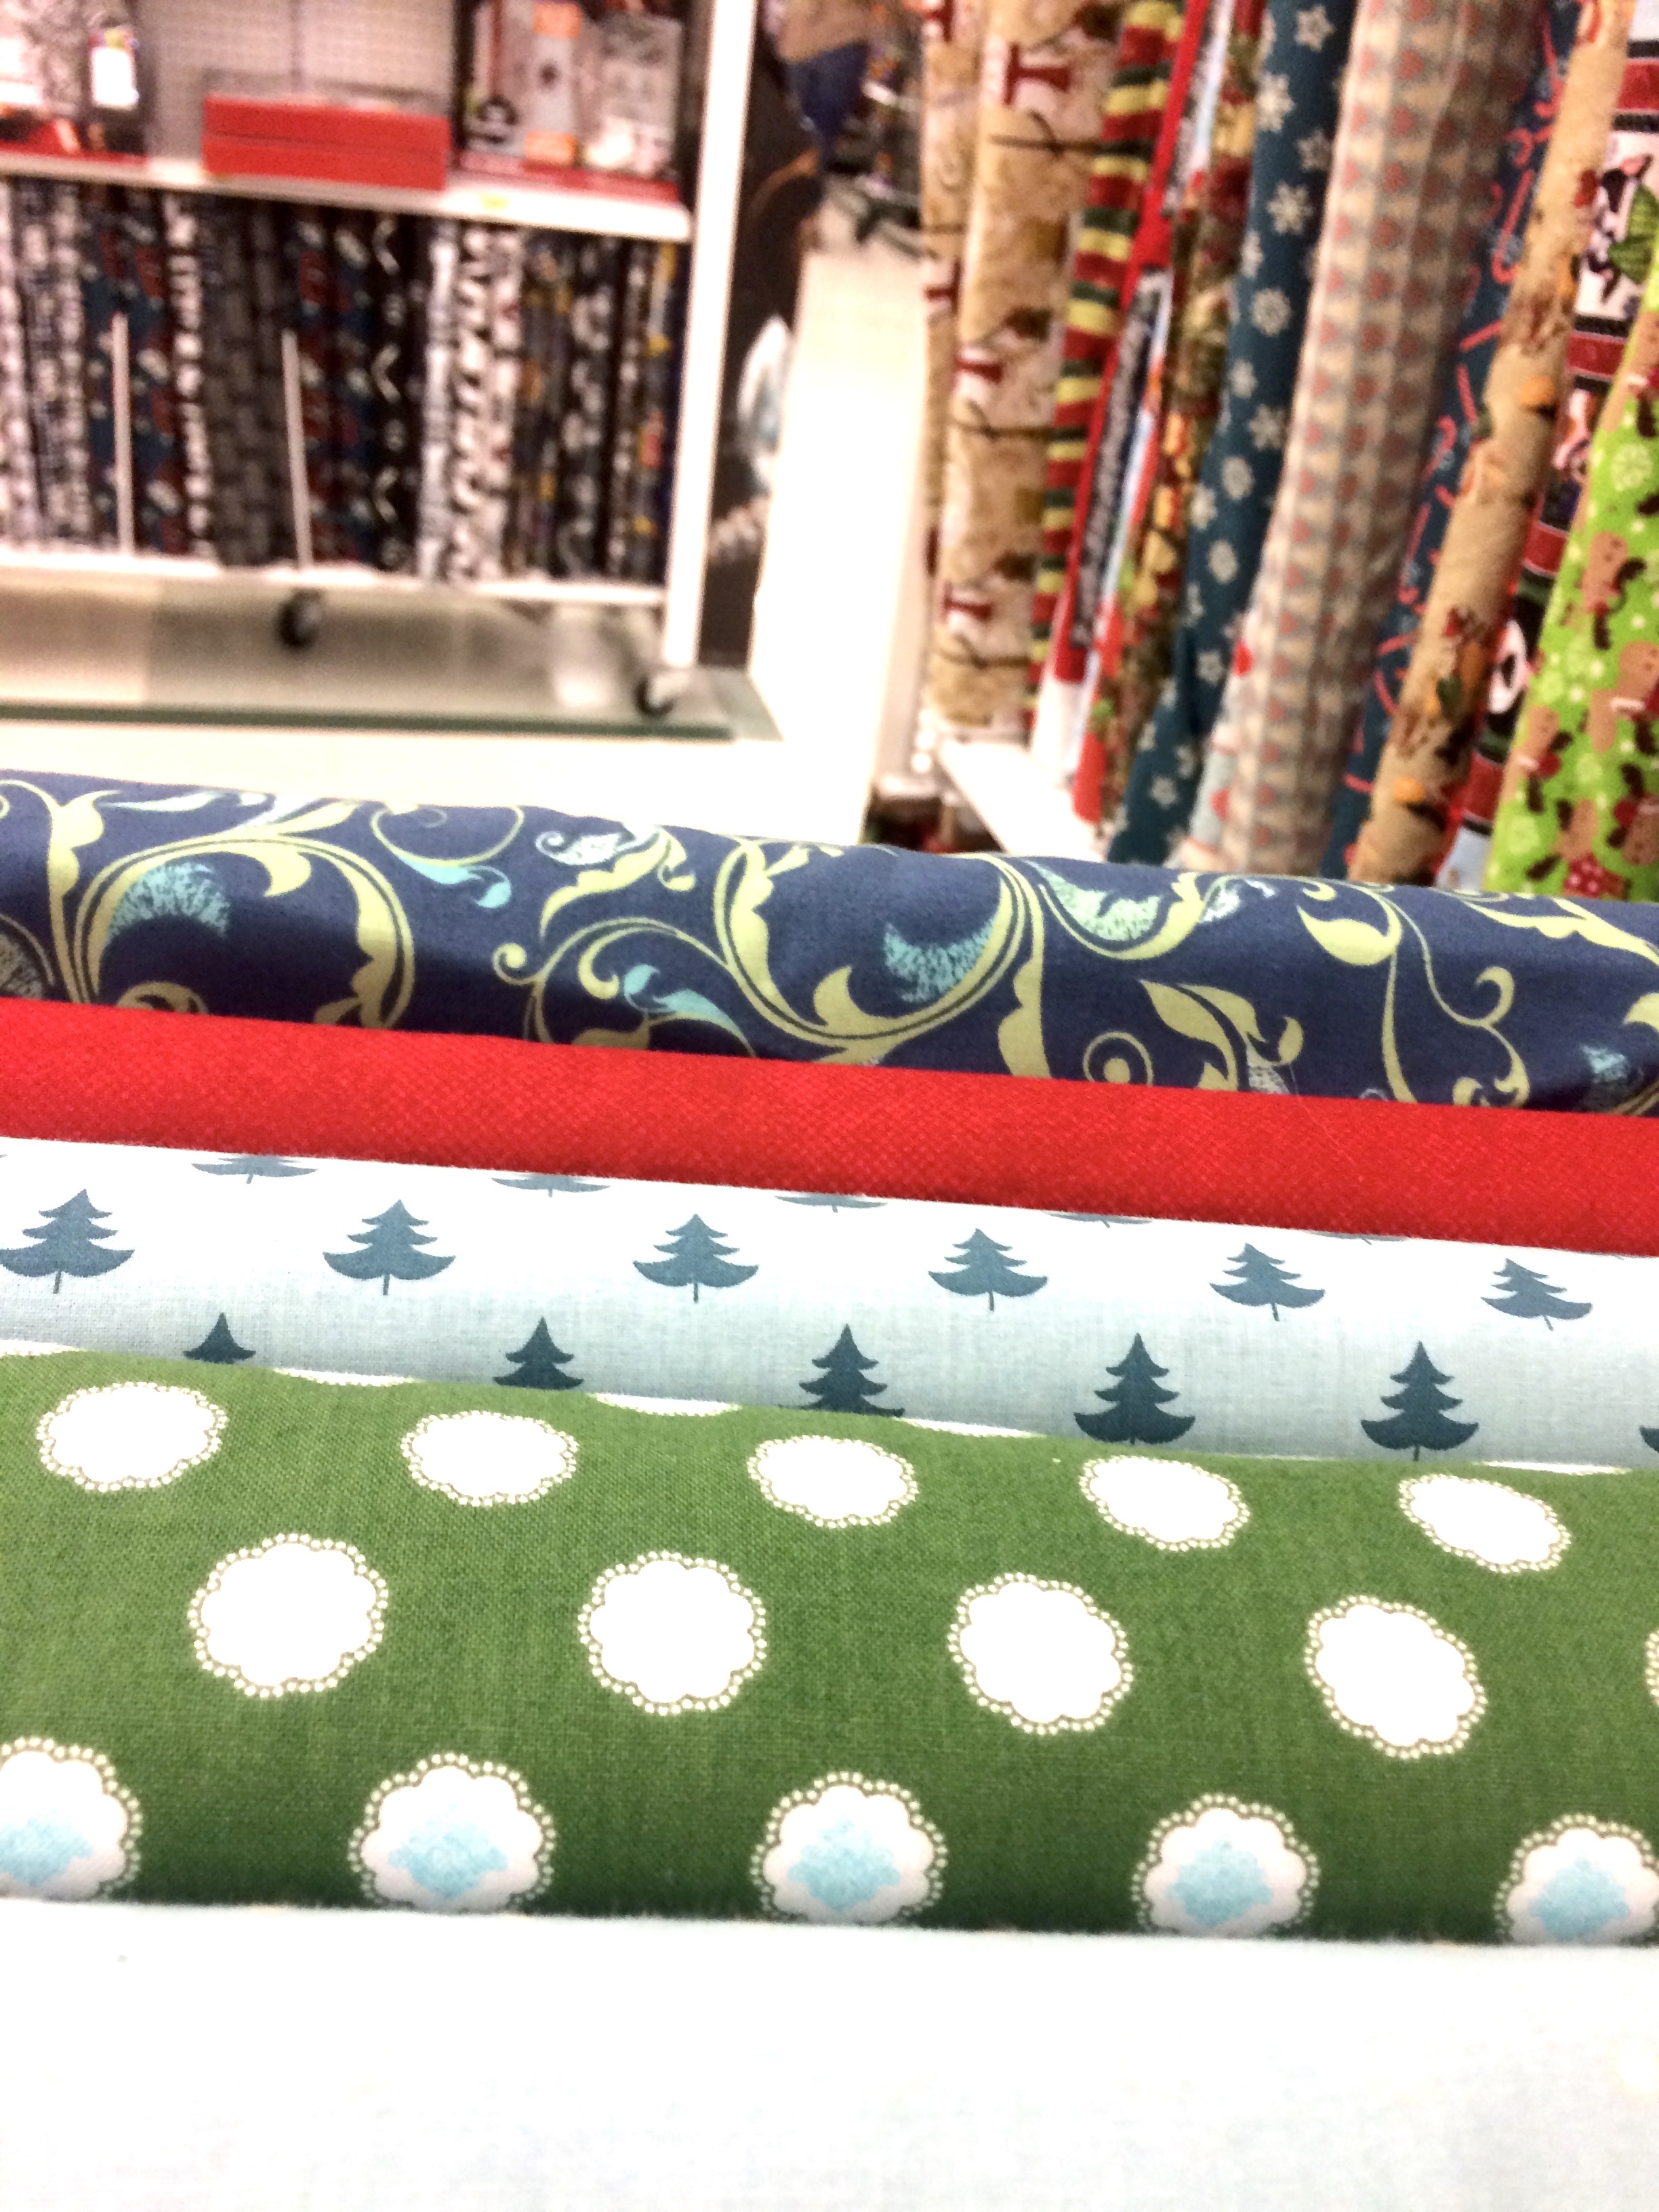
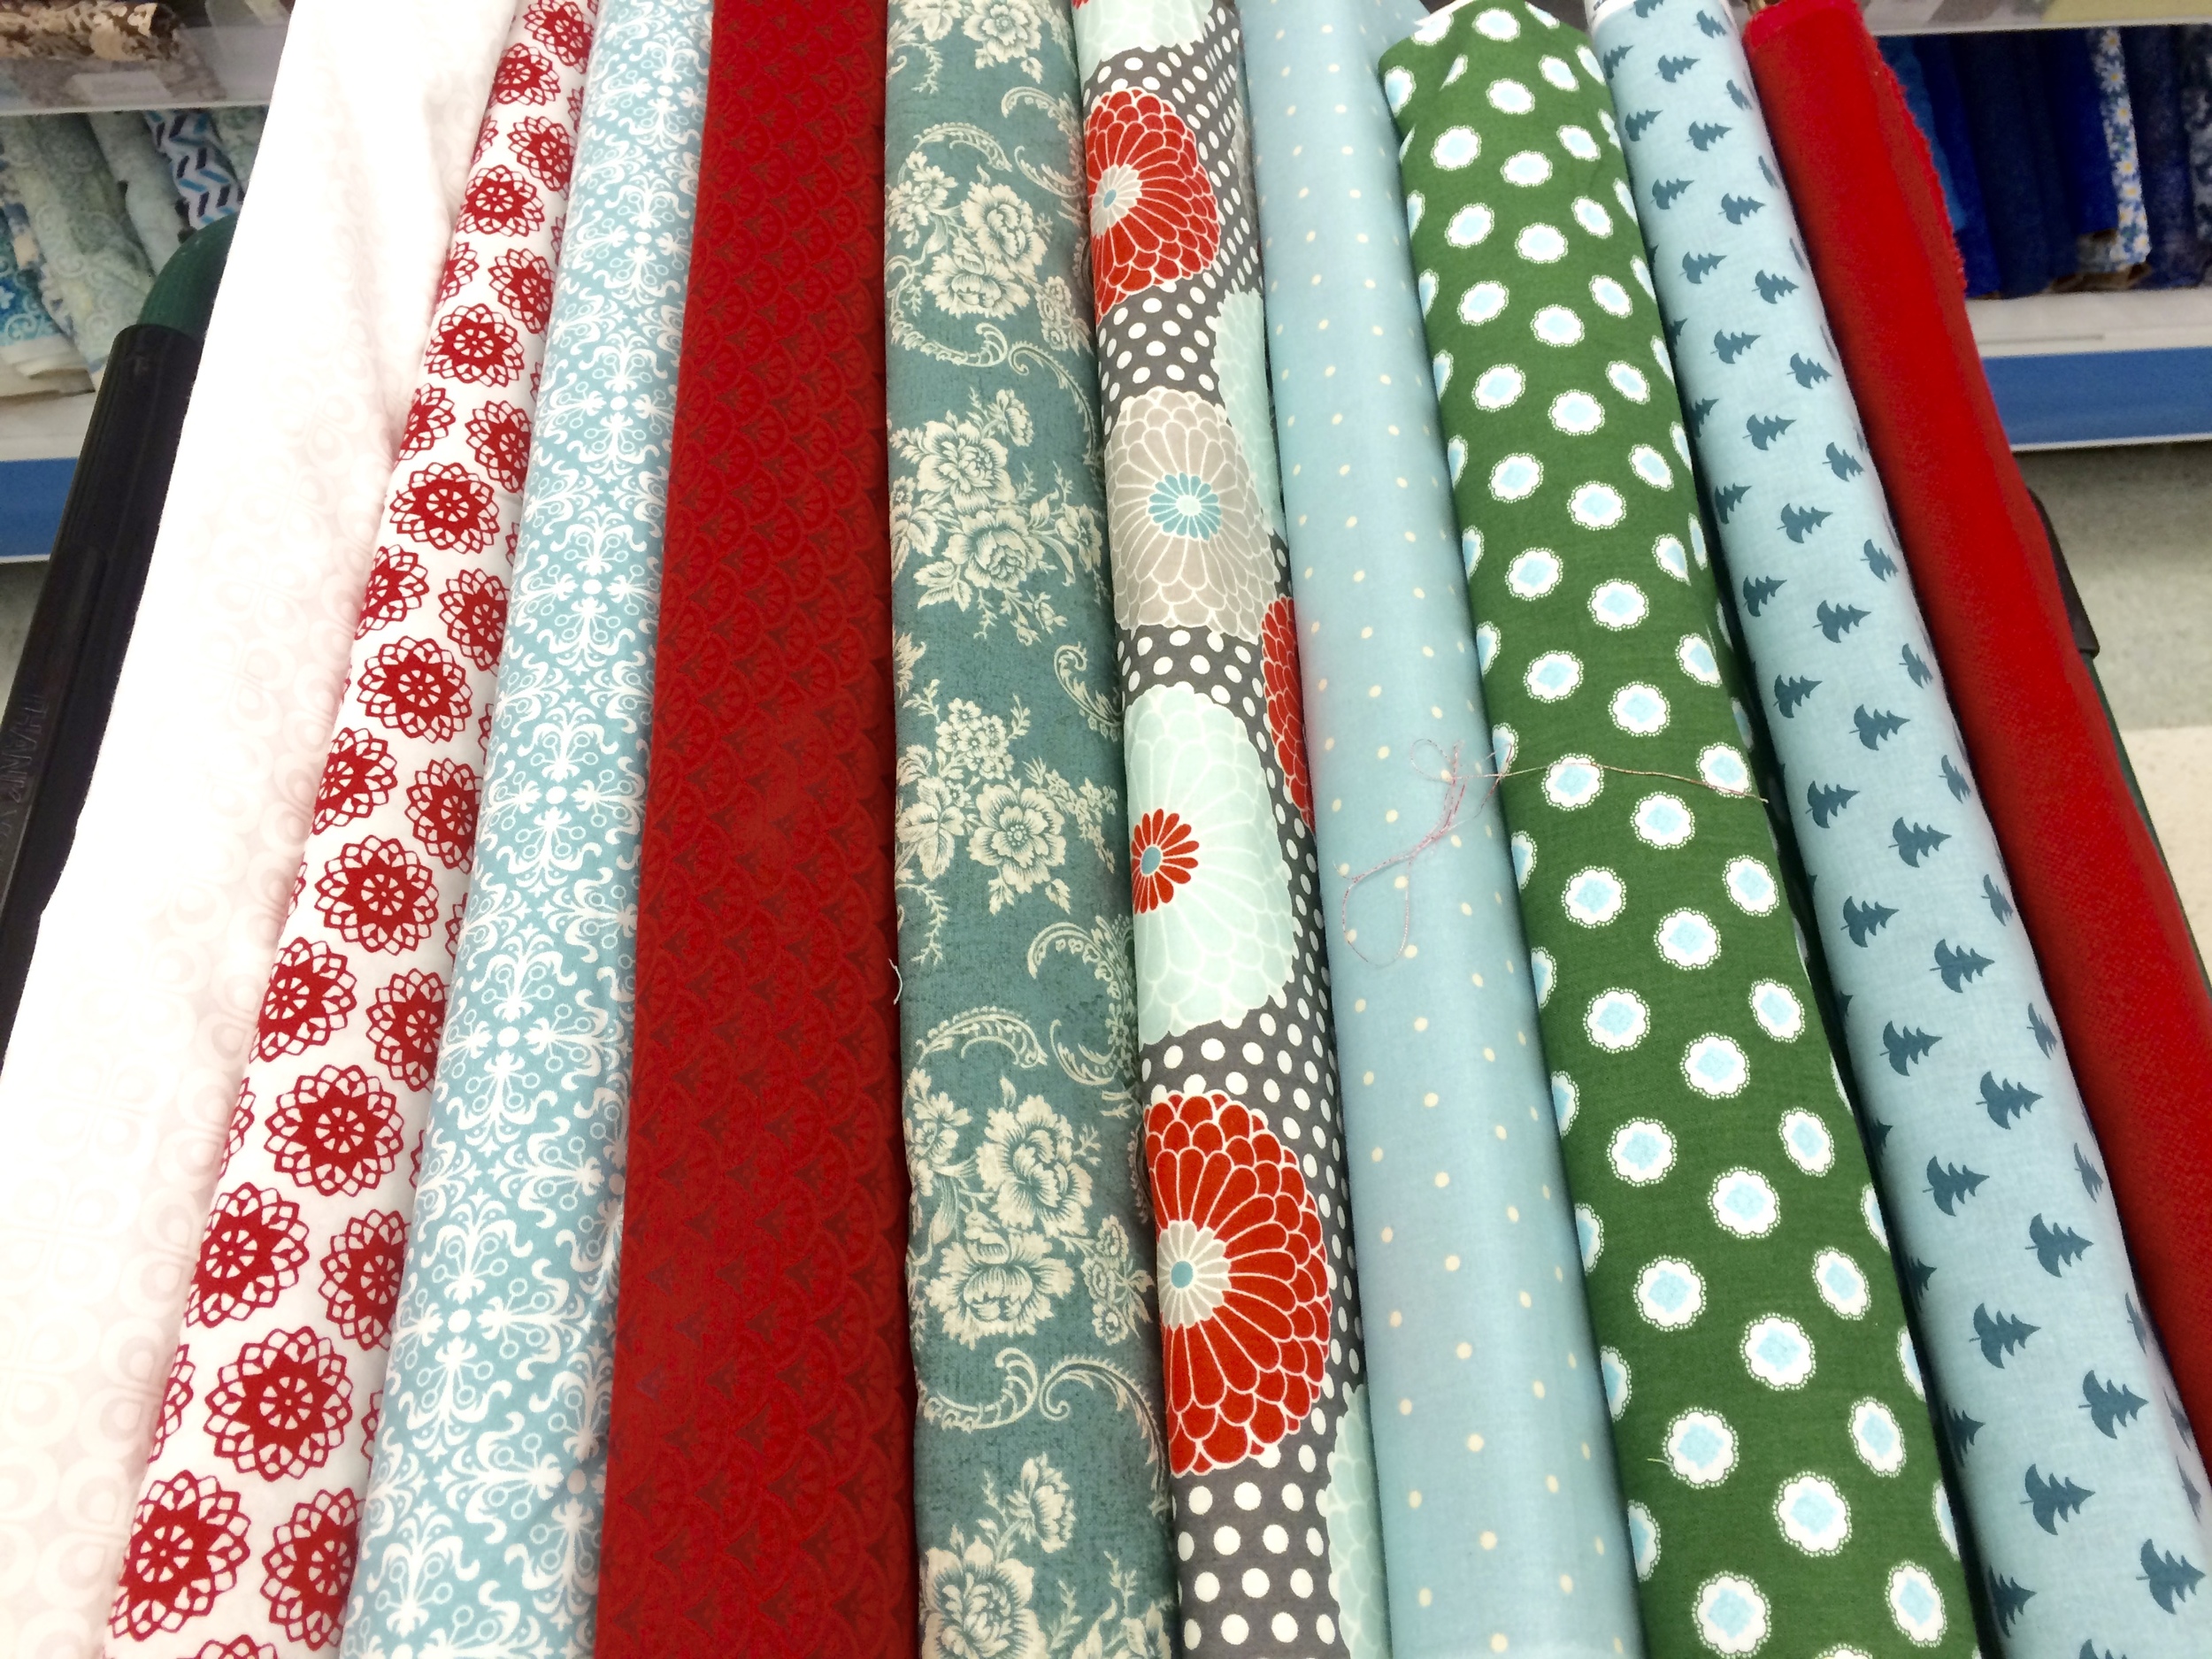
(These pics are after the messy phase)
I decided that red and green were a given but I wanted slightly retro-feeling tones and adding blues in aqua and a greyed, soft blue inserted the winter feel I was looking for.
I tend to buy random amounts of fabric, rather than actually calculating what I'll need or following a pattern, then I just work with what I've got. So, yah... no formula here, I just bought approximately 1/2 yard chunks of various prints to go along with my pile from my scrap bin, plus extra for binding and the back.
I cut them into 2 & 1/2" wide strips, then cut those into 2 & 1/2" squares.
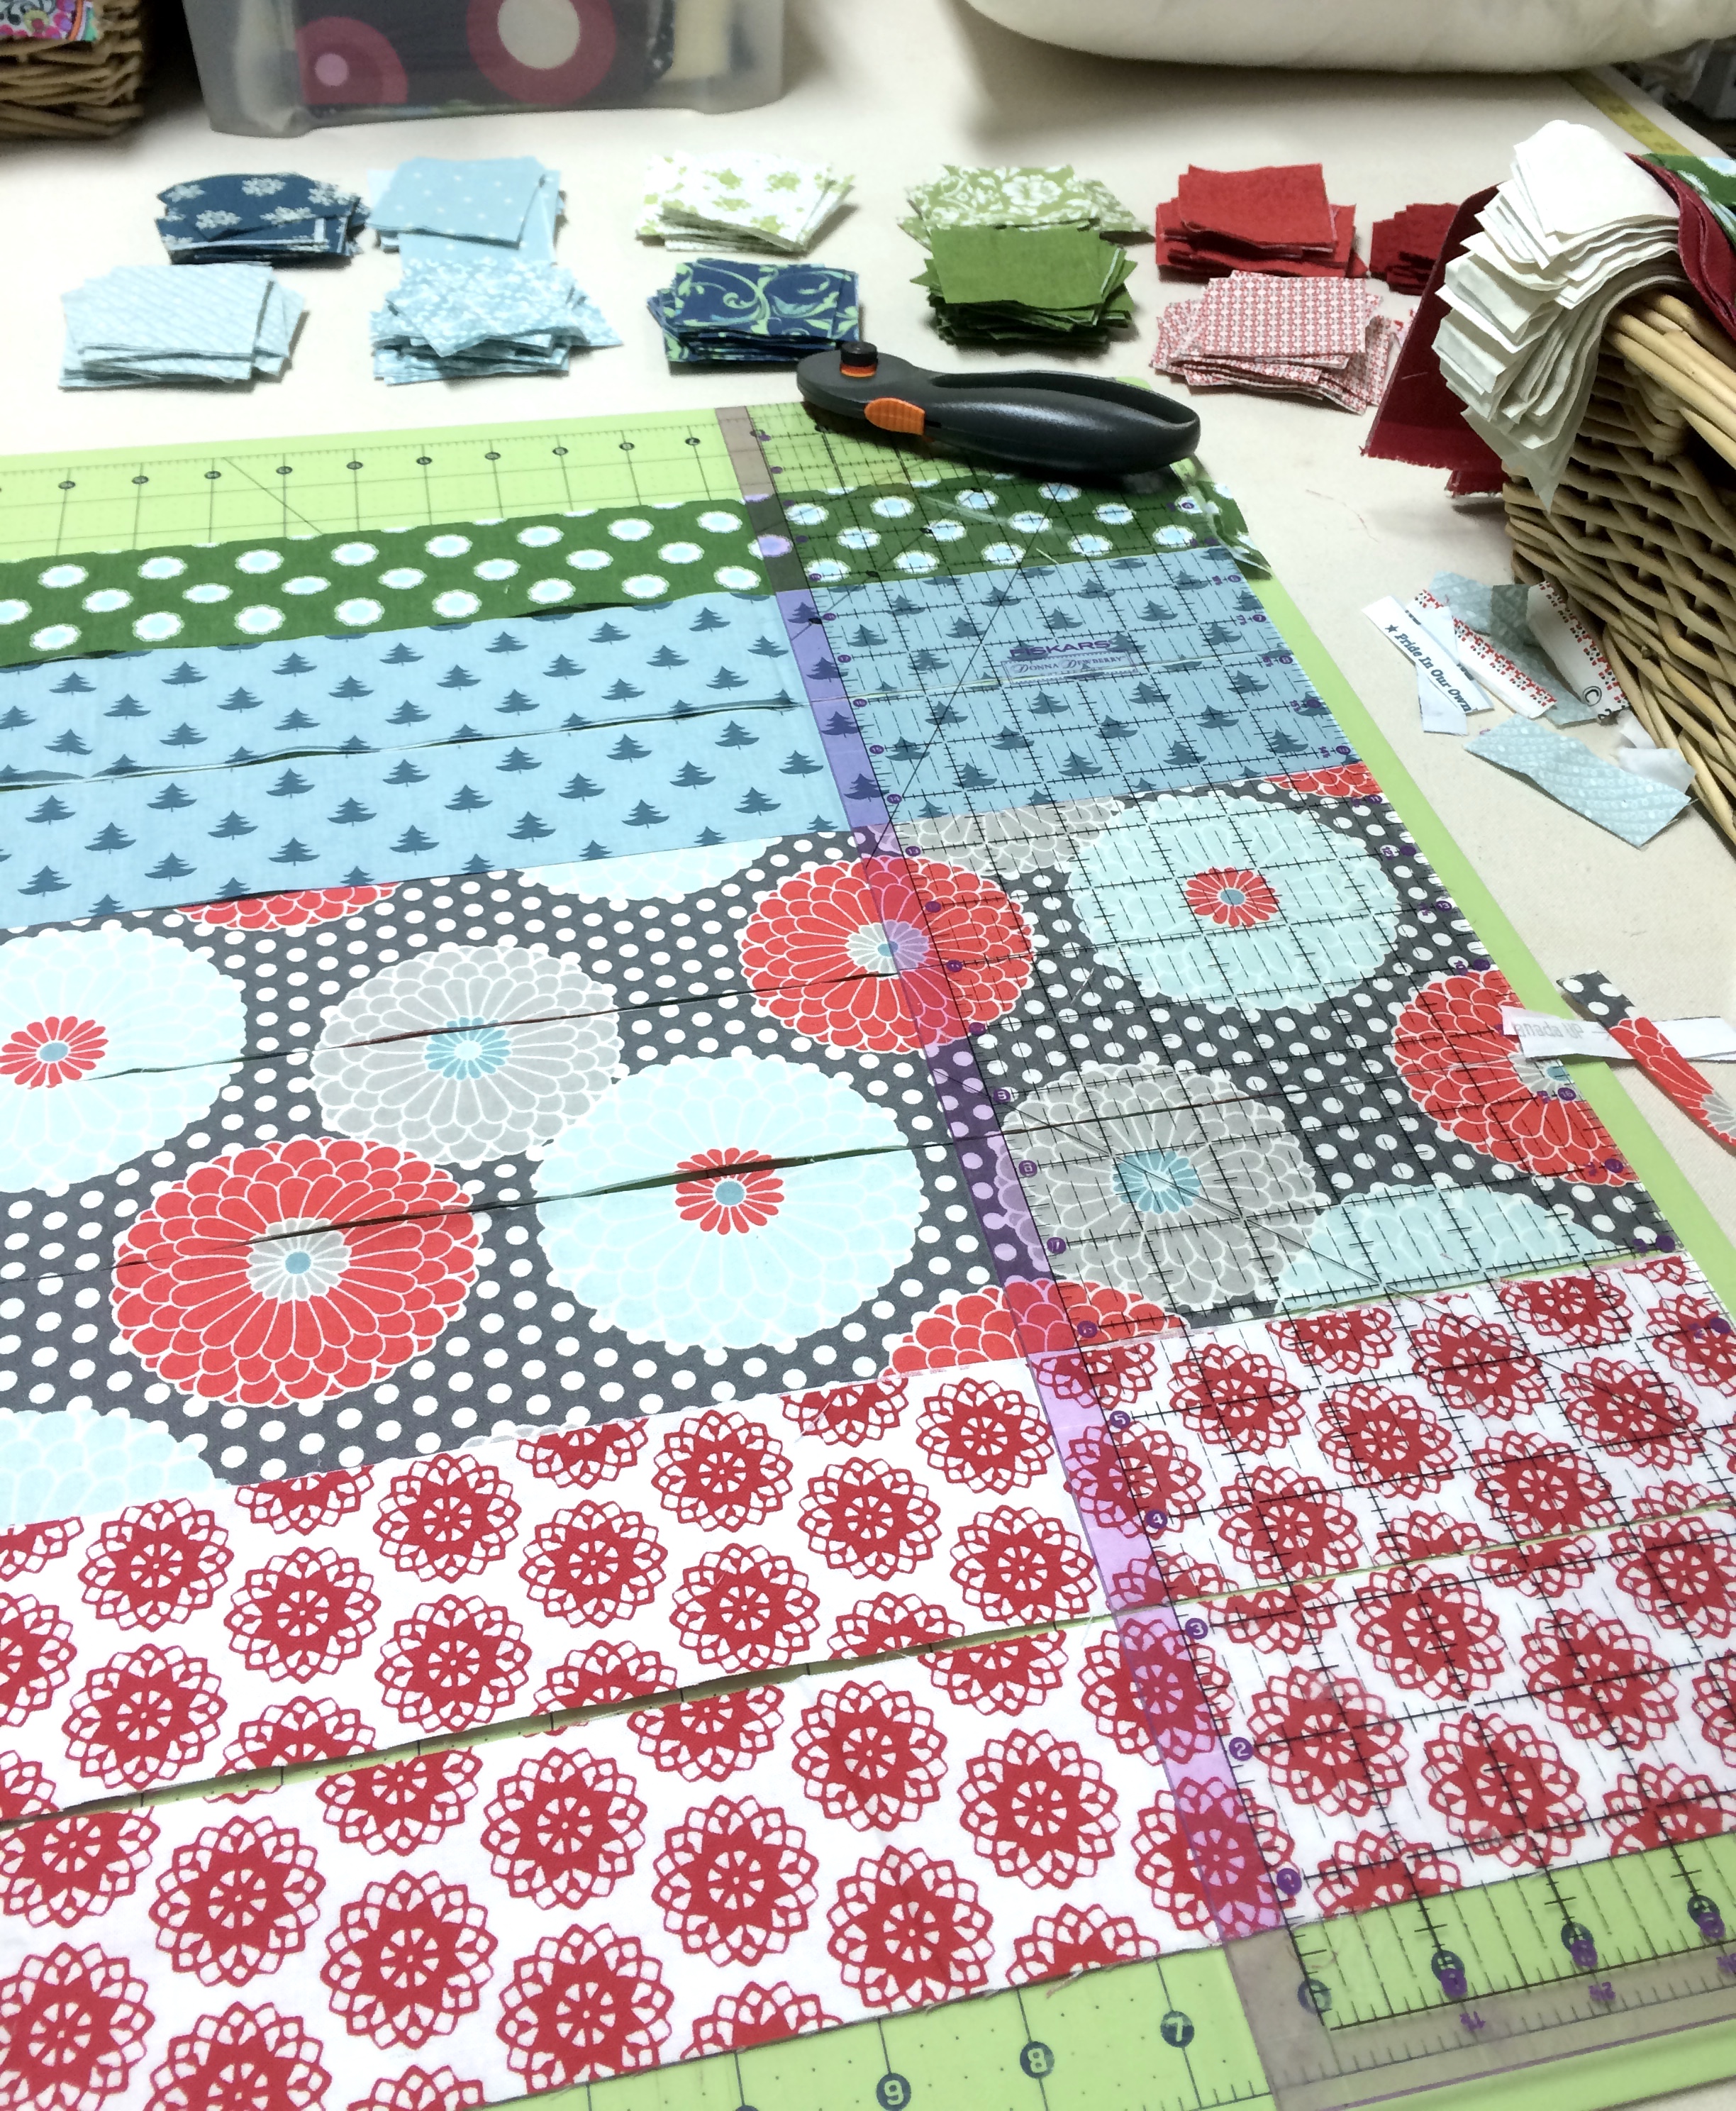
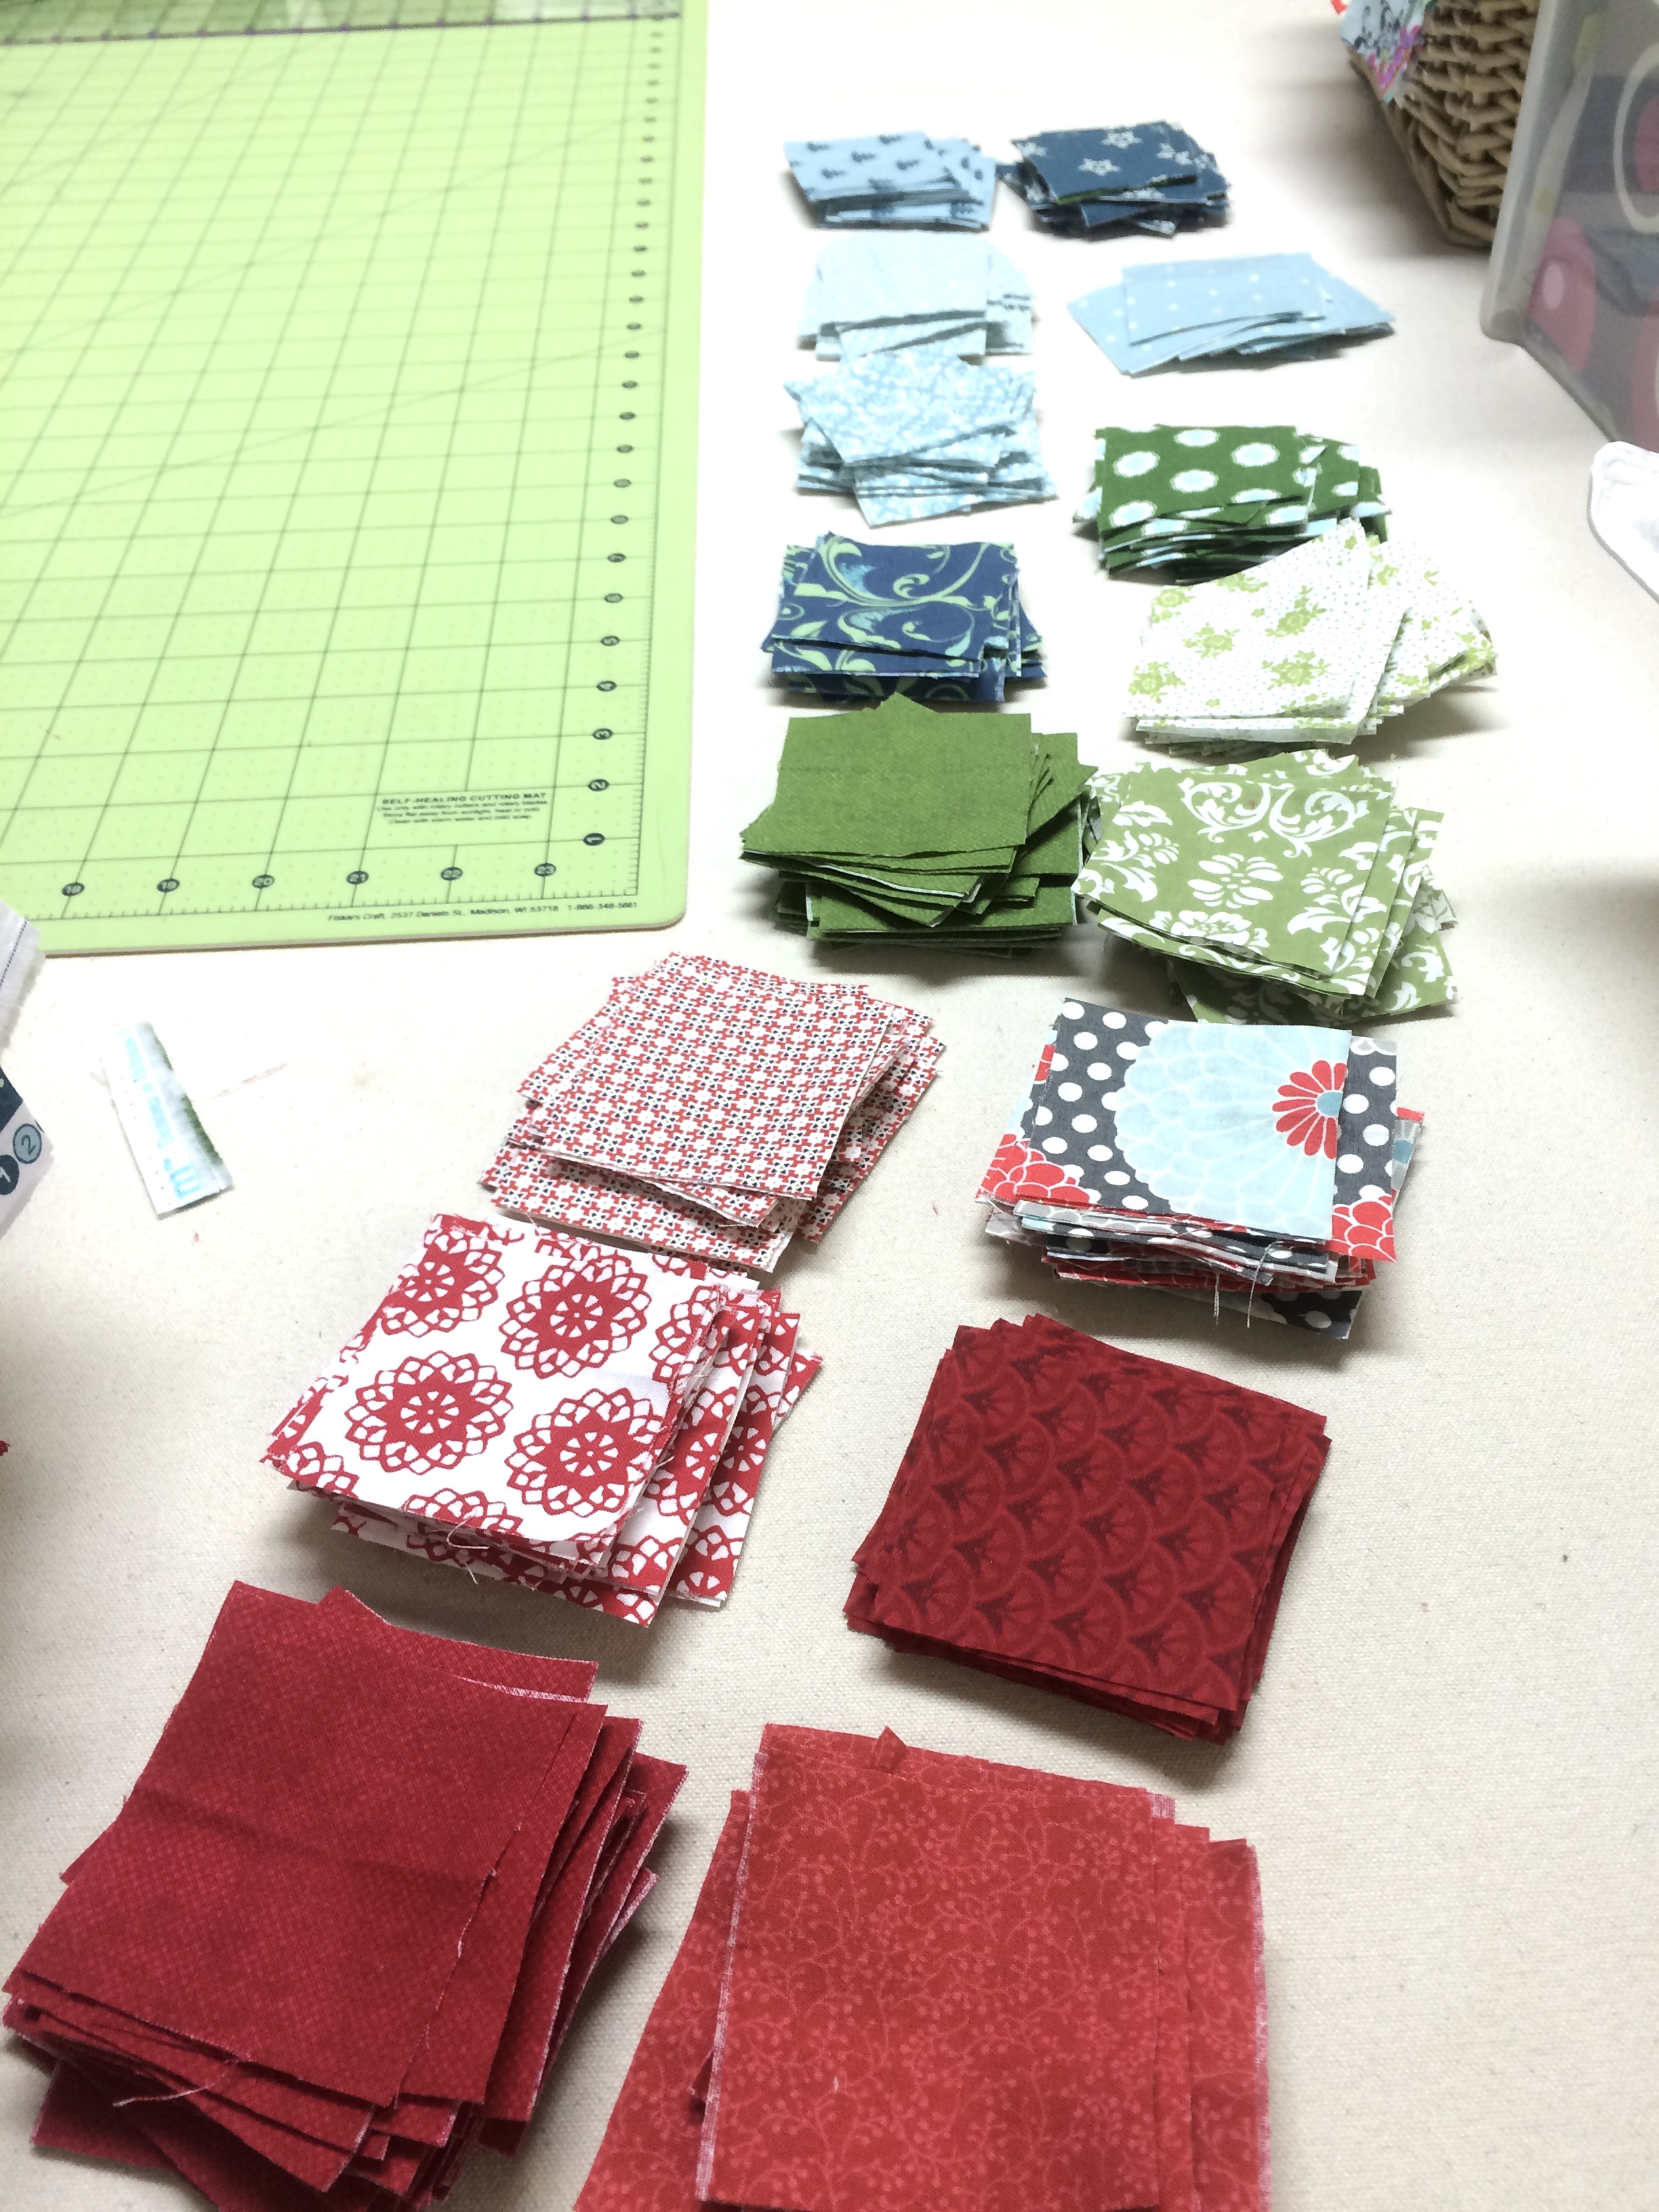
I really wanted this quilt to feel homey, and unpretentious so used no particular order for laying out the various prints. You just can't overthink it when going for this look. I stacked my blocks in piles next to my sewing machine and grabbed them one by one as randomly as my semi-organized brain would let me. ~__^
the basic steps to making the quilt
These are pretty basic instructions, assuming you've got a basic knowledge of sewing quilts. Maybe next time I can take more detailed pics as I progress. (wasn't planning to blog this)
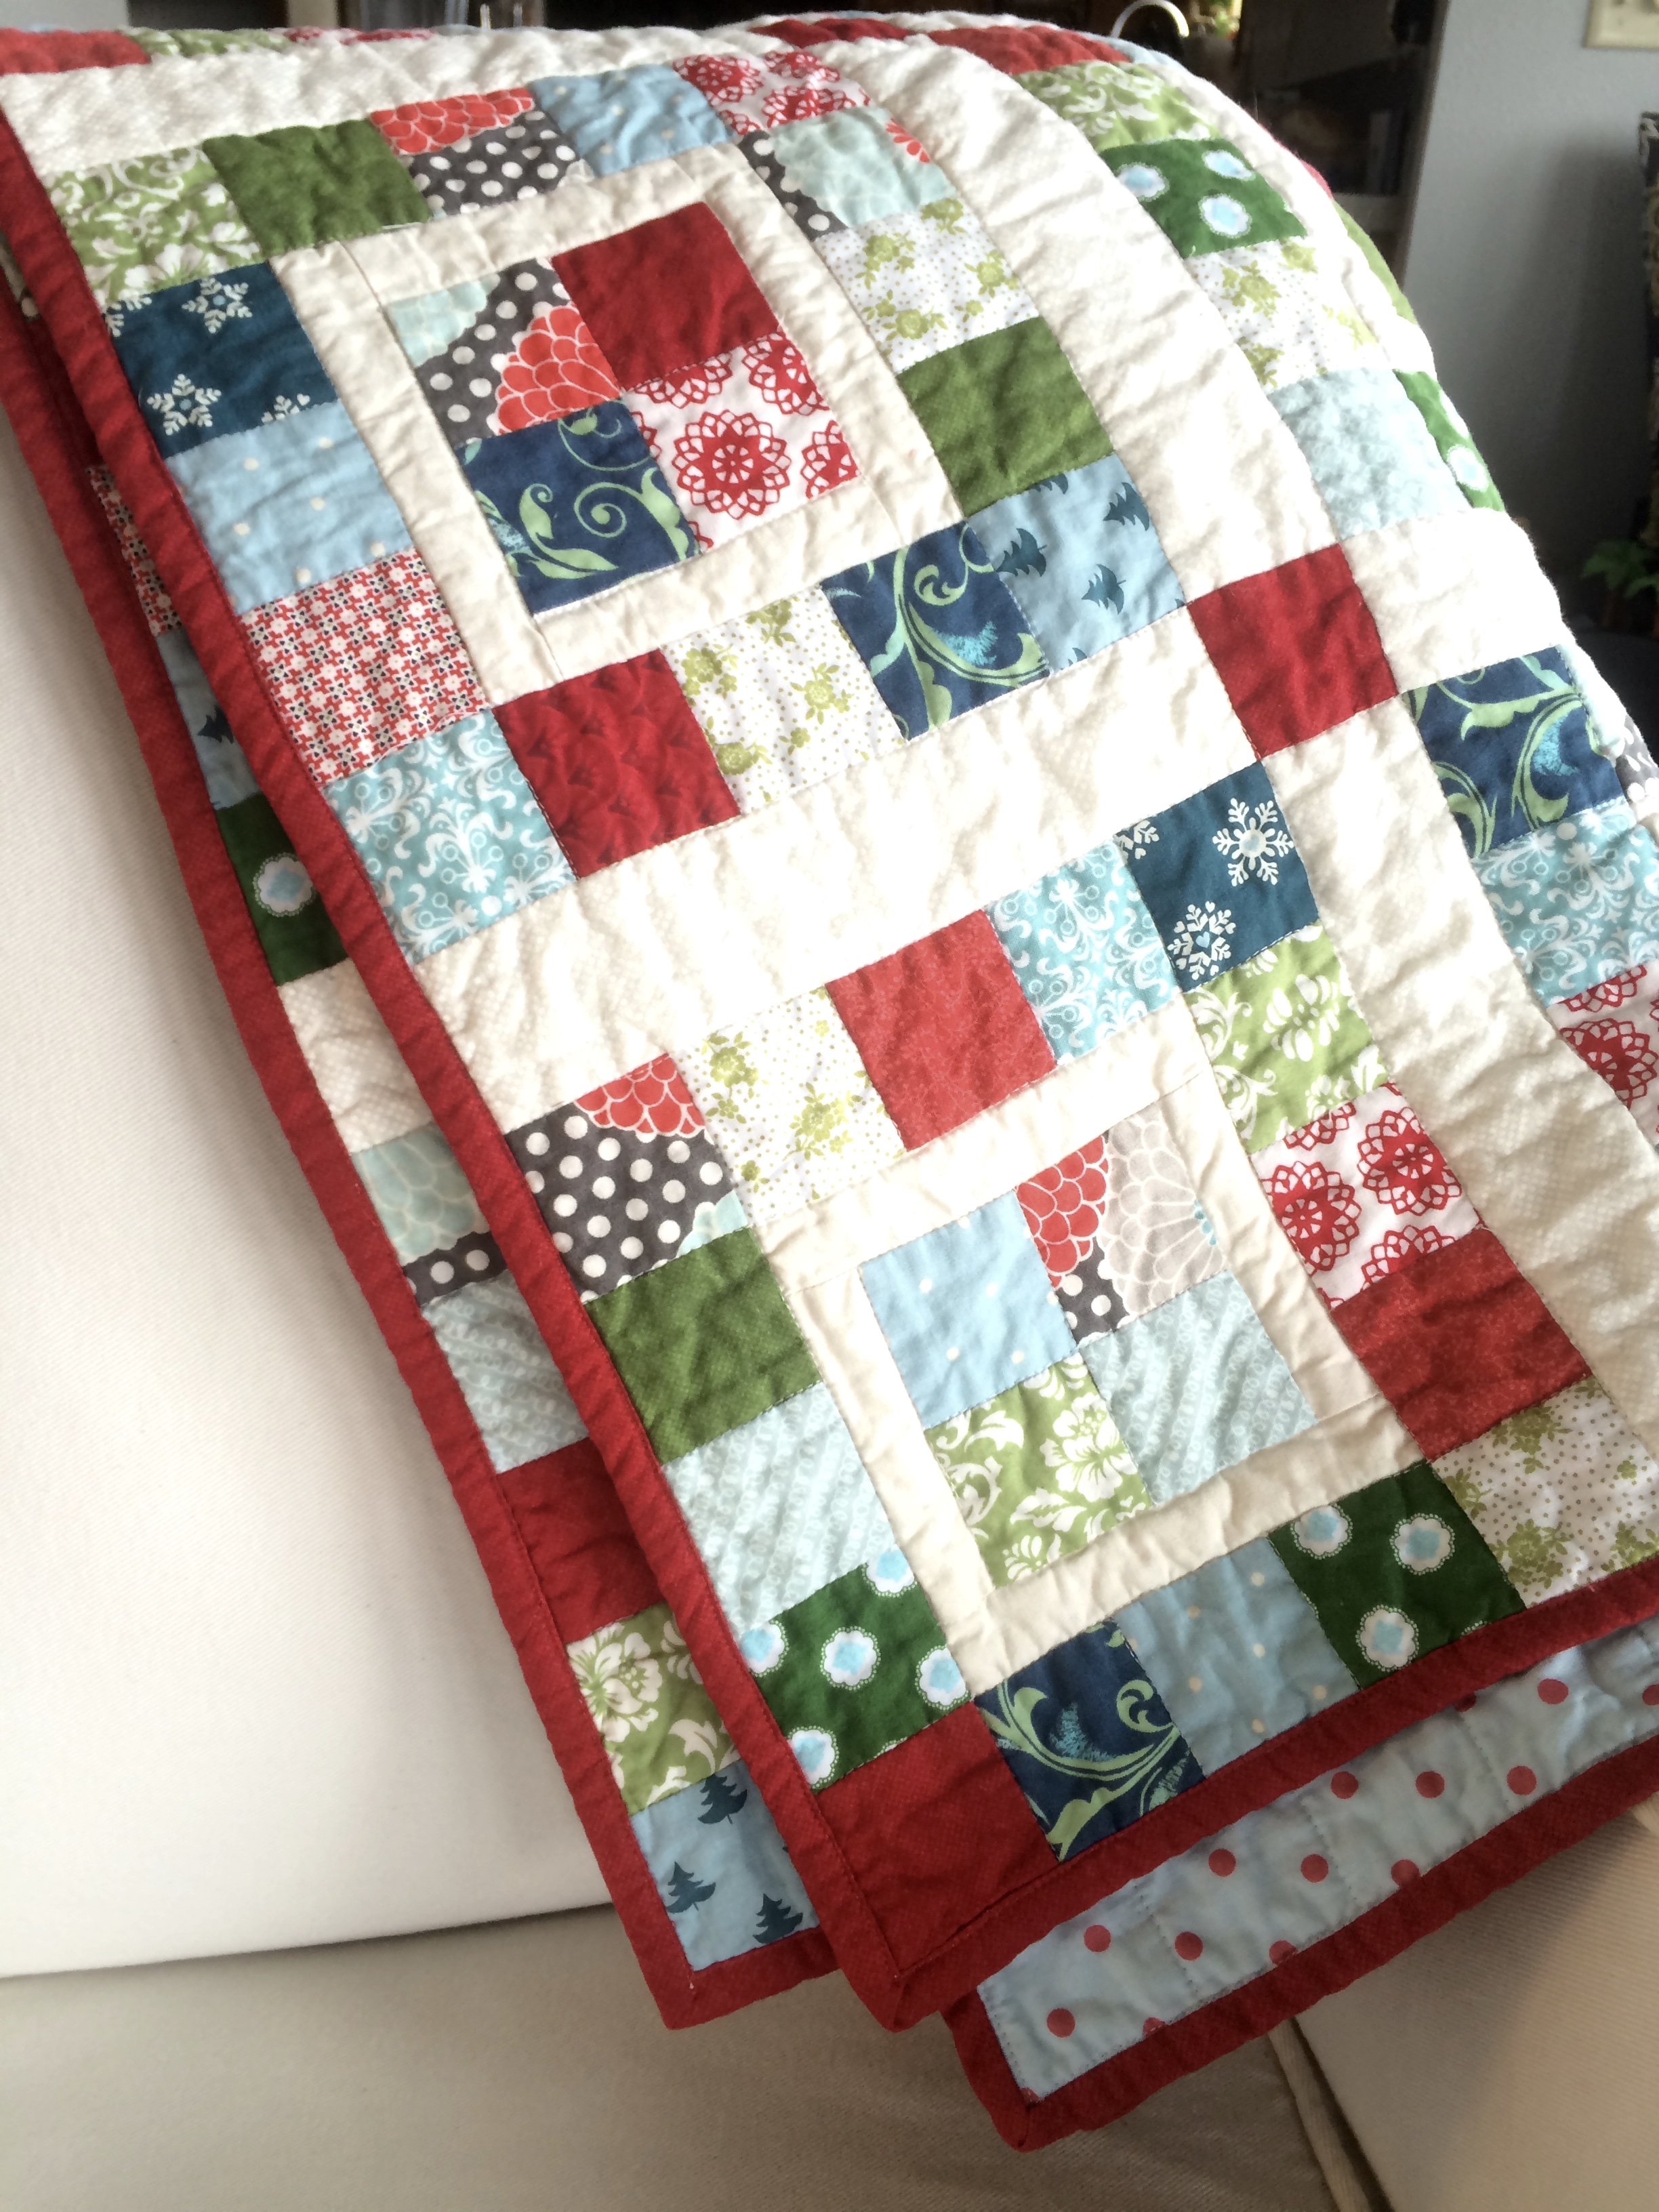
1st, I made four-patch blocks using 4 different prints. This created the centers for each block.
2nd, I sewed a 1 & 1/2" strip of a tone on tone white to each side of each 4 patch.
3rd, I sewed more small squares together side by side to create the border that goes around the white border. This completed each block.
4th, I cut sashing strips of a different white, tone on tone in 2 & 1/2" strips.
5th, I laid the blocks out on a large table to choose an arrangement I liked.
6th, I sewed the white, 2 & 1/2" sashing to the inside edges of the blocks, then sewed these together to form horizontal strips. (consisting of a block, sash, block, sash, etc.) My quilt was 6 blocks across.
7th, I sewed more 2 & 1/2" white sashing in long strips to each block/sash strip and finally connected all of these together, forming the completed top. I made this quilt 5 blocks wide by 6 blocks long.
I sandwiched the top and a darling polka dot print from Tanya Whelan for the back with Warm and Natural Cotton Batting between. I buy mine from my quilting sister's fabric shop, "Comfort & Joy Fabrics"
I used lots of BIG safety pins to fasten the layers together, then started quilting, using my sewing machine with a walking foot.
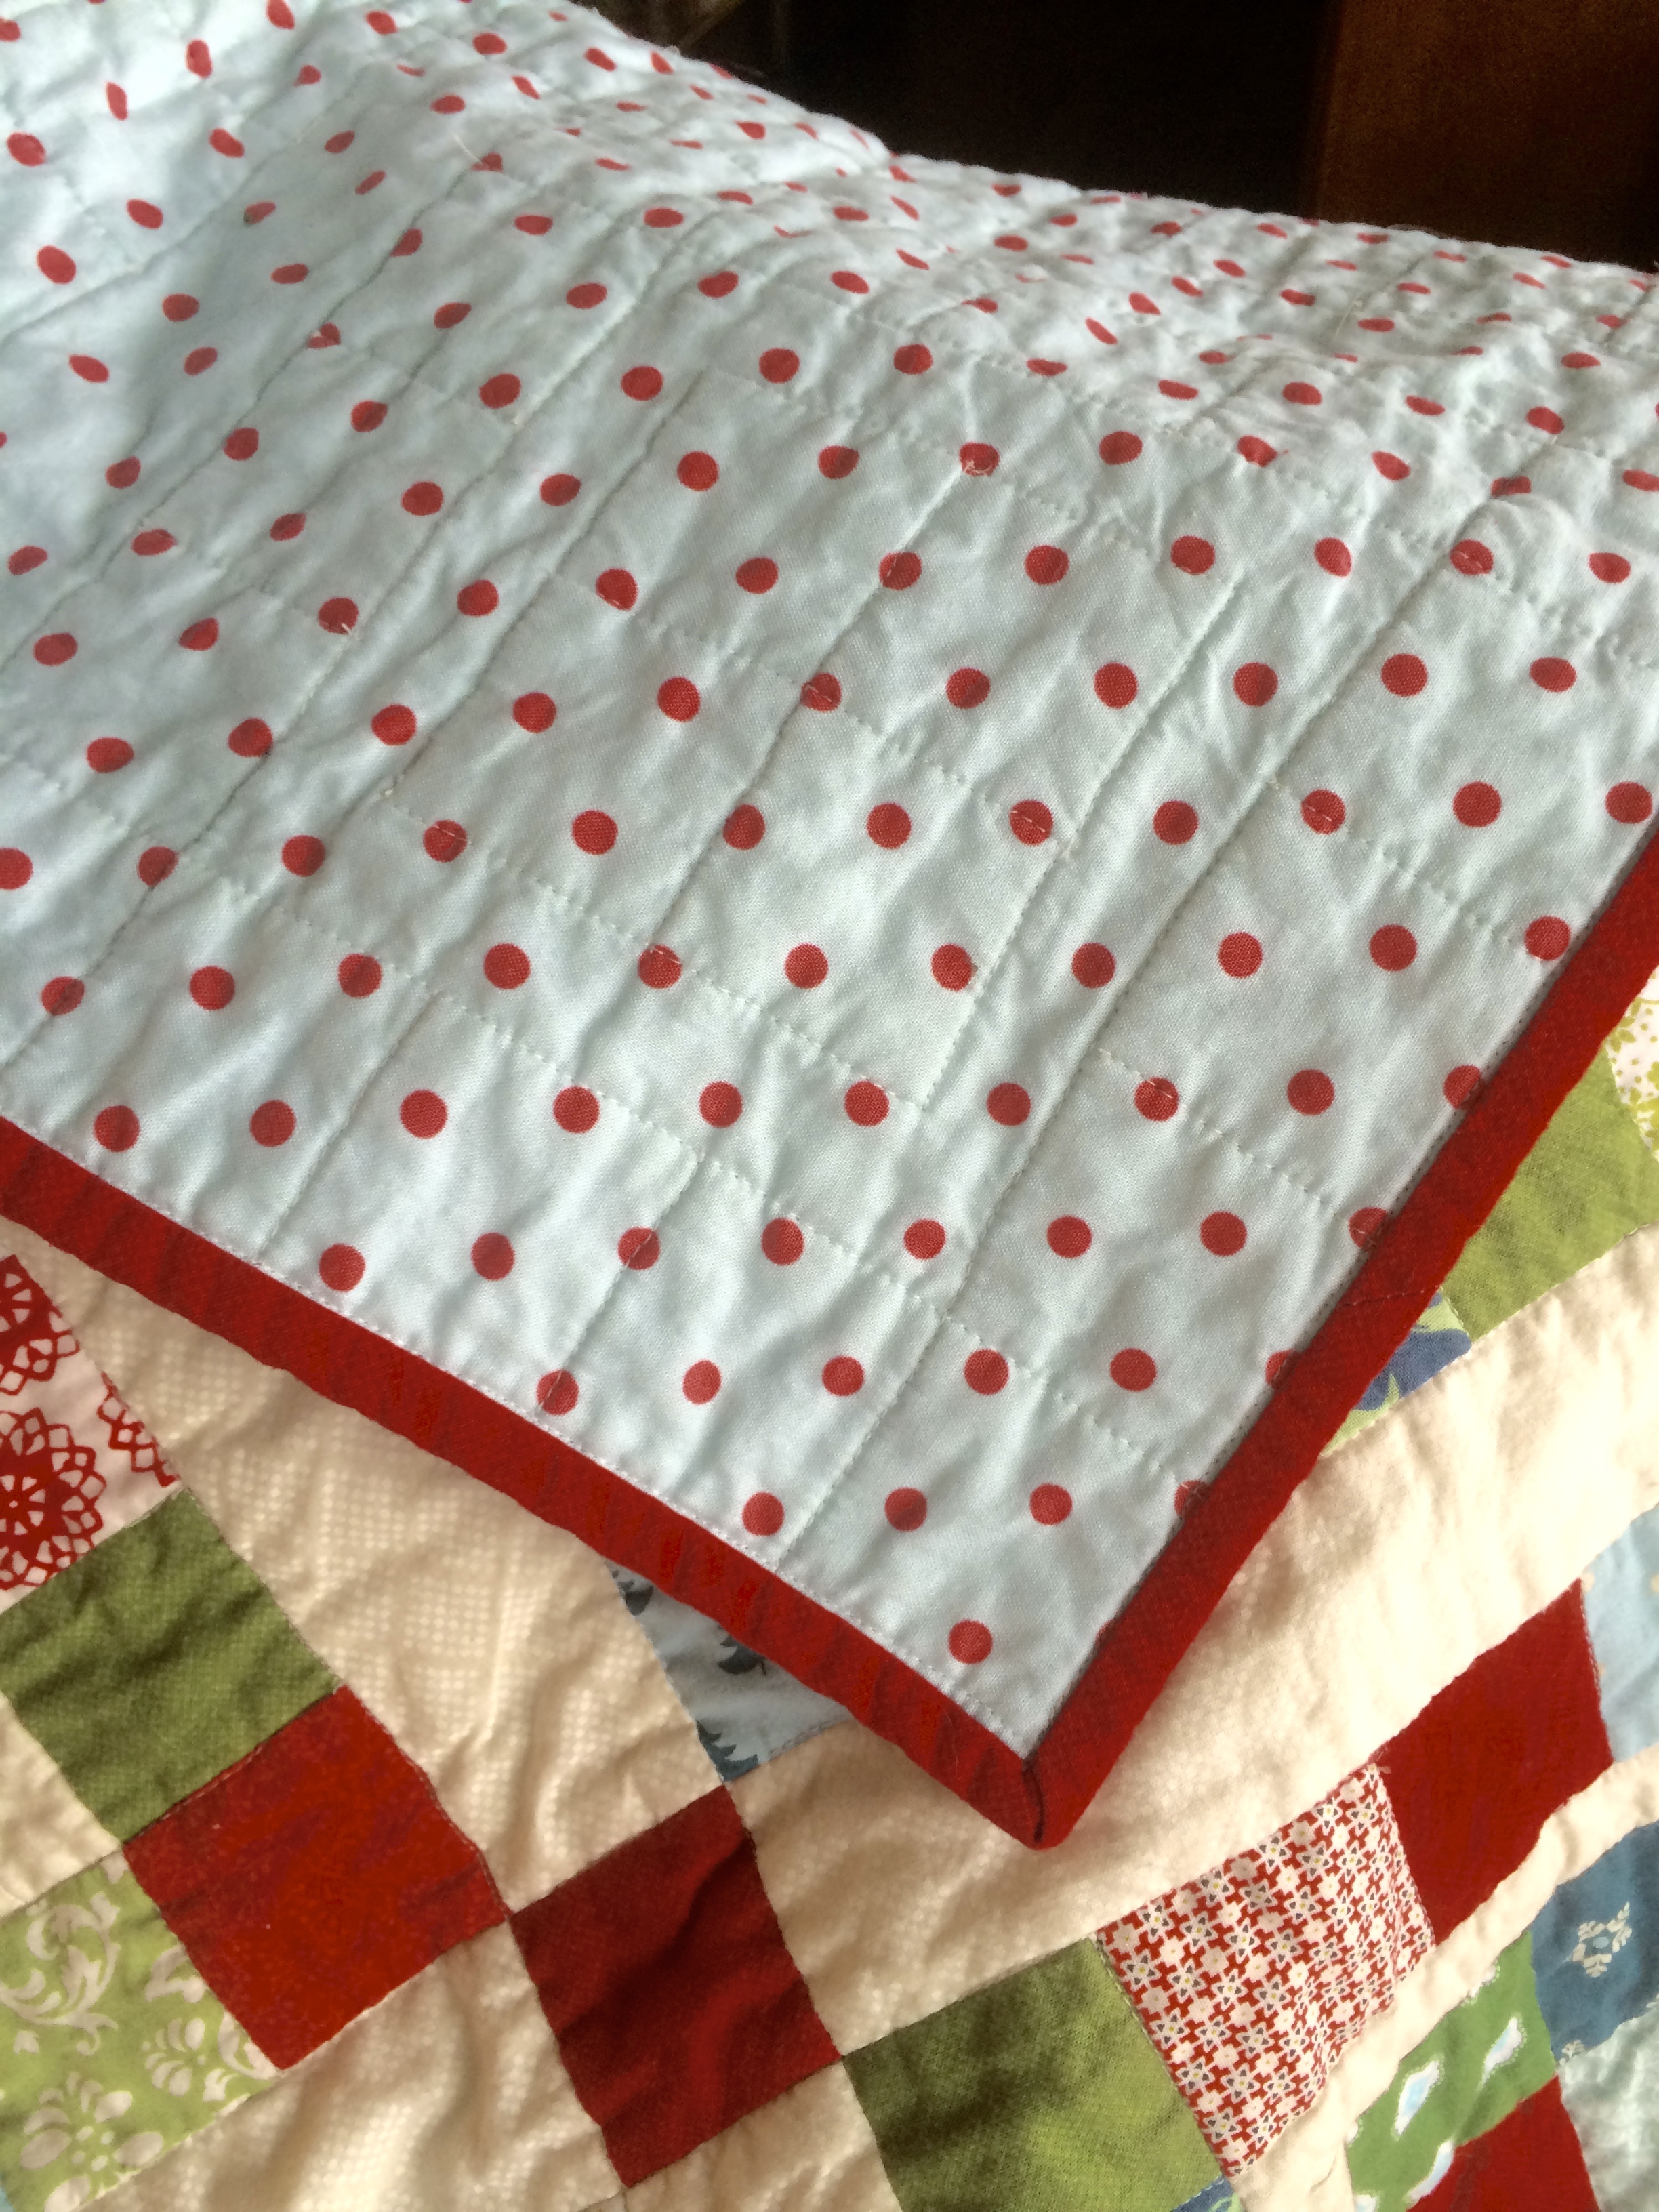
I actually would have liked to quilt more on this but was running short on time and wanted to USE it for Christmas! So I just stitched in the ditch.
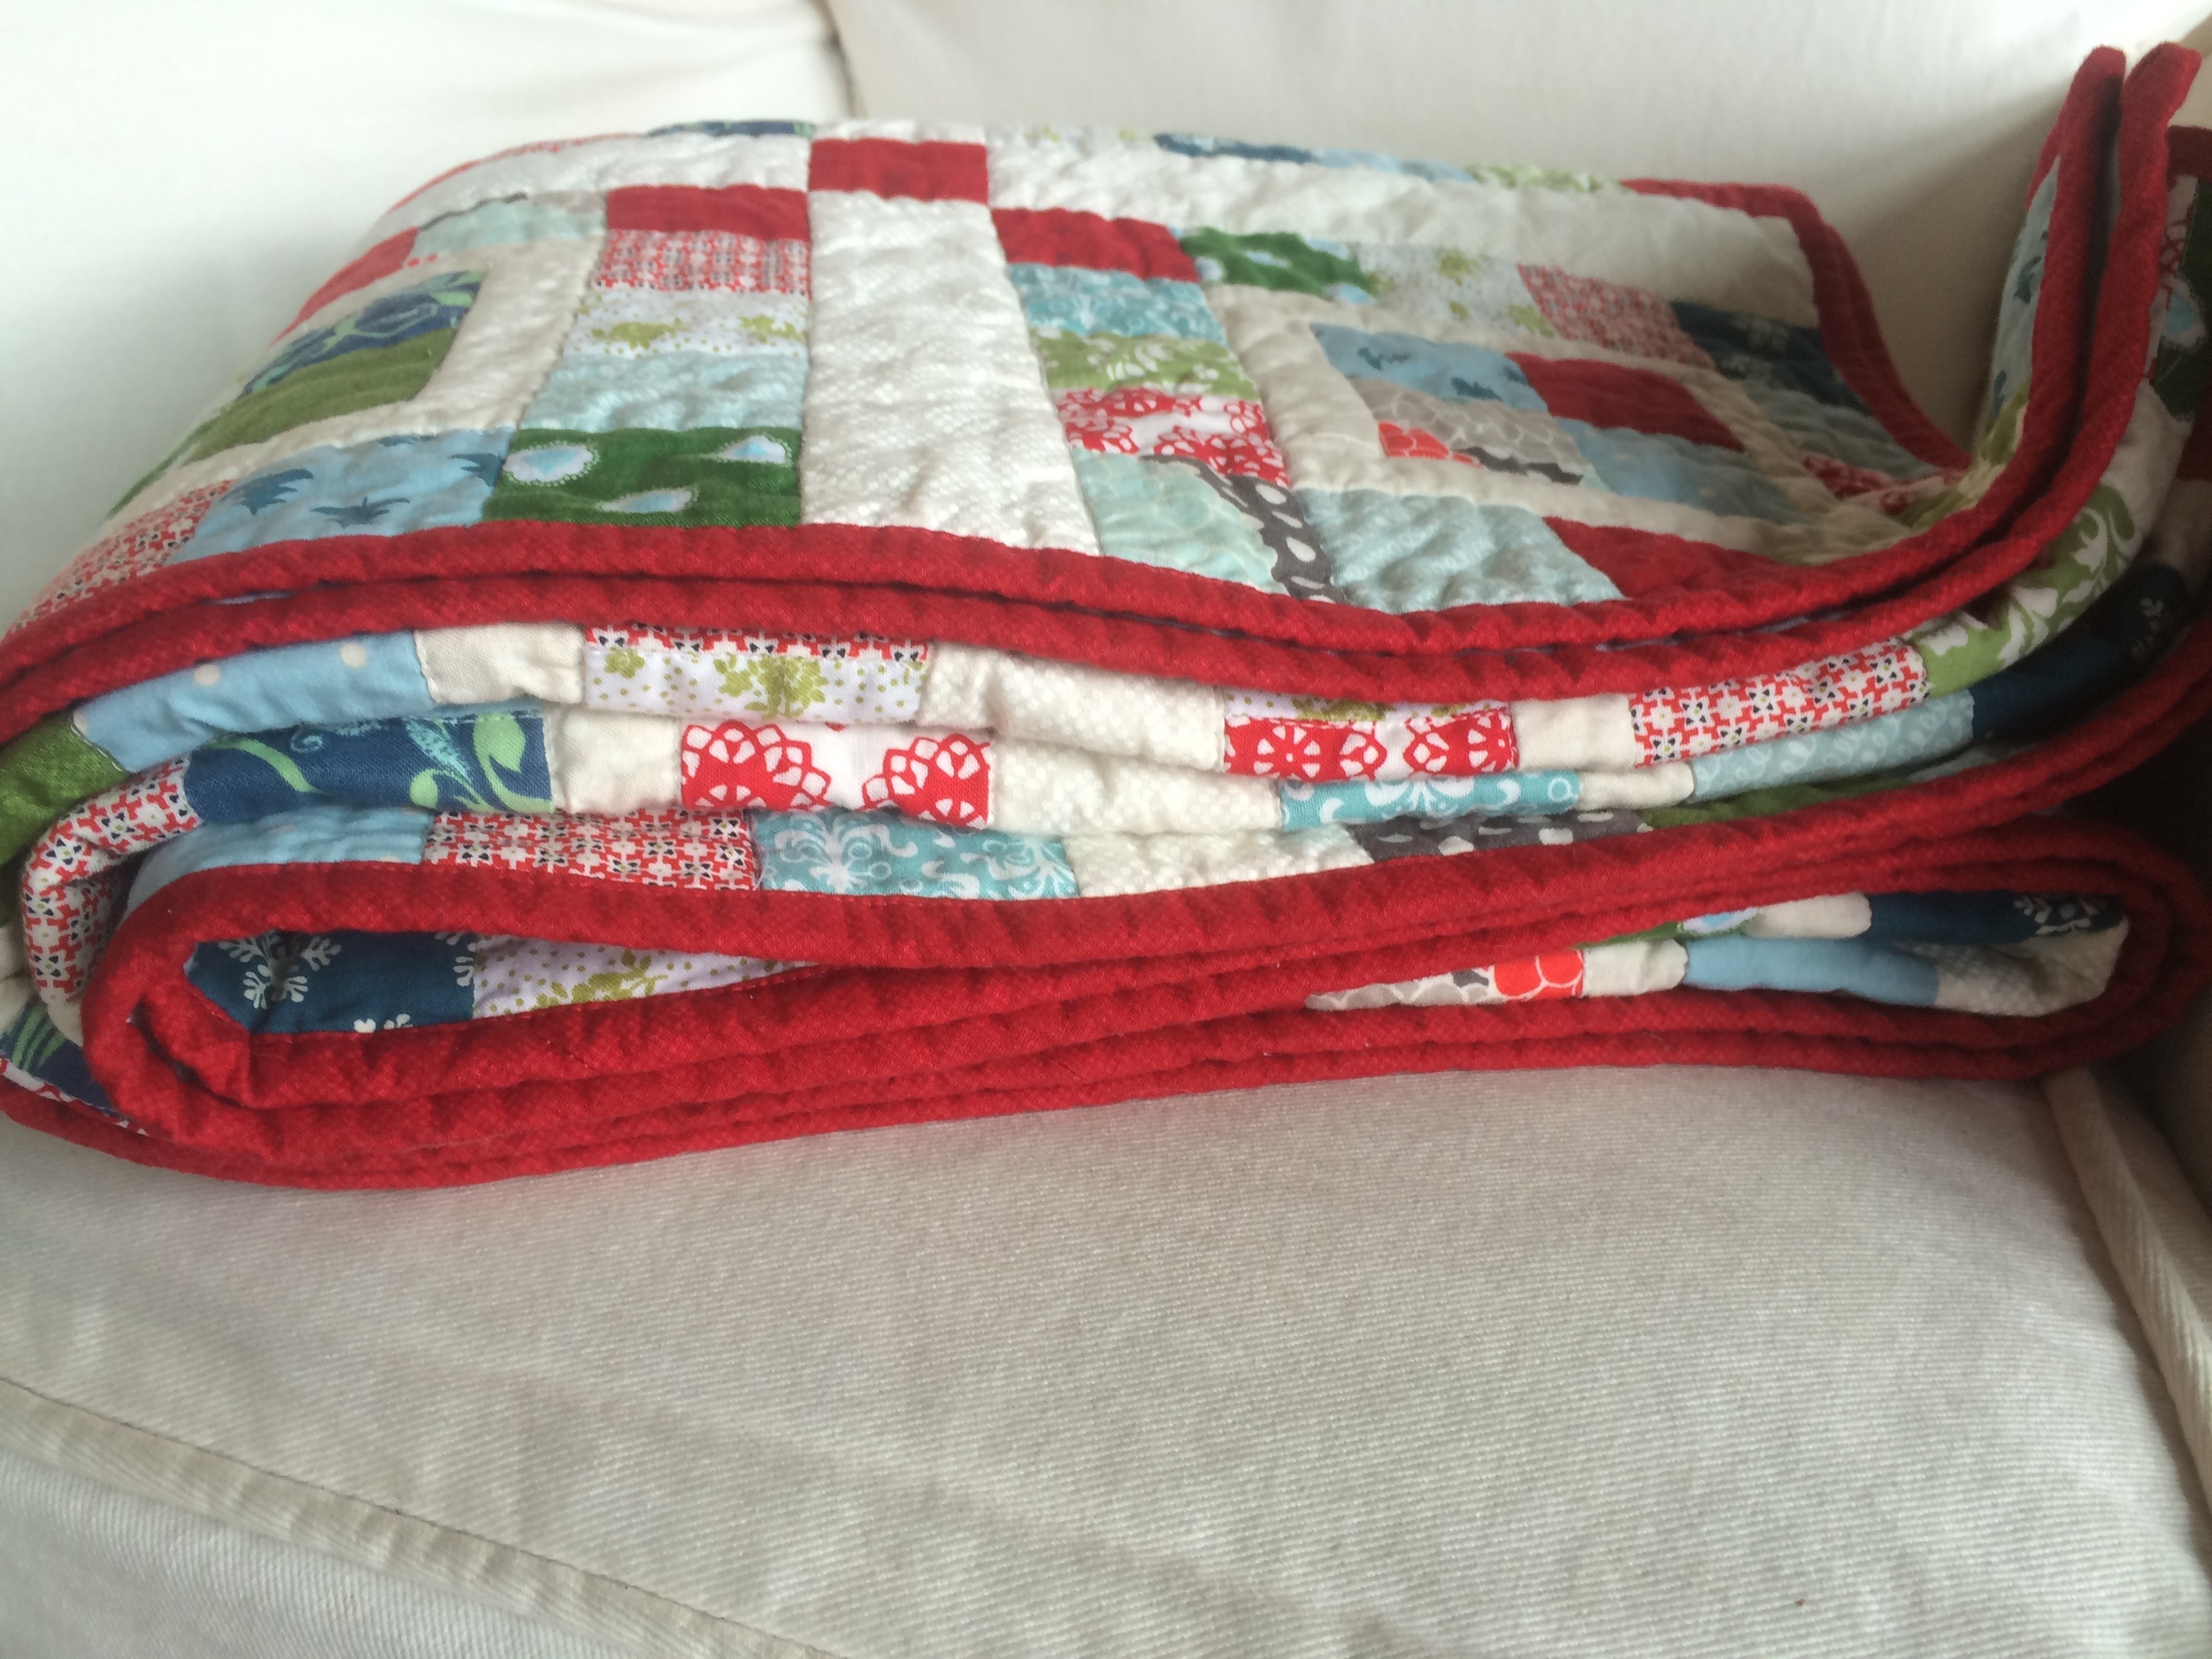
I cut 2 & 1/2" strips of red fabric to bind the edges. I like to fold it in half and press, then sew it to the back, outside edge of the quilted and trimmed quilt. Then mitering the corners as you go, turn it over to the front and stitch close to the folded edge.
Time to trim a ba-jillion little threads. ArGH! Not my favorite part. -___-
I actually had so much fun, and feel a bit re-invigorated for more quilting endeavors. Maybe I'll make a gallery of my mom's earlier mentioned quilts to share with you for inspiration.
where is my homegirl quilt now?
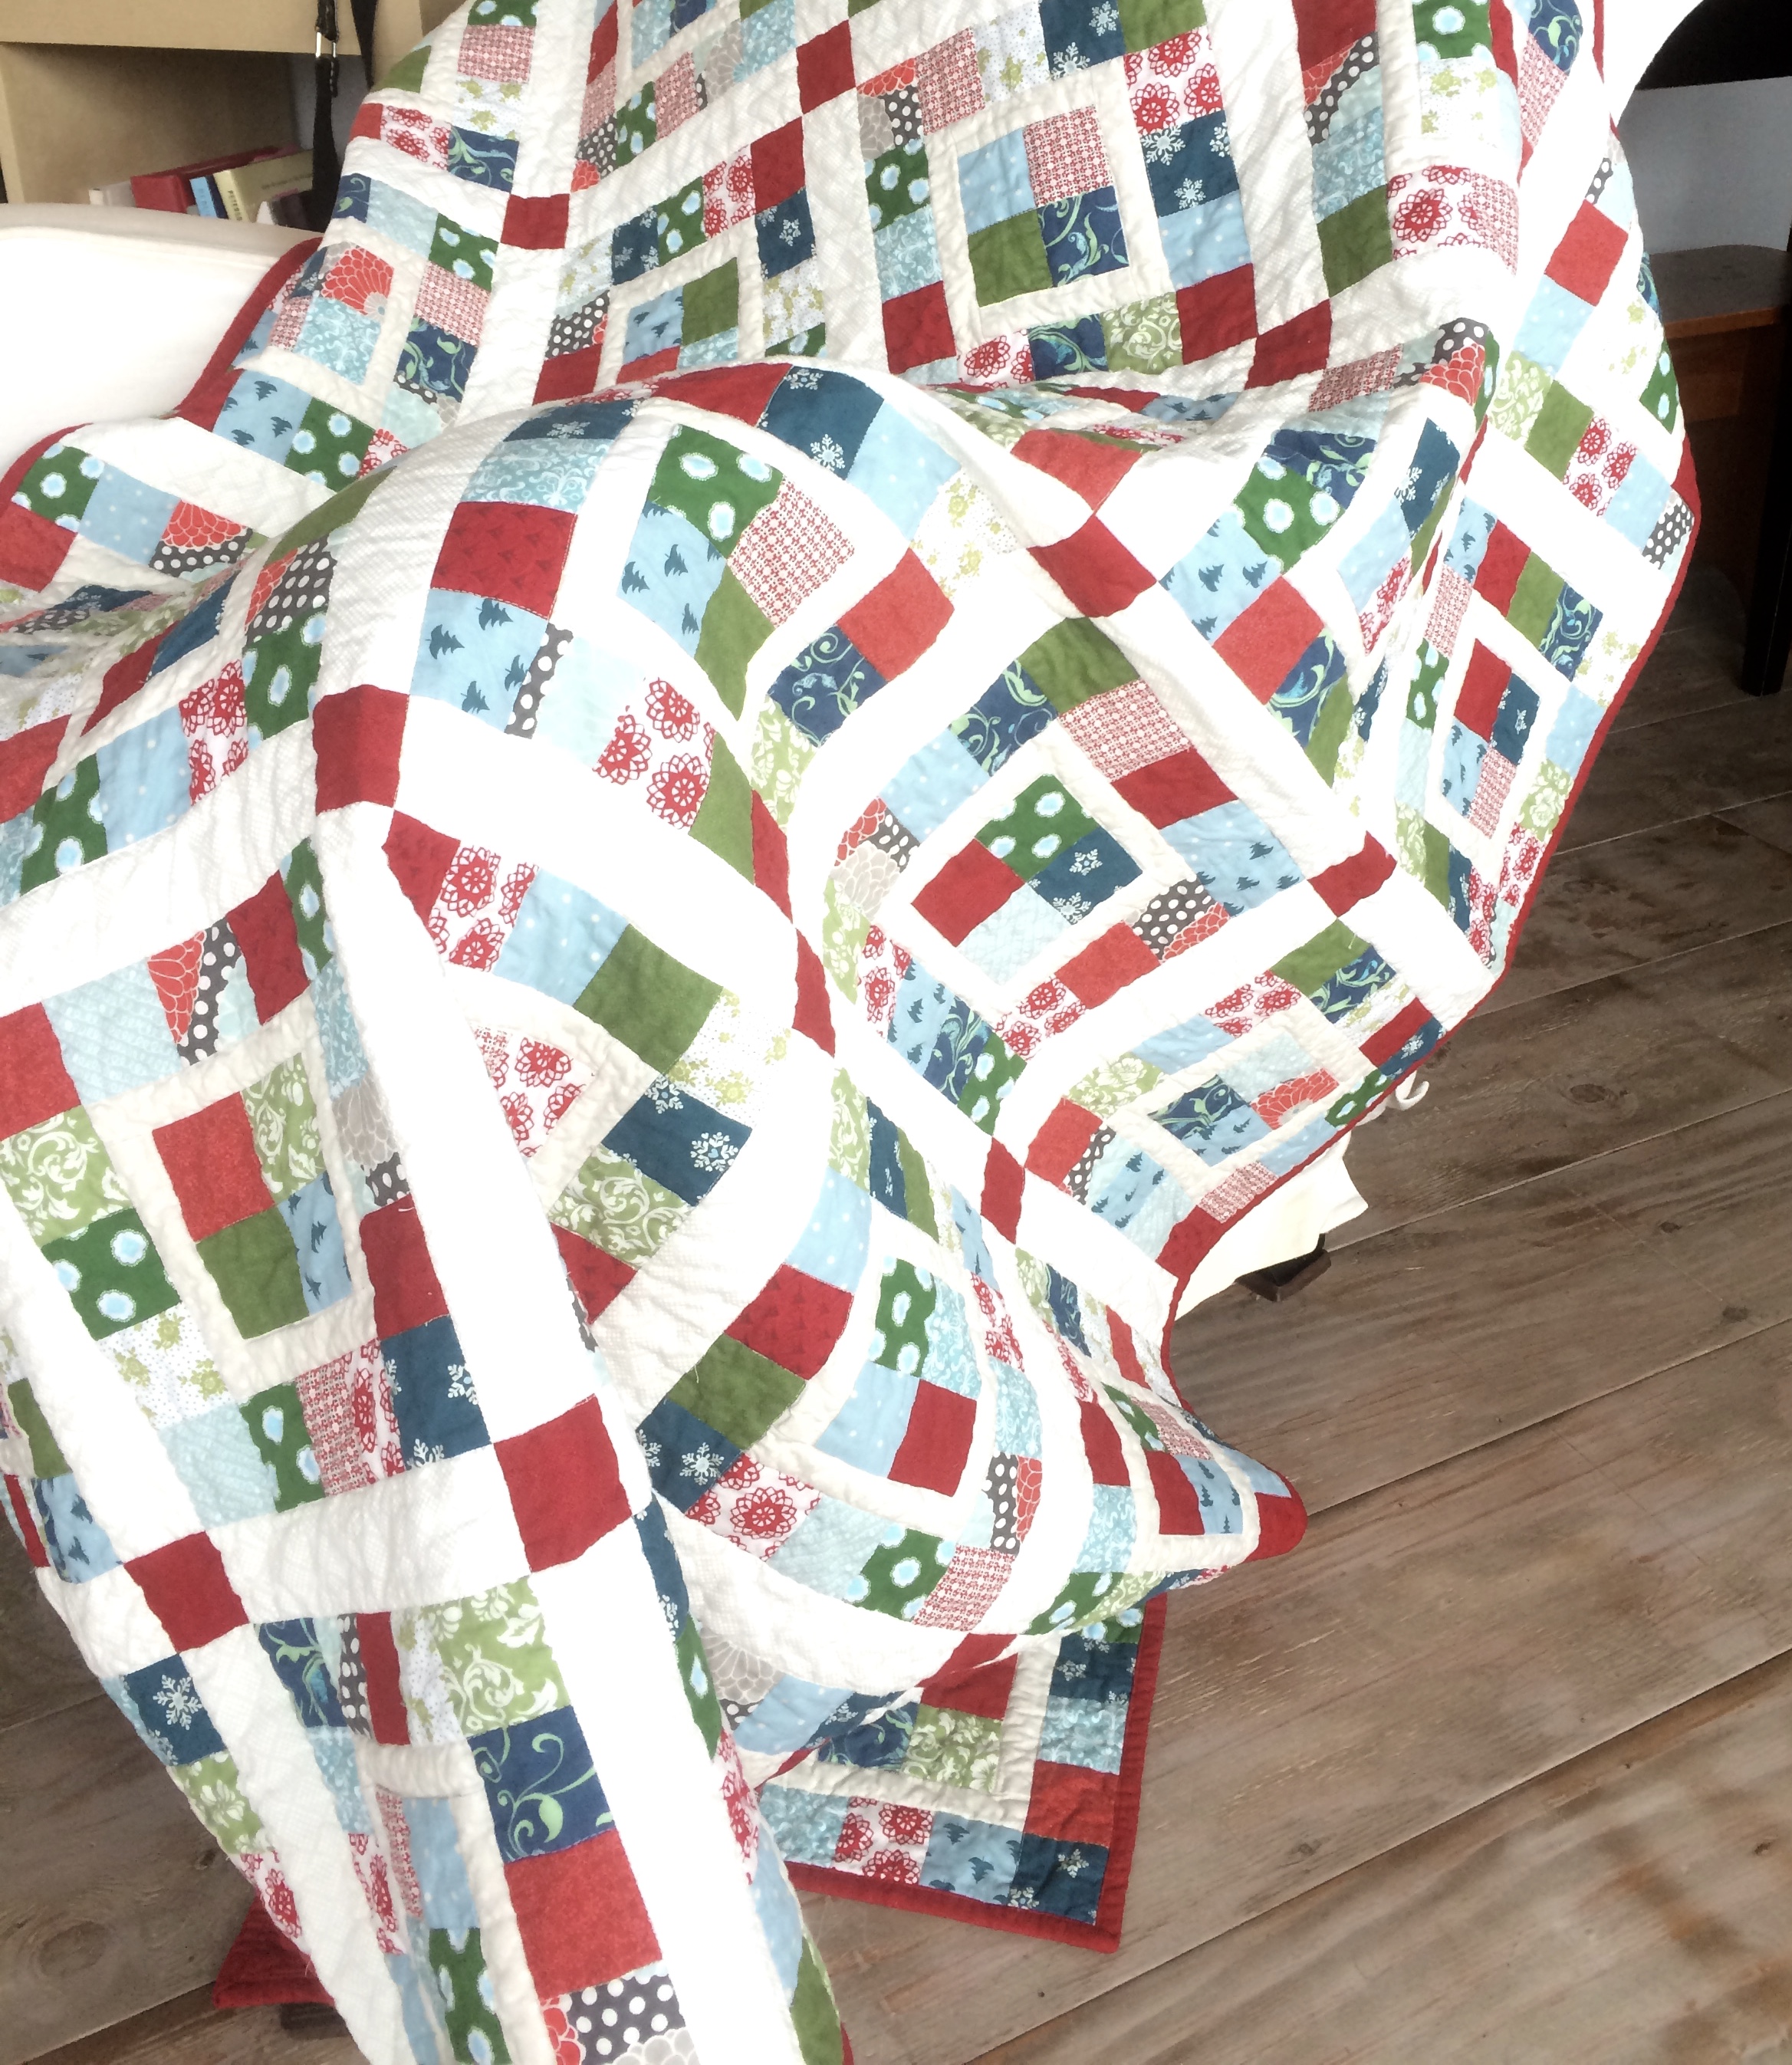
My new scrappy winter quilt finds itself happily splayed across the back of a sofa, demurely draped on the arm of a favorite white chair, or covering a small round table presenting tea and freshly baked muffins. Of course a favorite spot you'll find it is spreading its warmth across my lap as I relax with a book by the fire or watching Downton Abbey.
How do you like to use quilts? (besides on the bed) ^___^