A Pizza Story with a Happily Ever after, Gluten Free Ending!
For those of us who have to stop eating gluten, there are some sad moments. Yours may be when you face the fact that you cannot eat crusty french bread, (at least not good crusty french bread). For some it’s the loss of bagels. Or cinnamon rolls. For me, the loss of pizza, GOOD pizza, has almost brought a tear. I can recreate gluten free versions of many gluten-ful things with general satisfaction, but GF pizza is another story.
A very sad story. Hope never fails to fill me as I smell it baking but those hopes are usually dashed and I end up with either tough or soggy crusts.
Until today.
I’ve worked on it a couple times in the last year and tonight I think I found my pizza joy again.

I want to first credit the source I found inspiration from. > Dana from Minimalist Baker has a Gluten Free Pizza Crust recipe that I’ve worked off of several times and it’s really good. I’ve tweaked only a couple things for my personal taste and added several important techniques that I think take gluten free pizza to Happily-Ever-After-Bliss.
> http://minimalistbaker.com/the-best-gluten-free-pizza-crust-sauce/
A couple Pizza Pointers to get us off to a good start:
1. *A pizza stone is essential. ($16-$50 on Amazon) This is seriously a game changer people! If you make pizza even once in a while, it’s a worth while investment. If you buy take-and-bake pizzas from pizza shops or even frozen pizzas, they WILL BE better if baked on a stone! Promise!
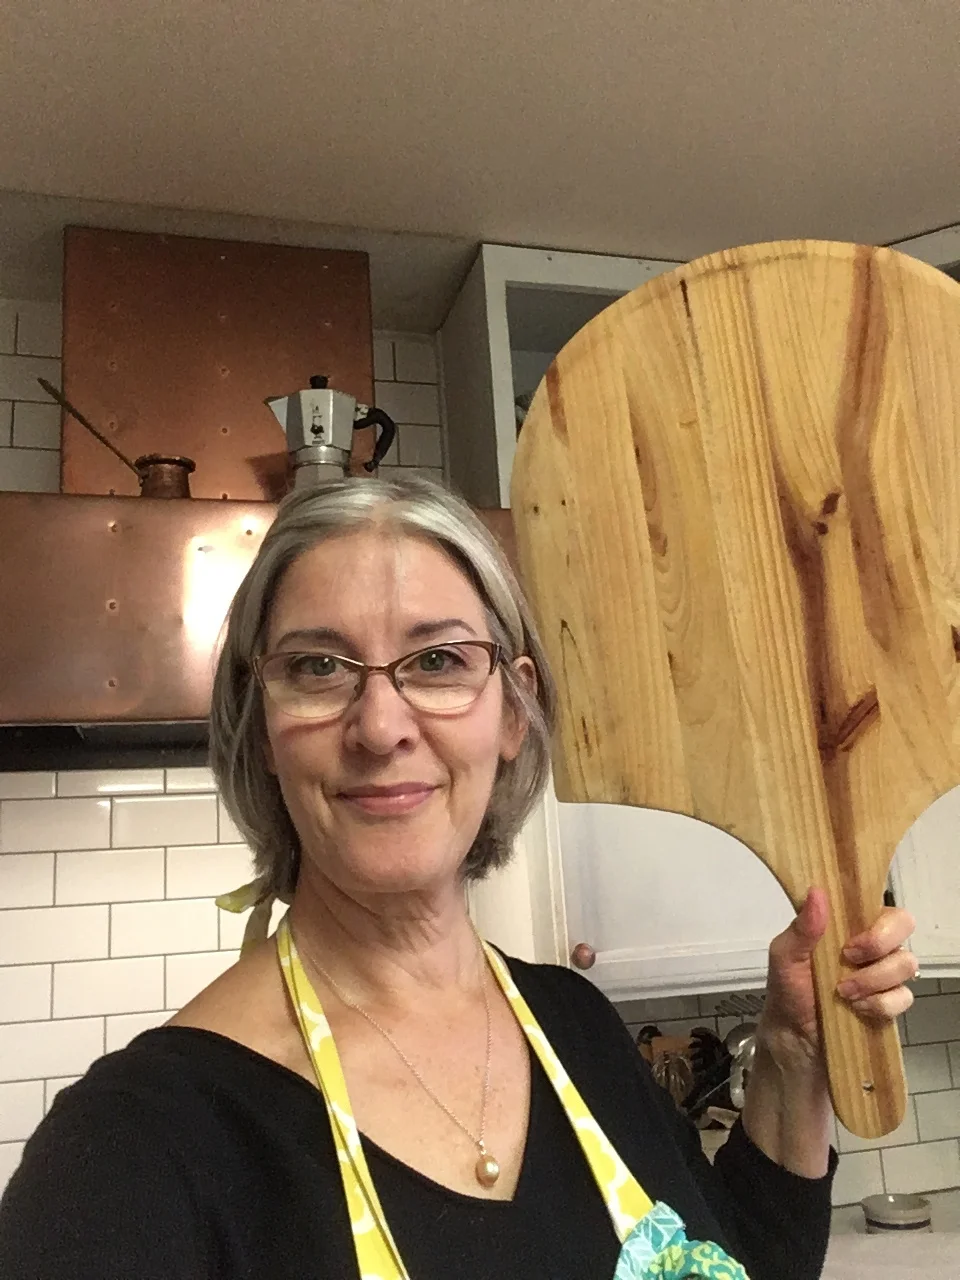
2. * A pizza peel is very helpful. ($12-$30 on Amazon) If you don’t want to spring for this too, you can get away with using the smooth, ridge-less backside of a large cookie sheet.
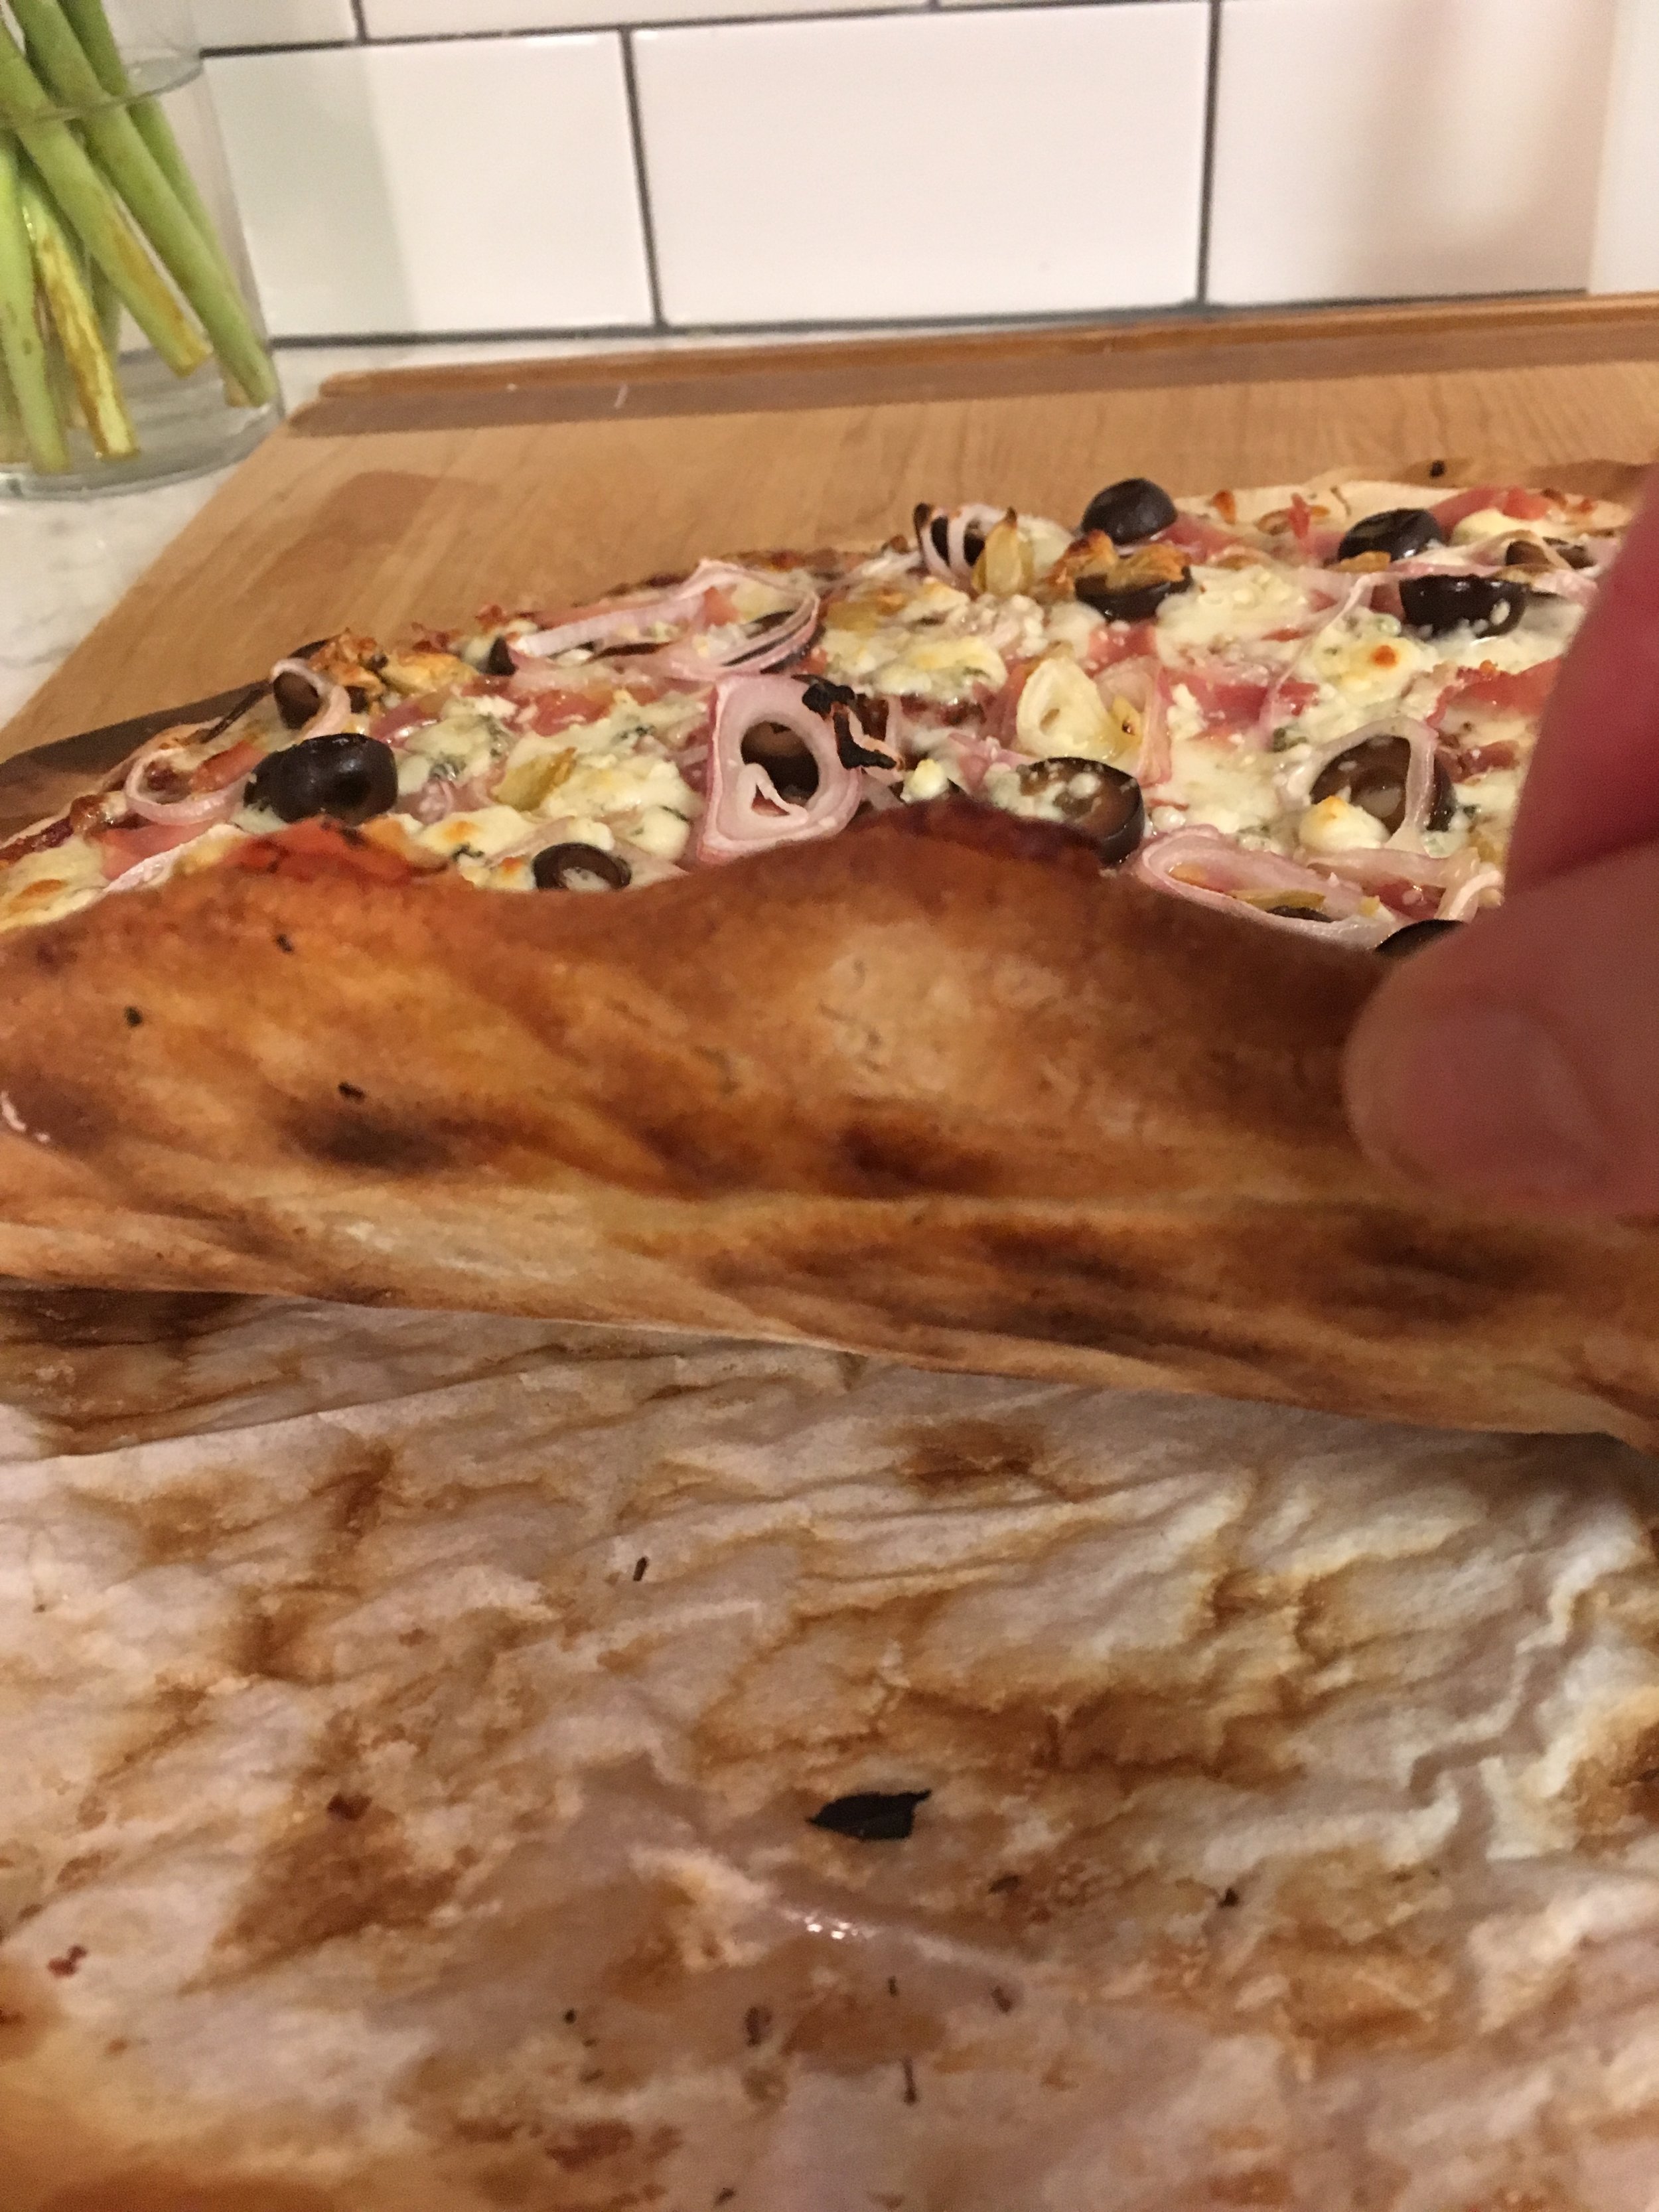
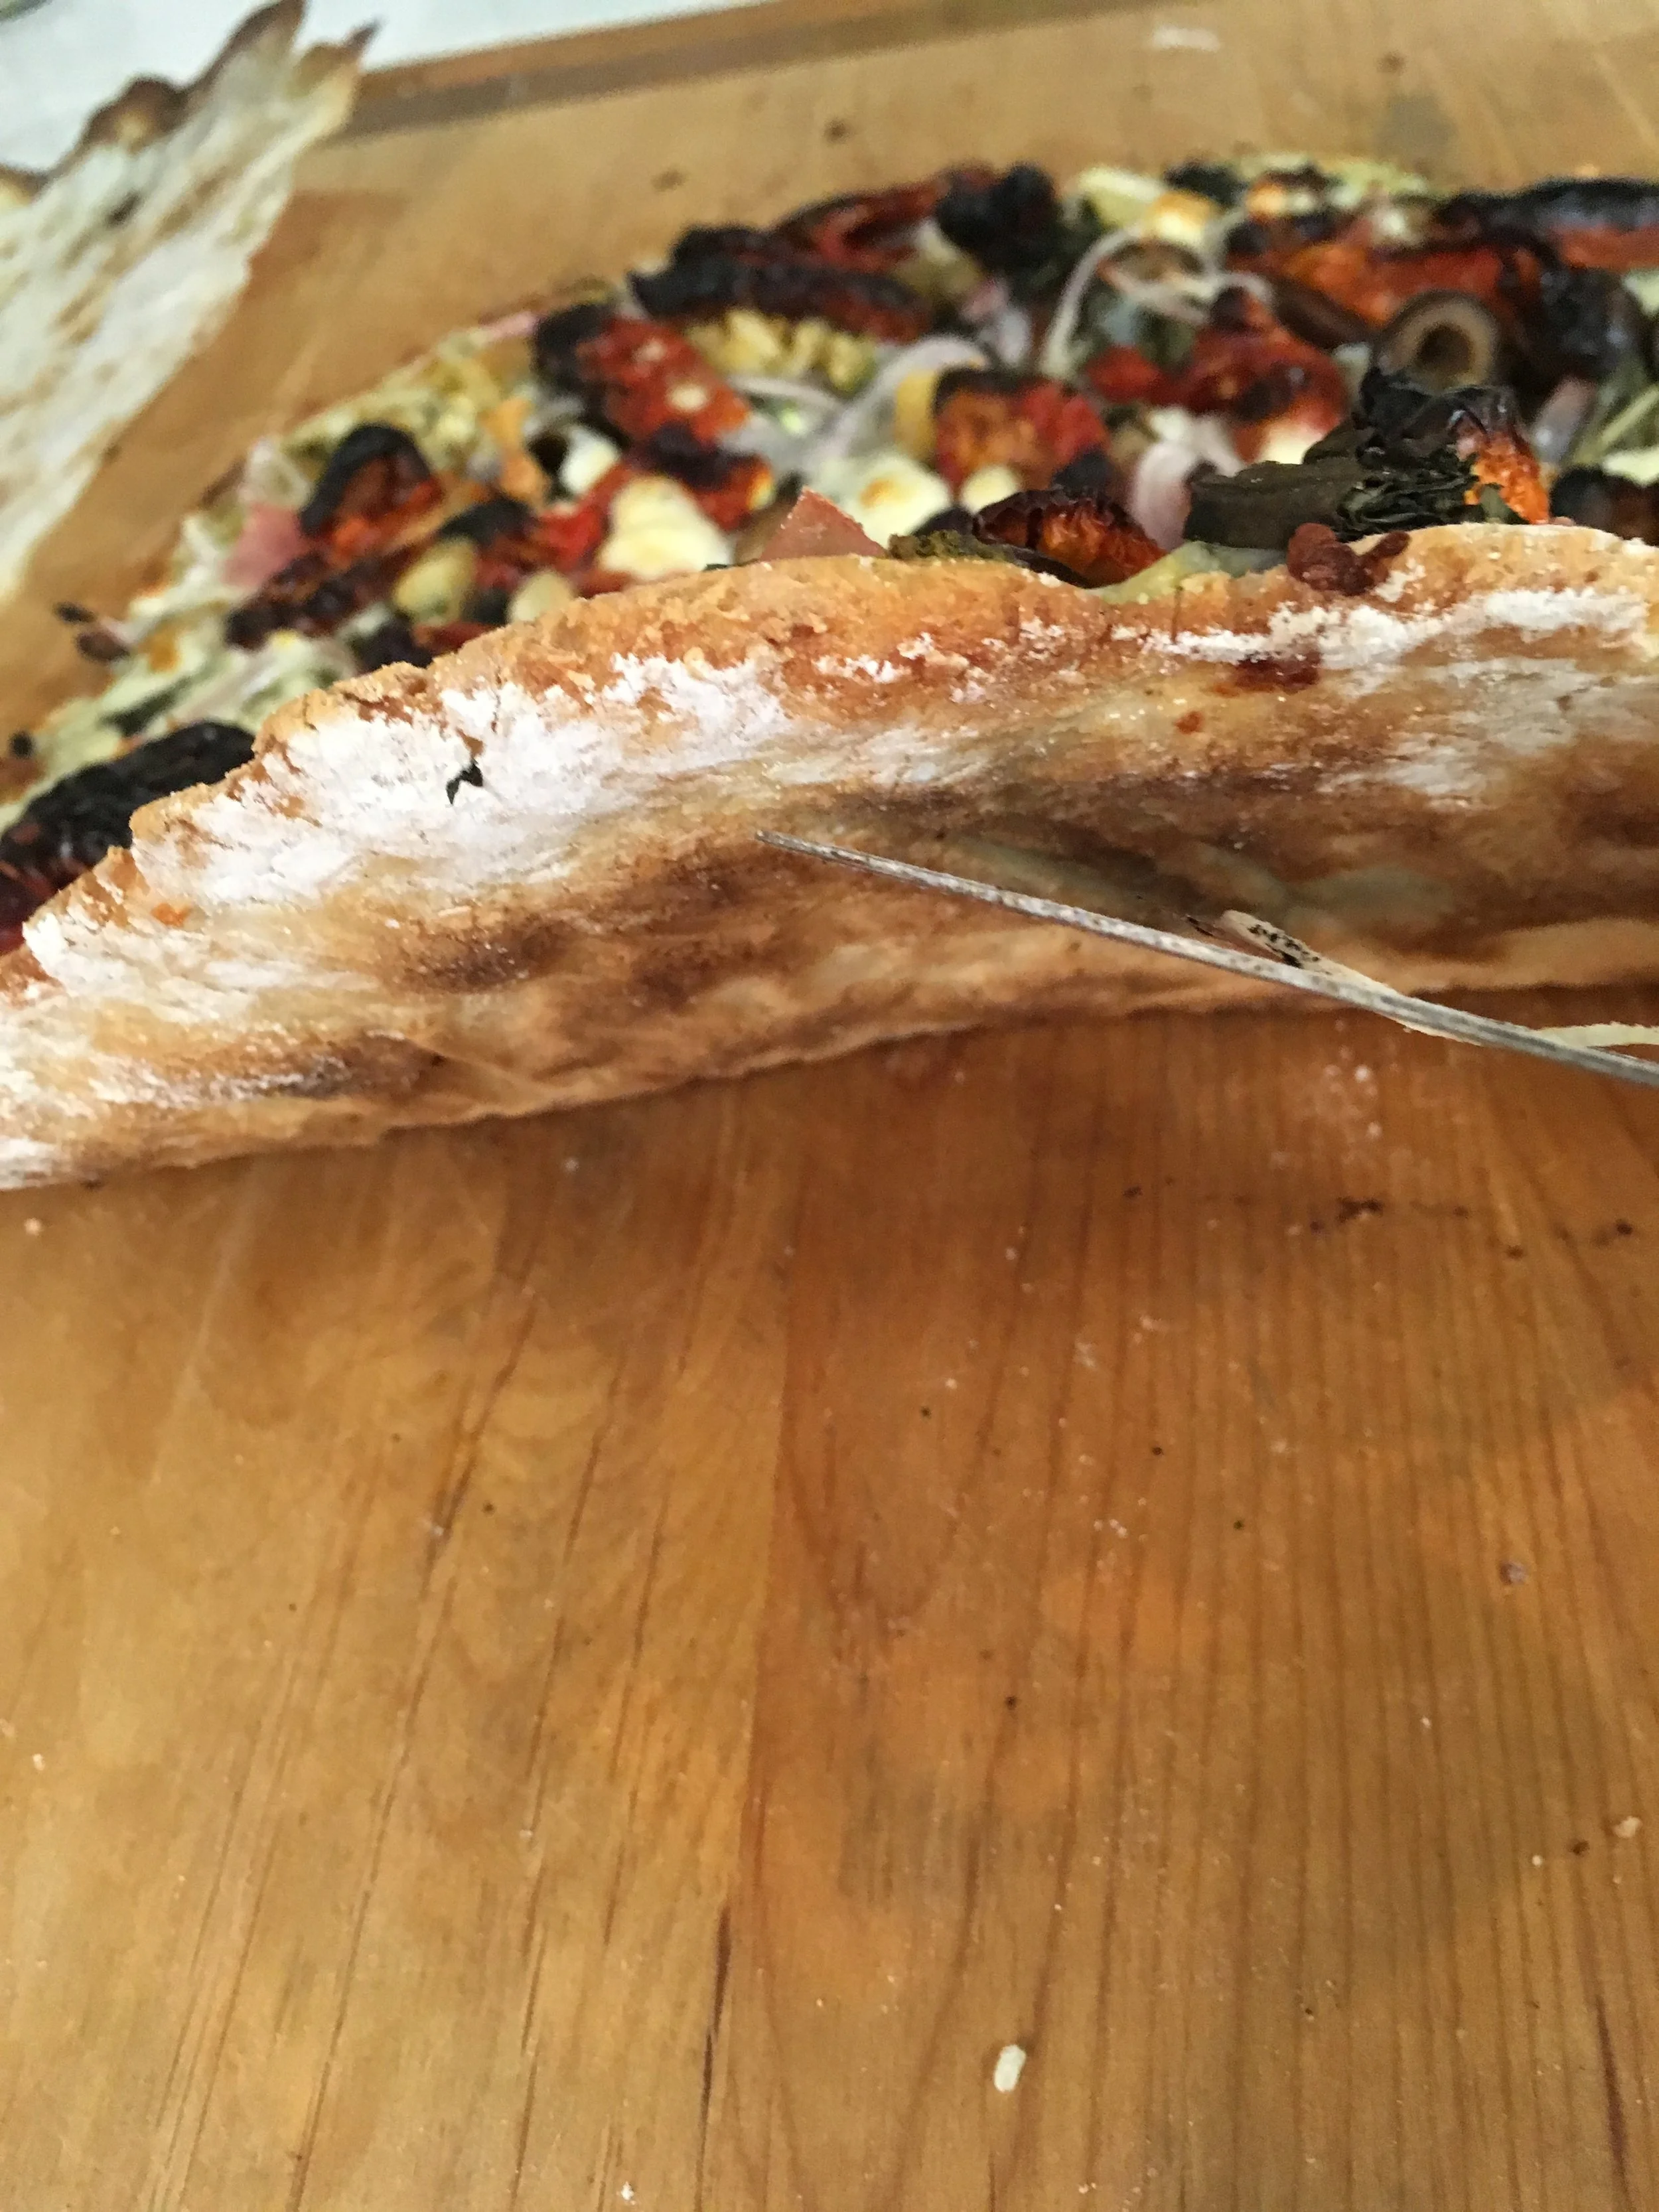
3. This pizza is a classic, Italian style, thin crust, crispy pizza. If you want a thick, near-loaf-of-bread kind of pizza, then this one will disappoint you. Just saying it now. Thin, crisp, like it’s out of a brick oven pizza baby! That’s what this is.
Ready? Let’s make a little gluten-free pizza,
love story magic!
*link to printable version at the bottom of this post
1. Gather your ingredients for the crust:
- 3 + Cups of a good gluten free flour blend, - 1/2 tsp. xanthan gum, - 1 tsp. salt, - 1/2 tsp. baking powder, - 3 Tbs. sugar, - 1 Tbs. (or 1 packet) dry yeast, - 1+ 1/4 cup warm water, - 1 Tbs. olive oil.
Now there’s SO much room for variation on how yours turns out, based on what gf flour combination you use. > Minimalist Baker’s recipe shares hers. I can’t vouch for it myself because straight out of the shoot I just used my own. The reviews on her blog are really good so it’s certainly worth a try but If you want to do what I did, > >
Make my gluten free general purpose flour blend.
2 parts Sorghum flour.
2 parts Brown Rice flour
1 part Sweet White rice flour, (aka sticky rice flour or “glutinous” rice flour. Don’t panic it’s not gluten- totally different.) I buy mine at the local Asian market, 1 lb. bags for .99c
2 parts Potato starch, (NOT potato flour!)
2 parts Tapioca starch/flour
** mix these really well with a whisk, store in airtight container
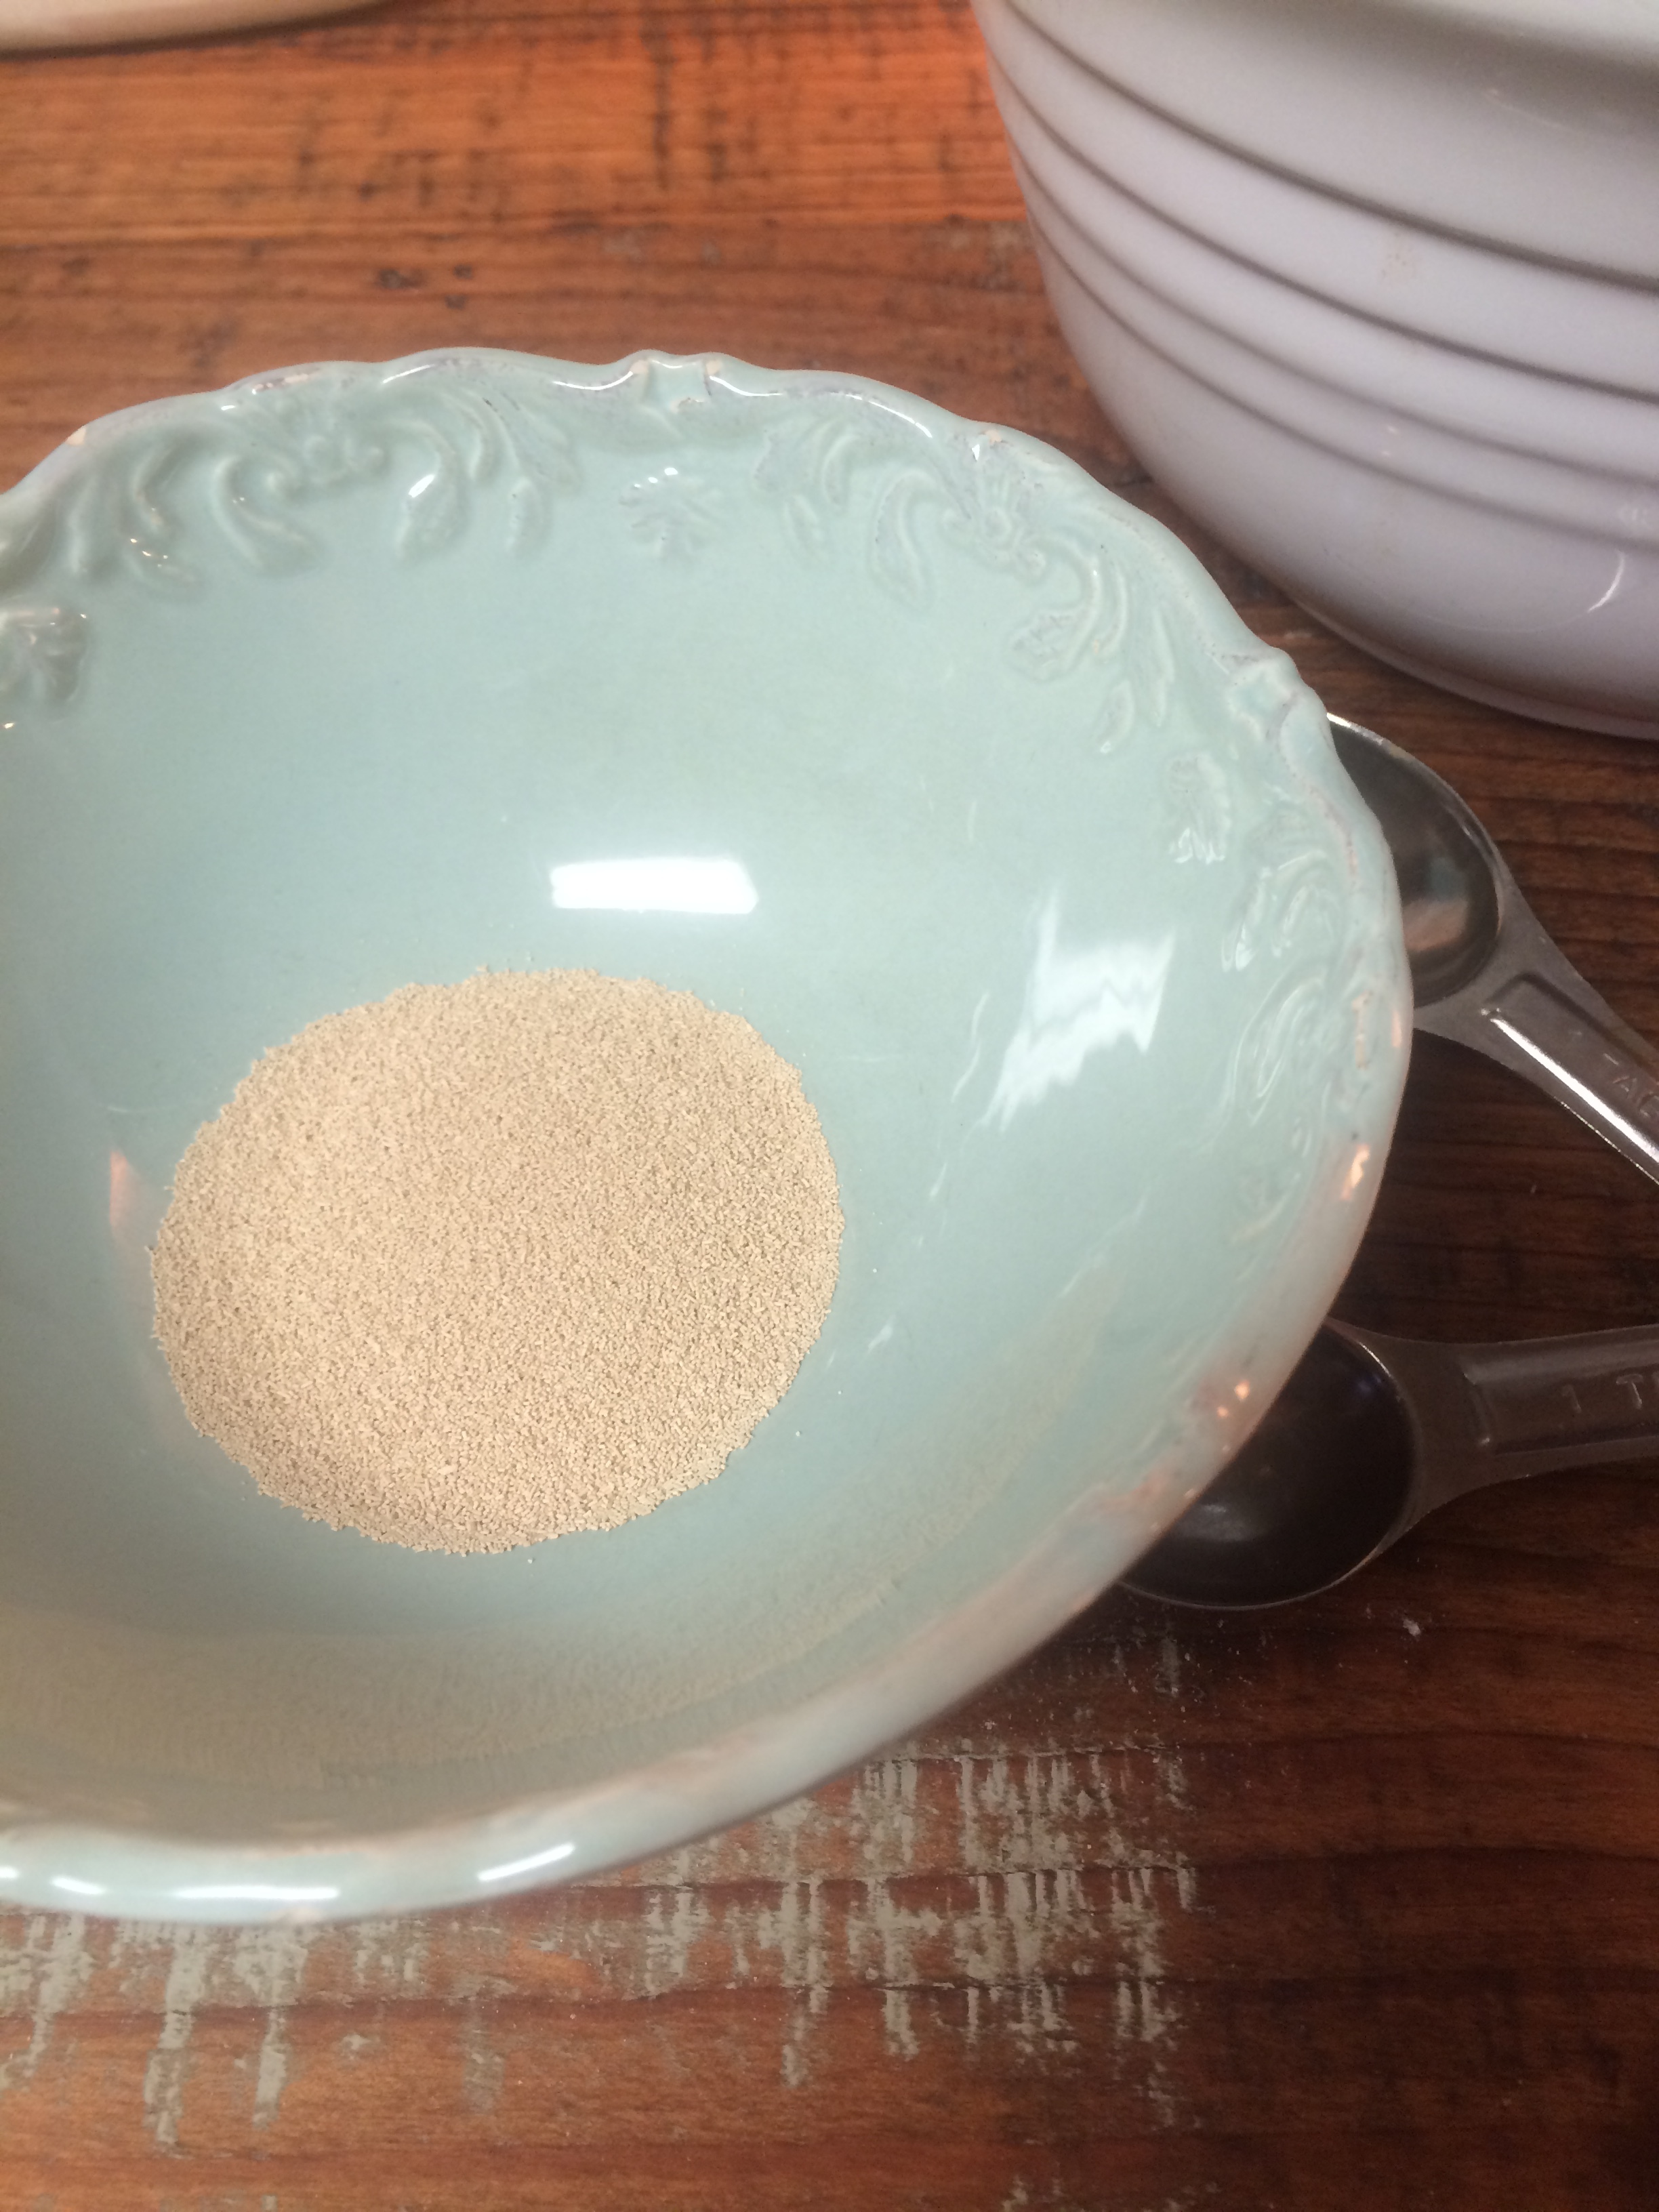
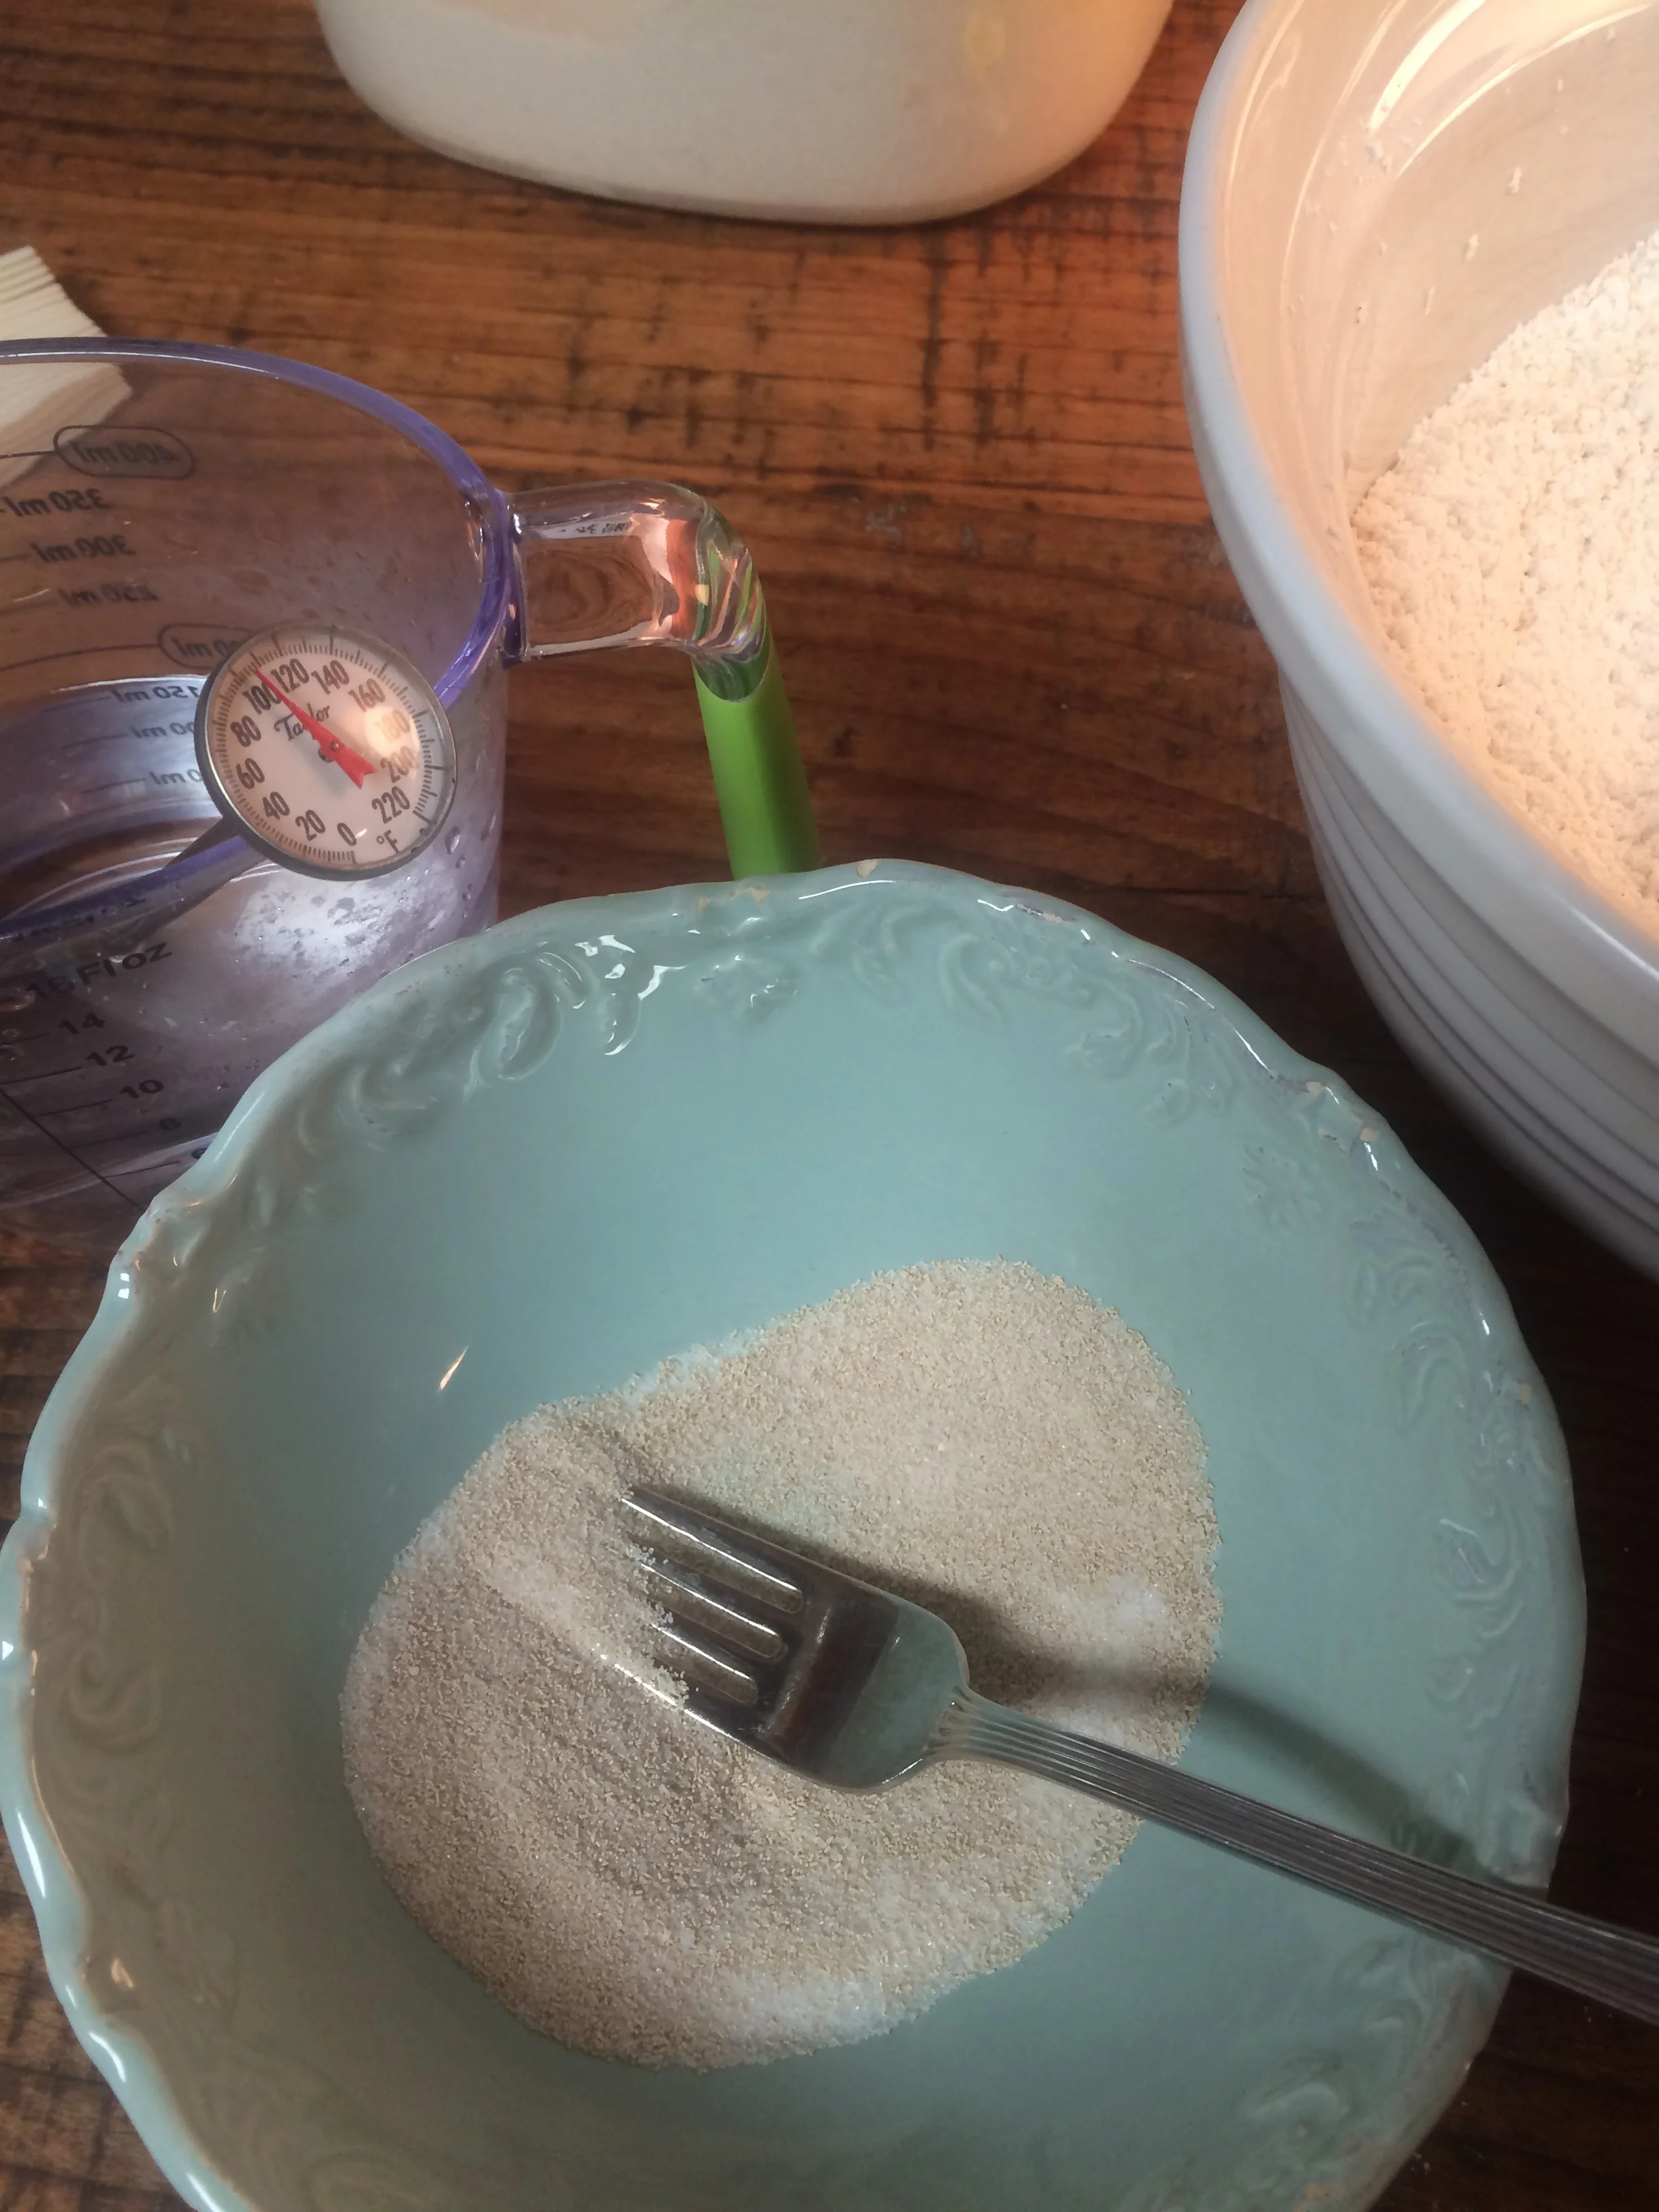
2. In a small bowl, mix yeast with 3/4 cup warm water, (110*), & 1 Tbs. sugar. Stir well until yeast is dissolved, cover and set aside for about 5 minutes.
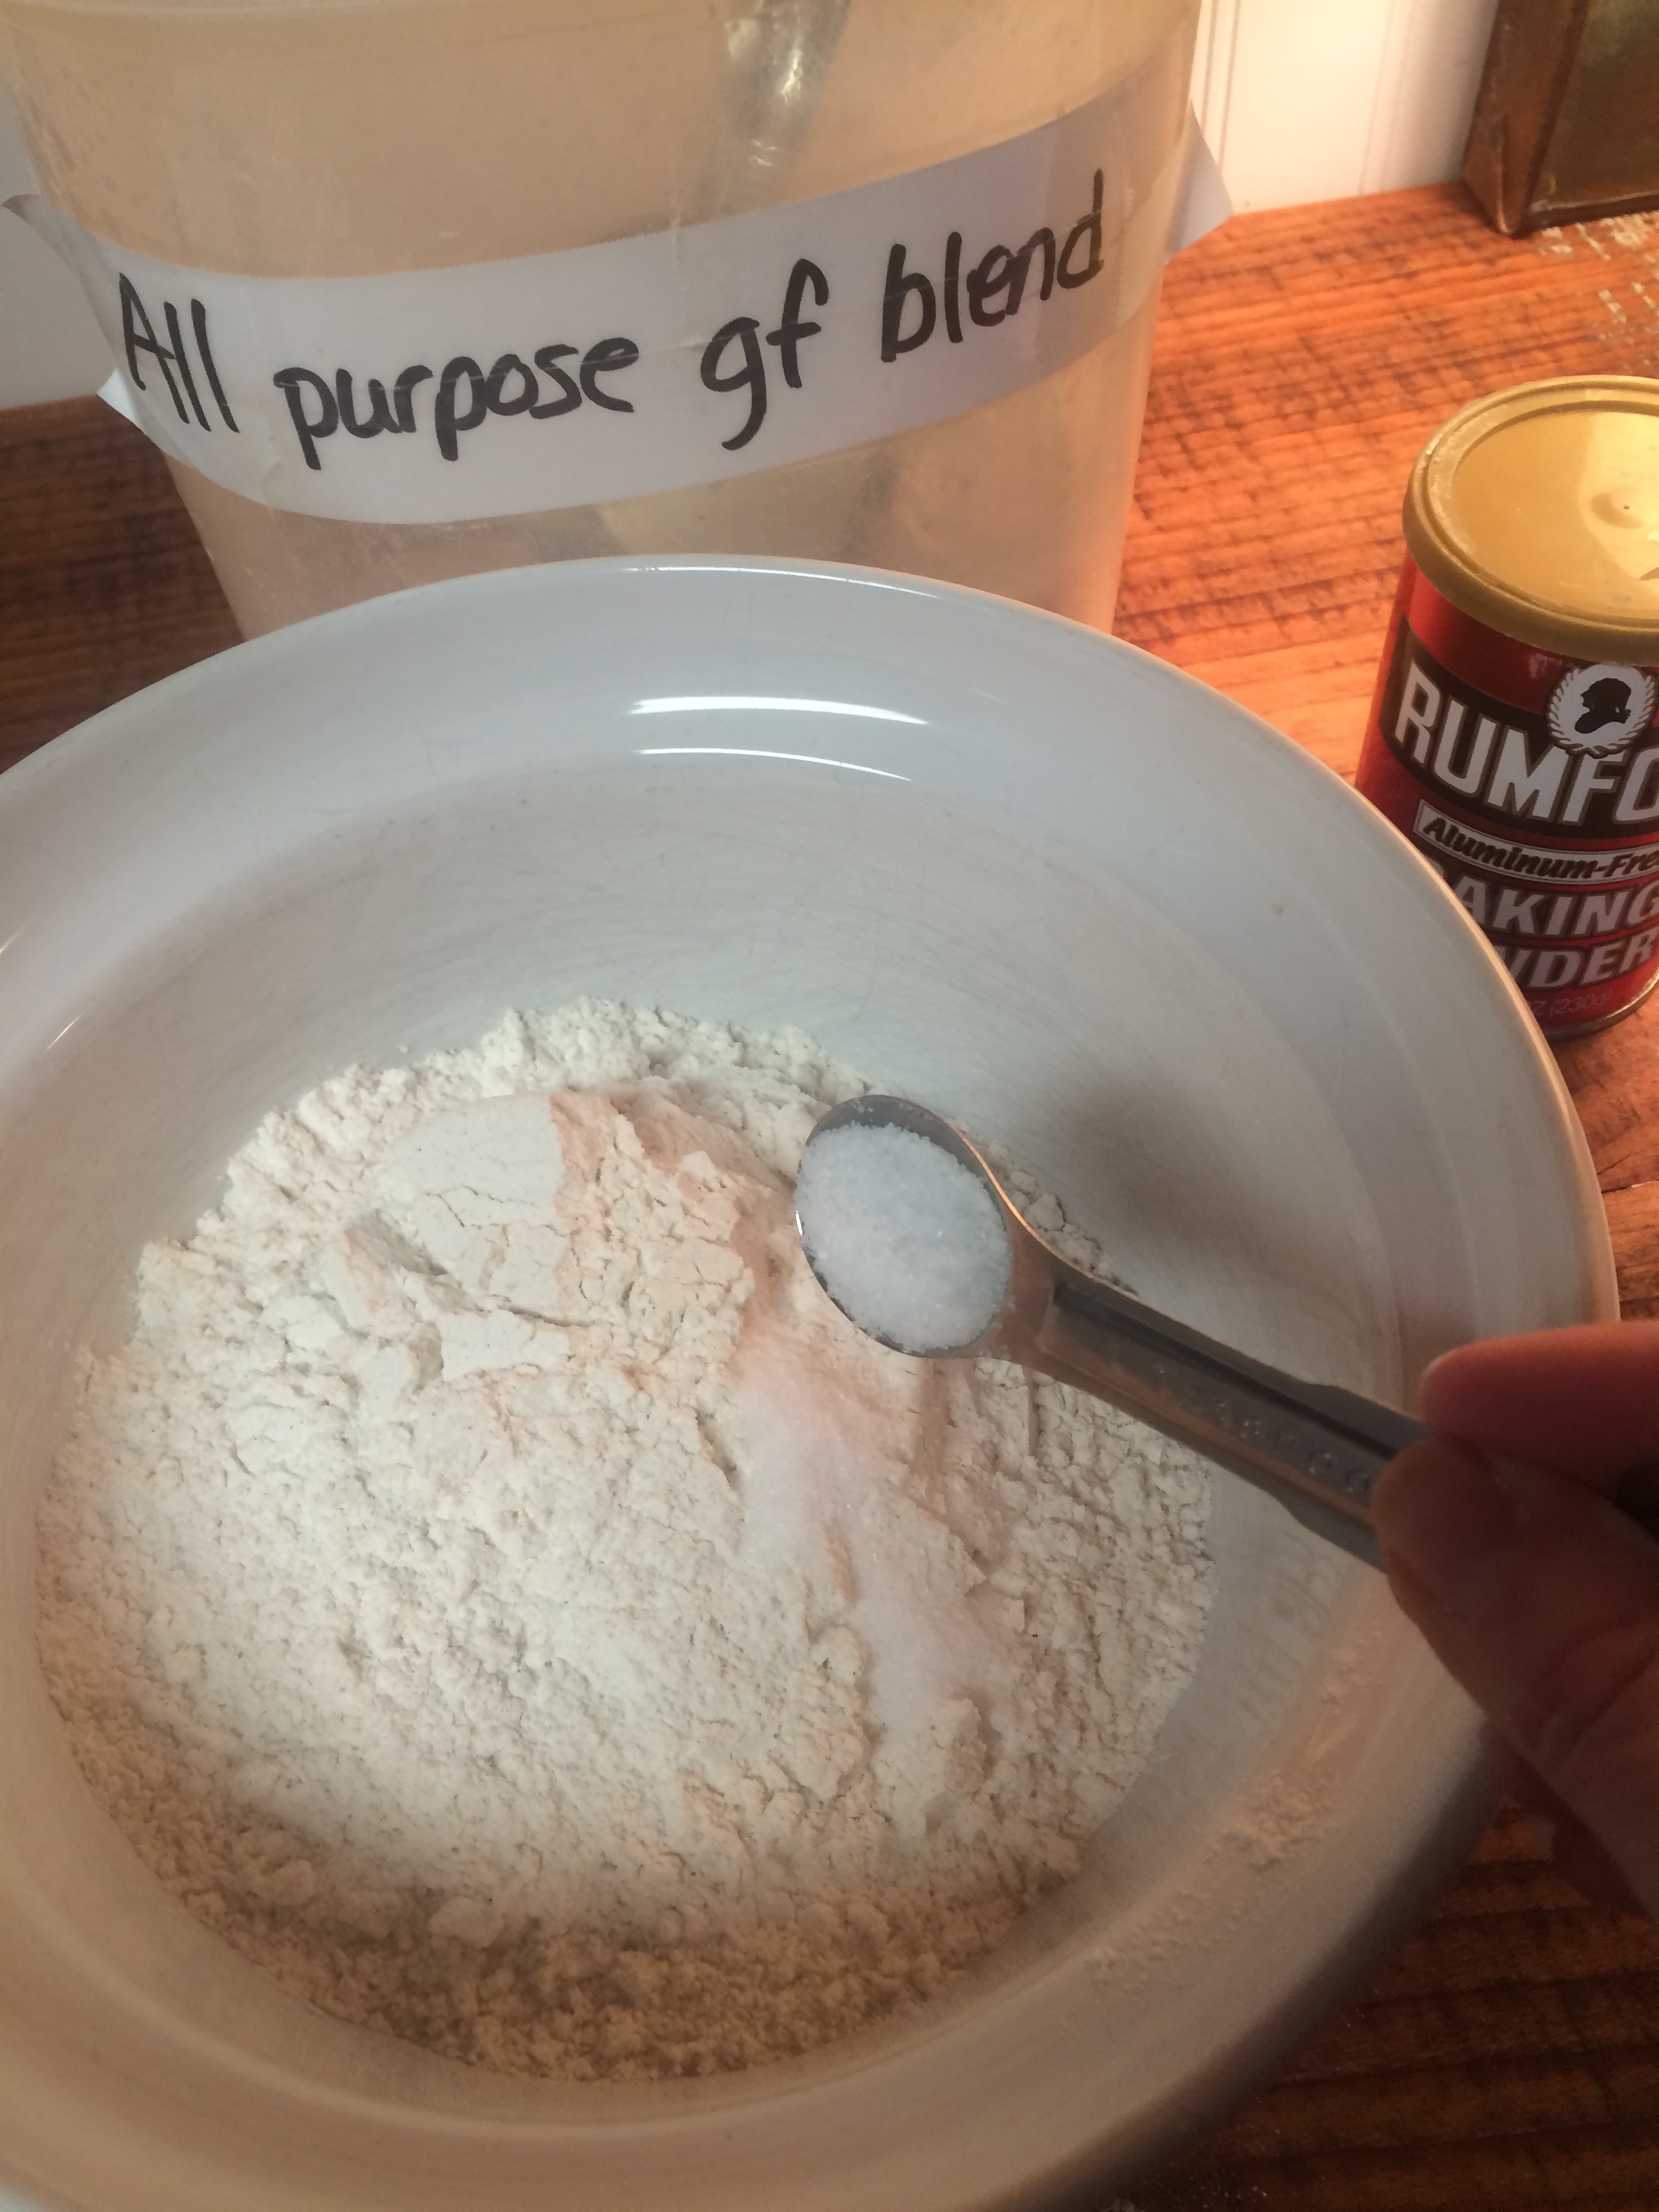
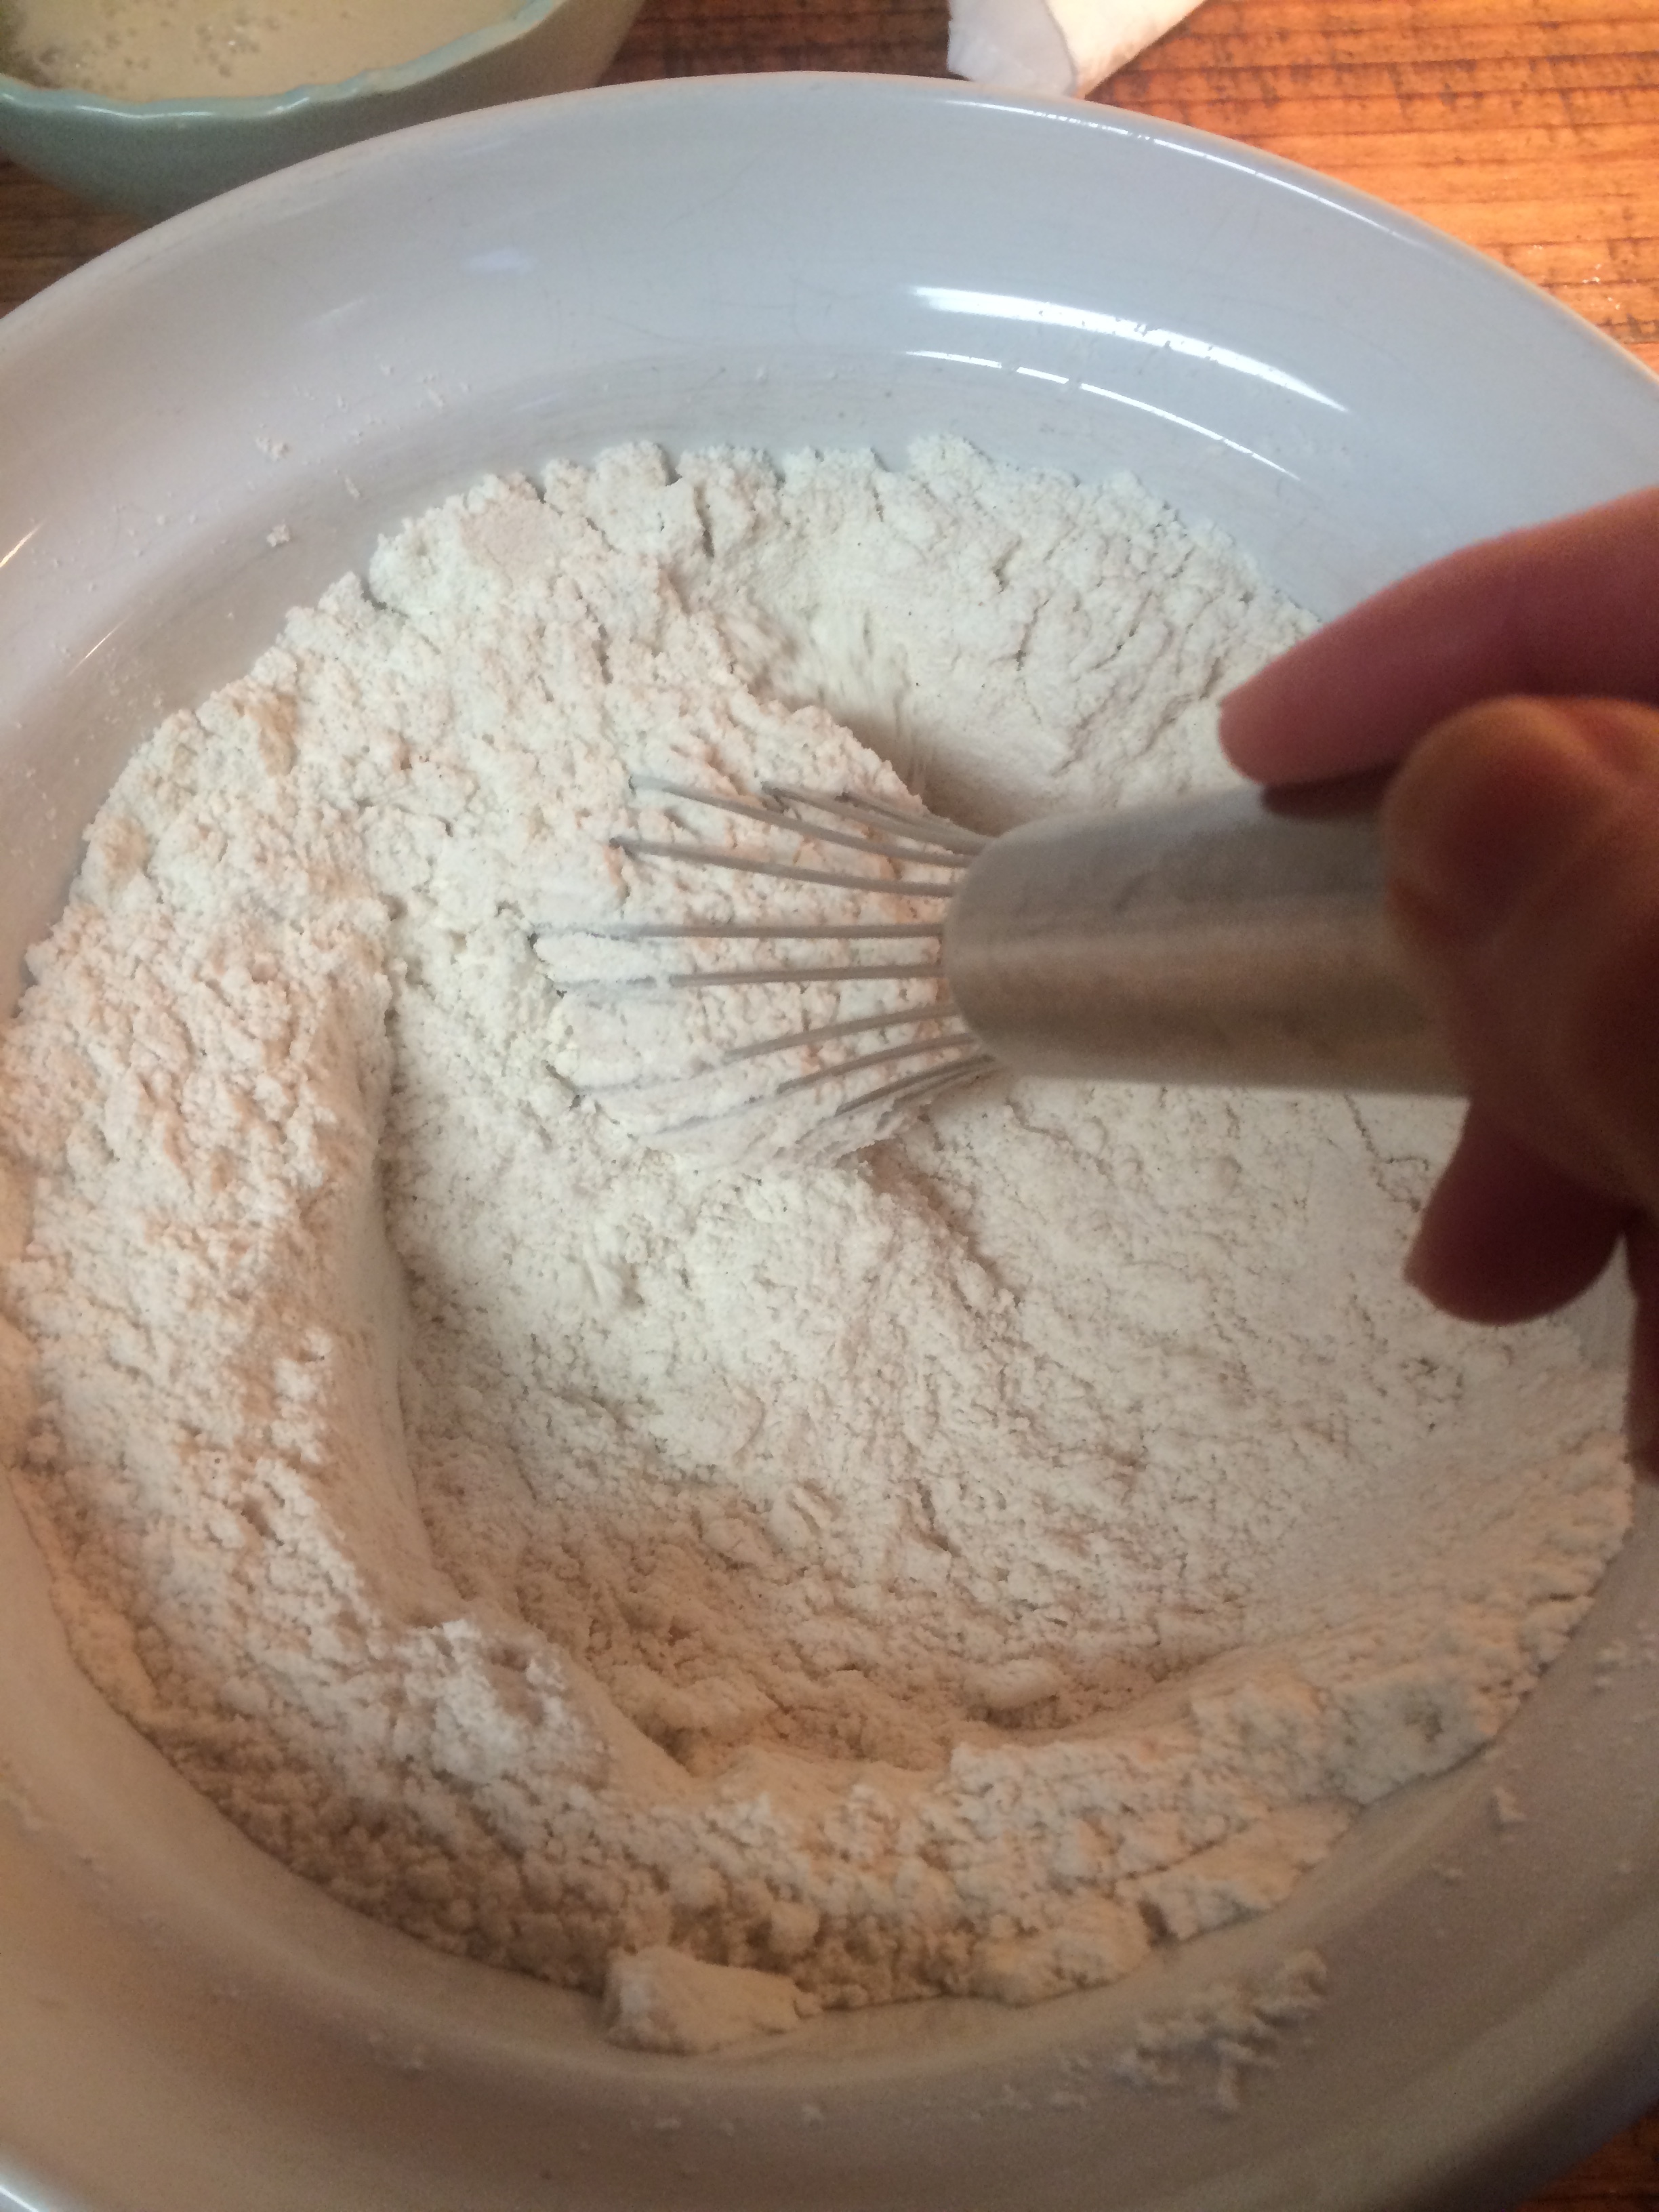
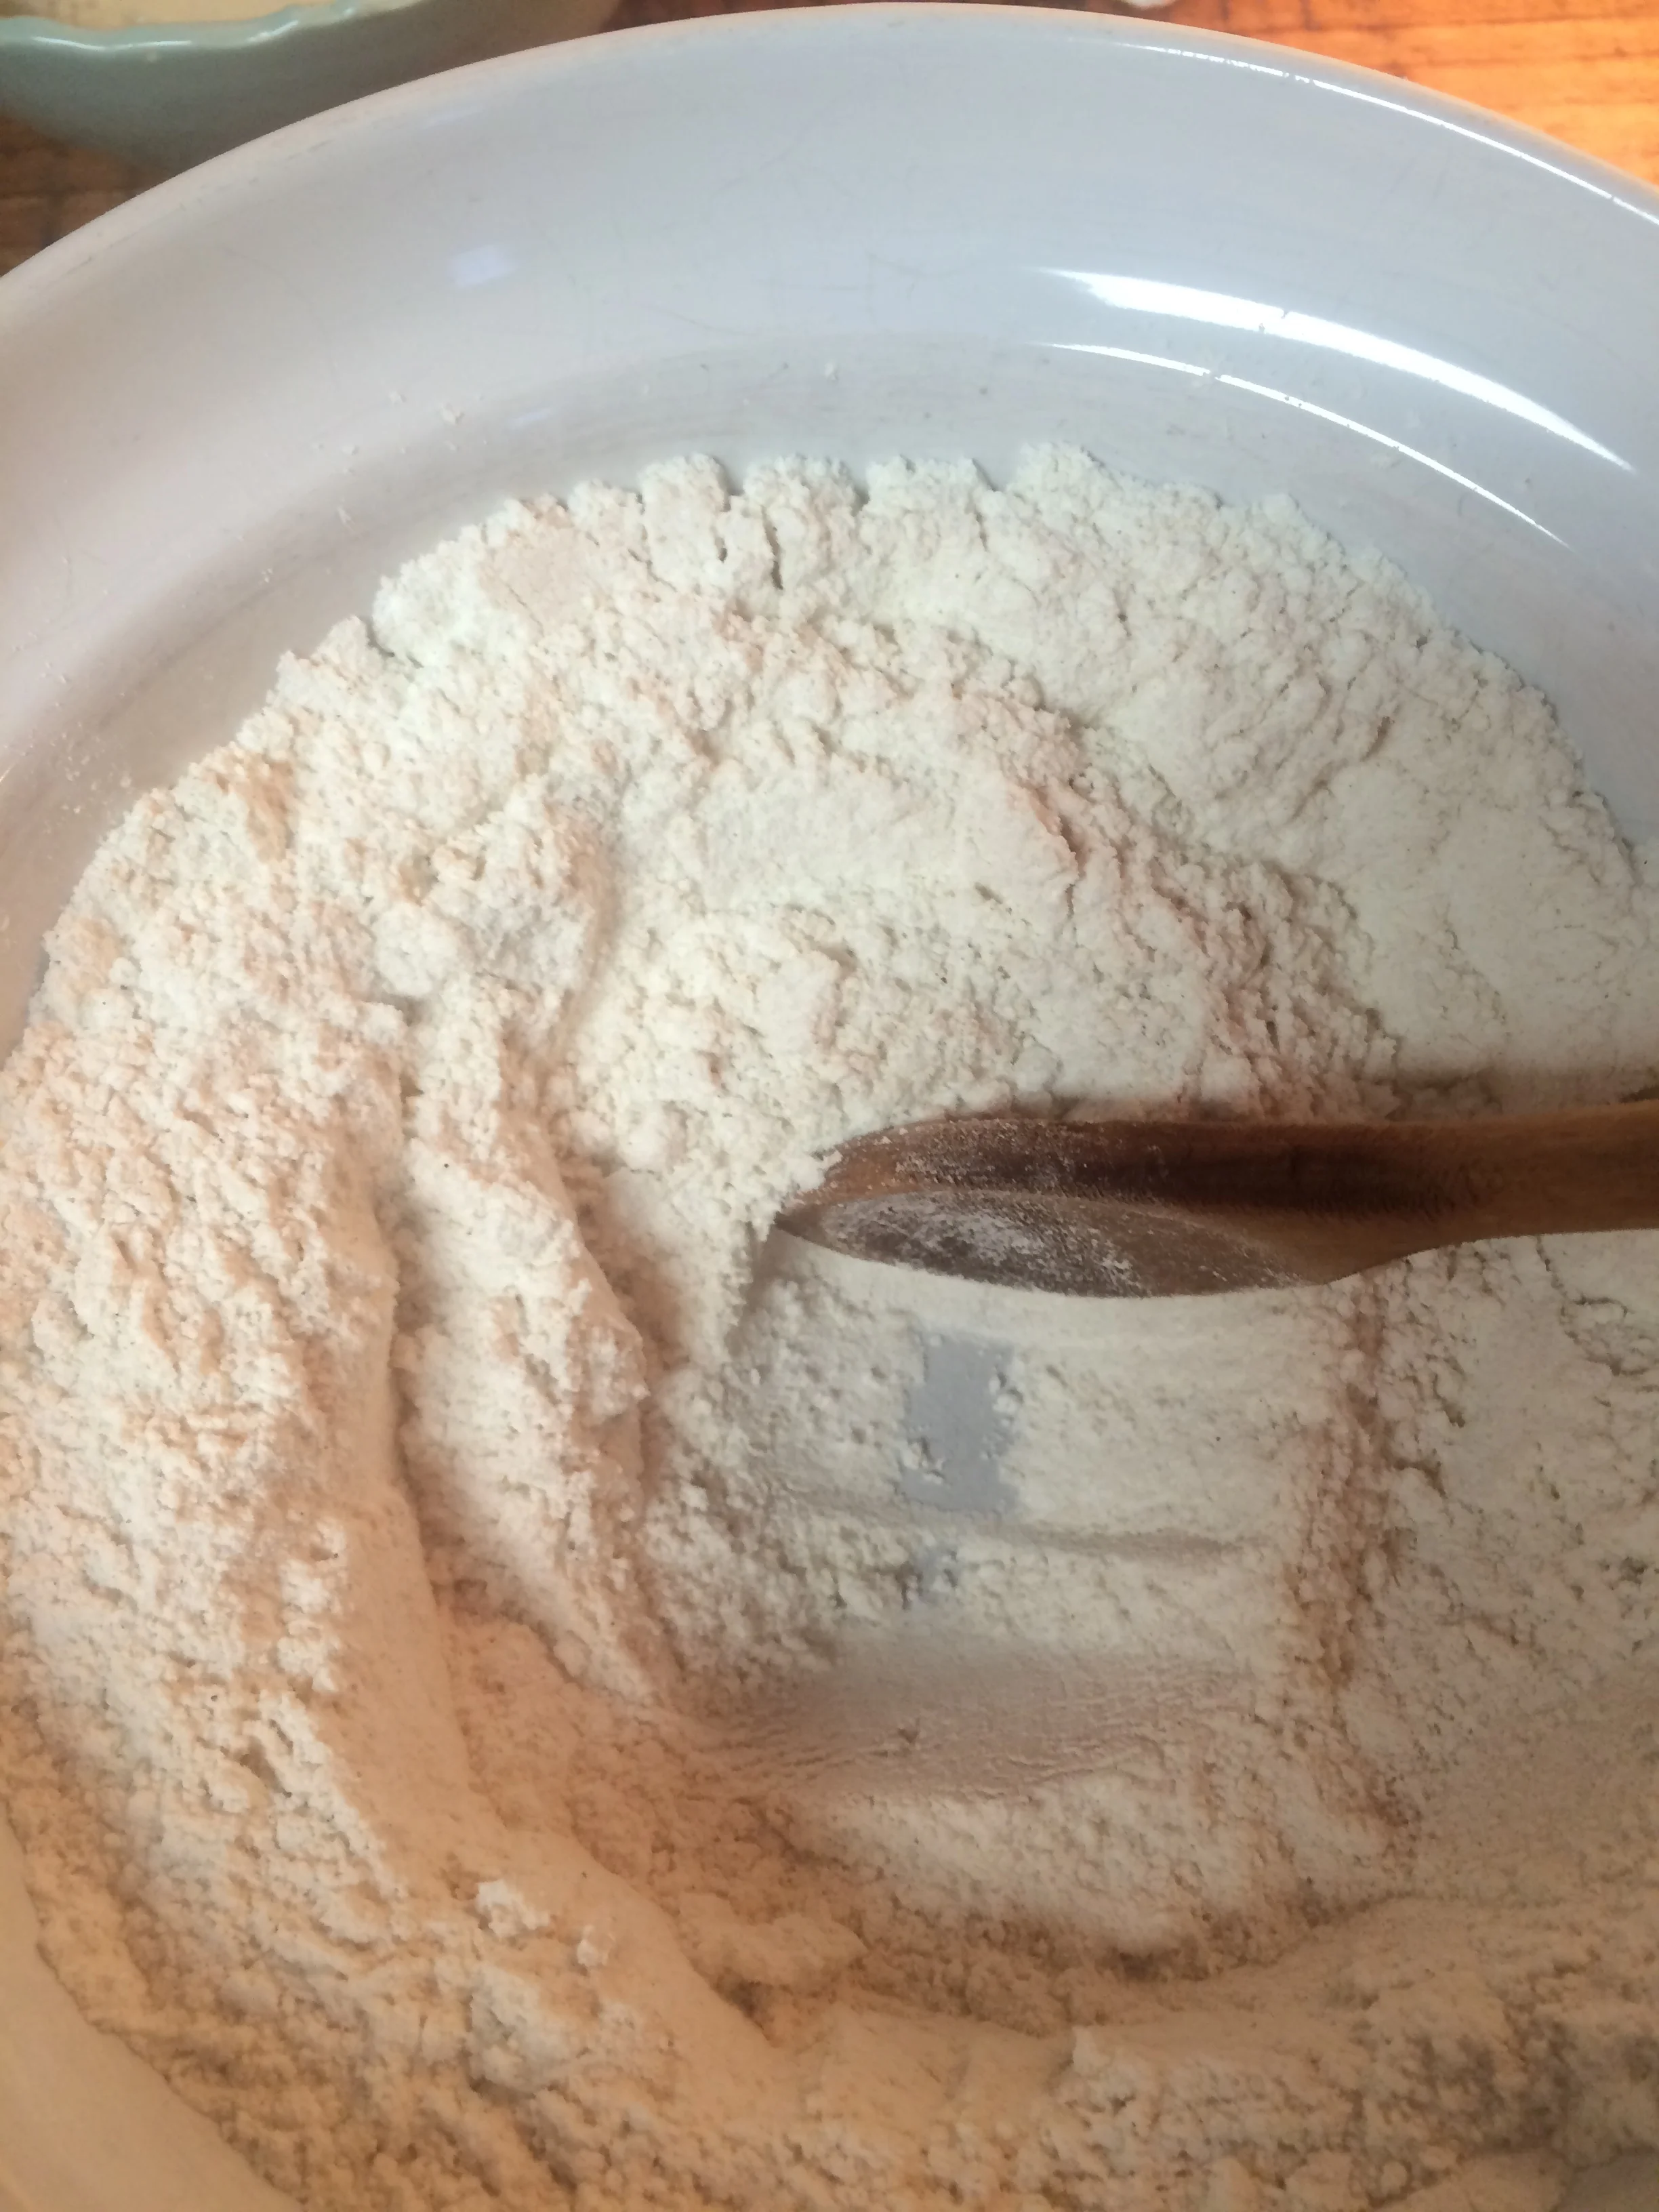
3. Whisk together your dry ingredients in a large bowl:
- 3 Cups of gluten free flour blend,
- 1/2 tsp. xanthan gum,
- 1 tsp. salt,
- 1/2 tsp. baking powder,
- 2 Tbs. sugar.
- Make a well in the center of the dry mix.
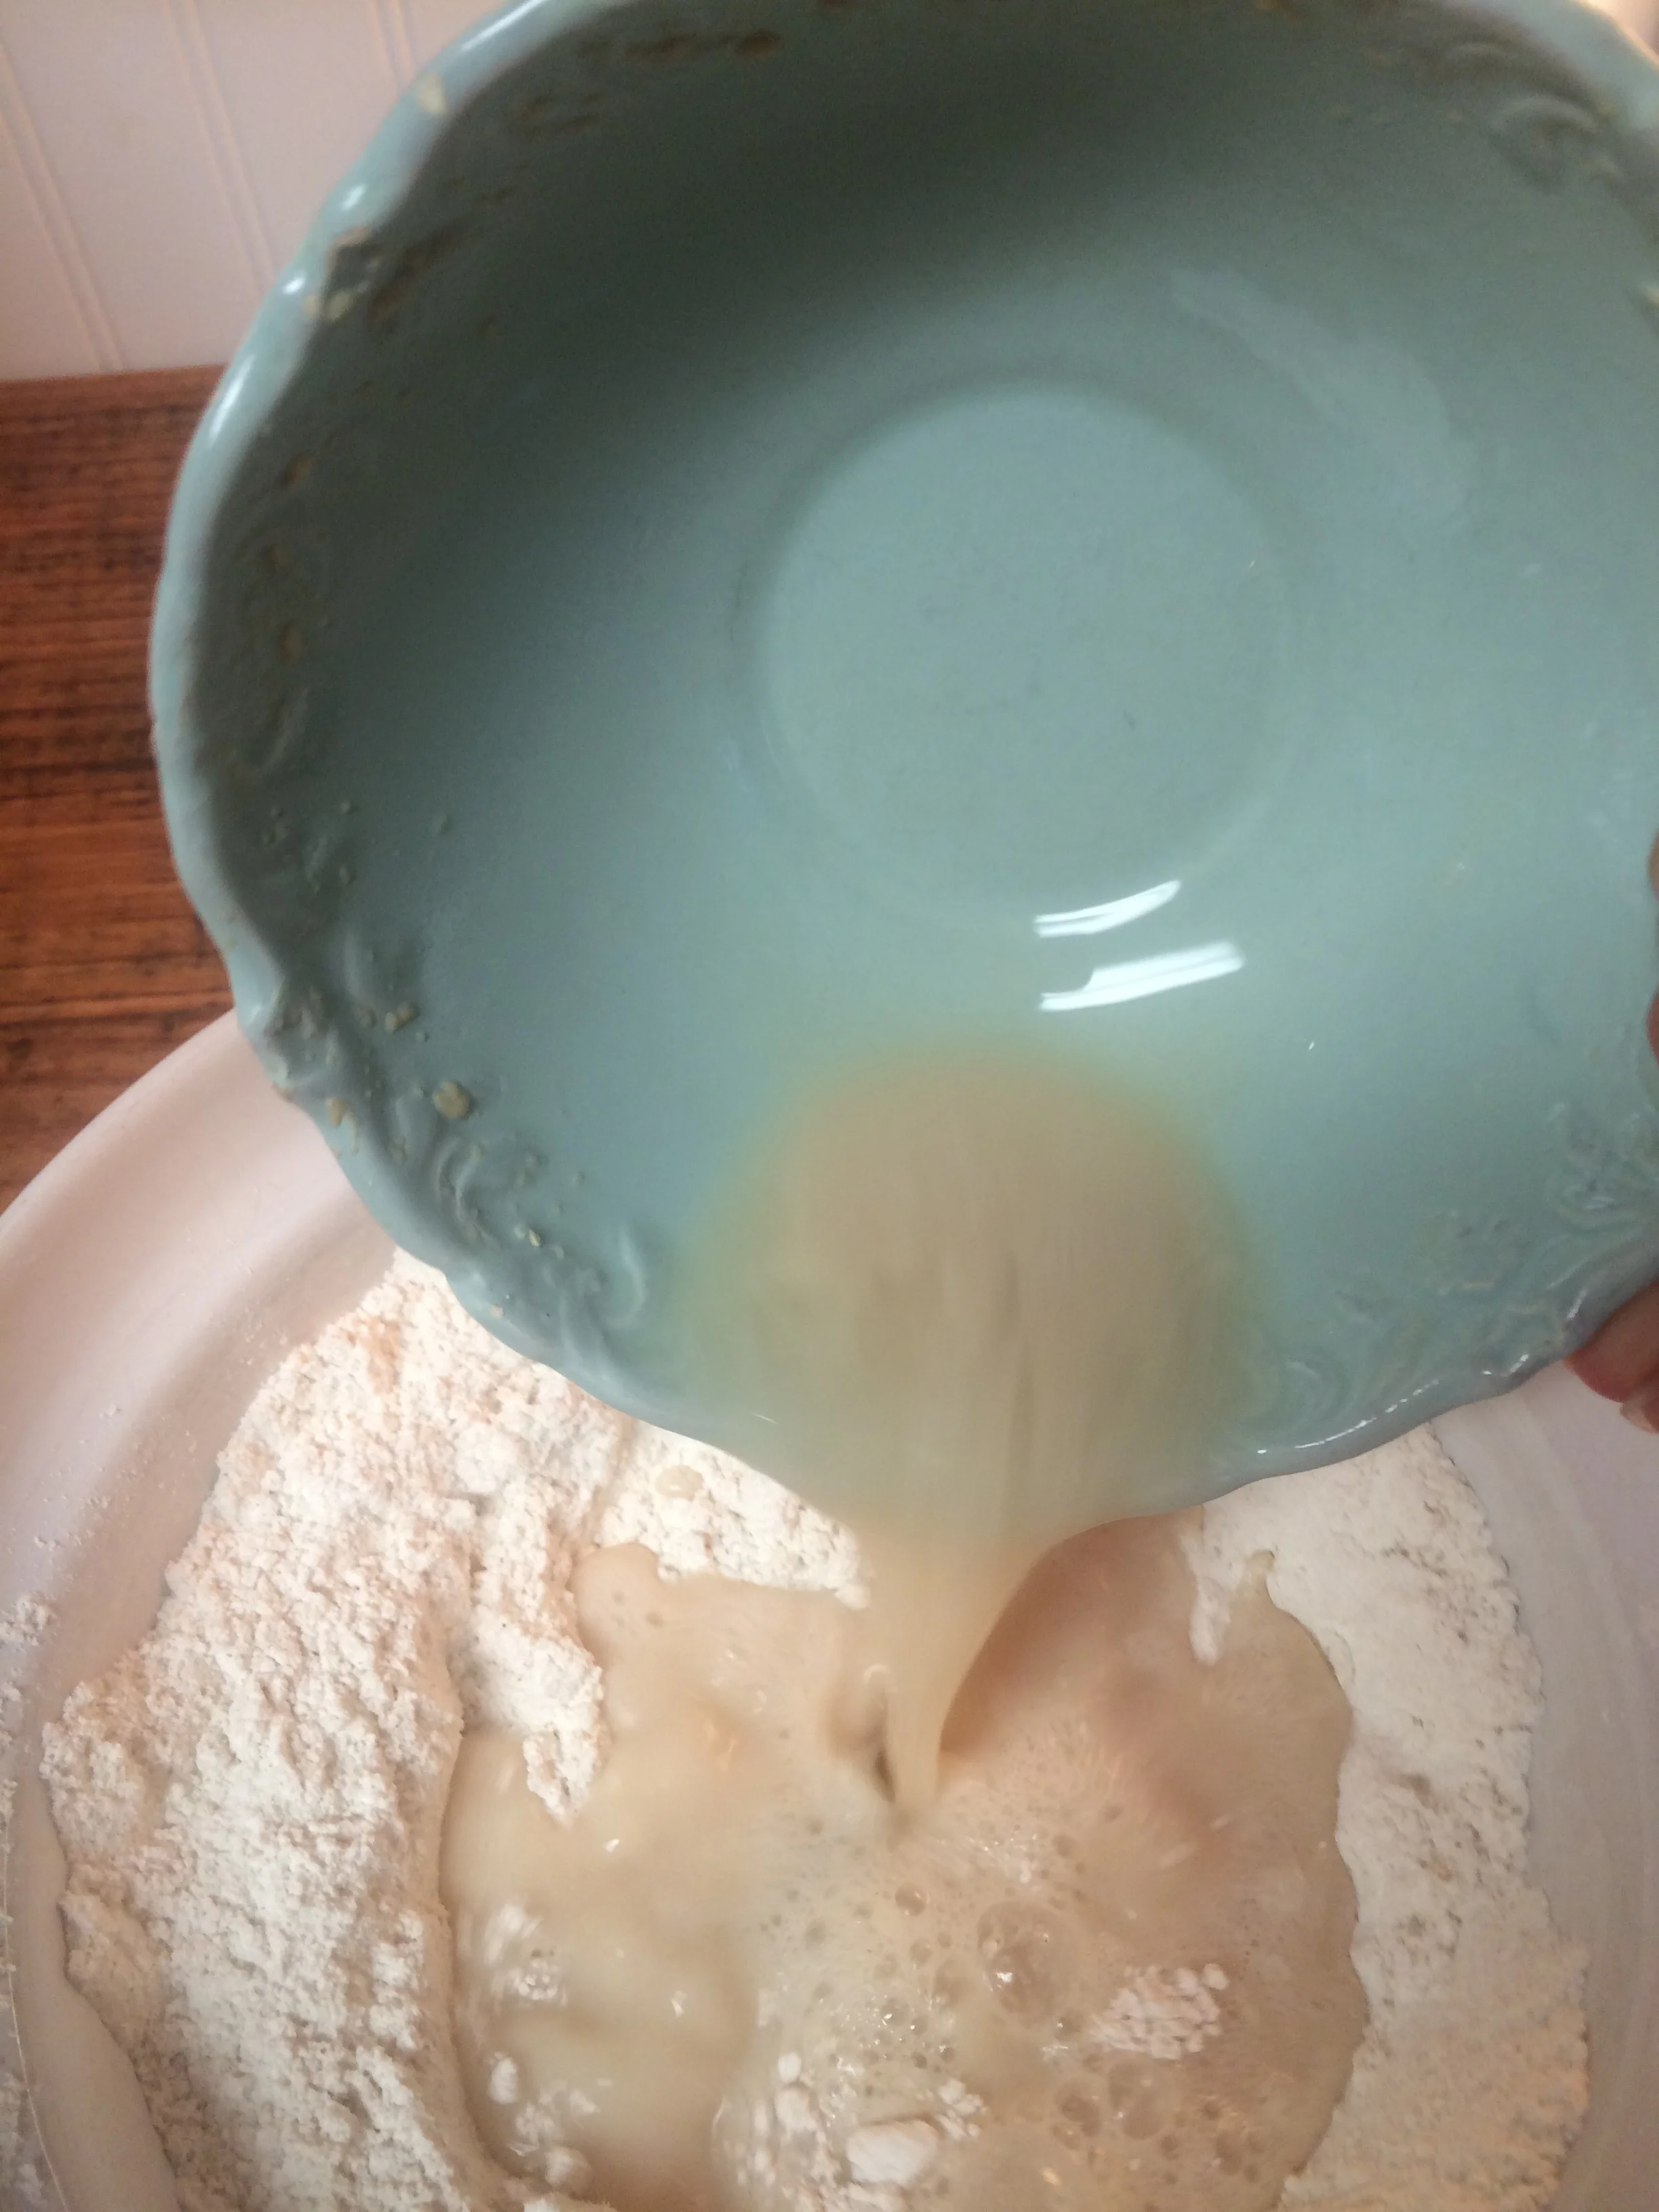
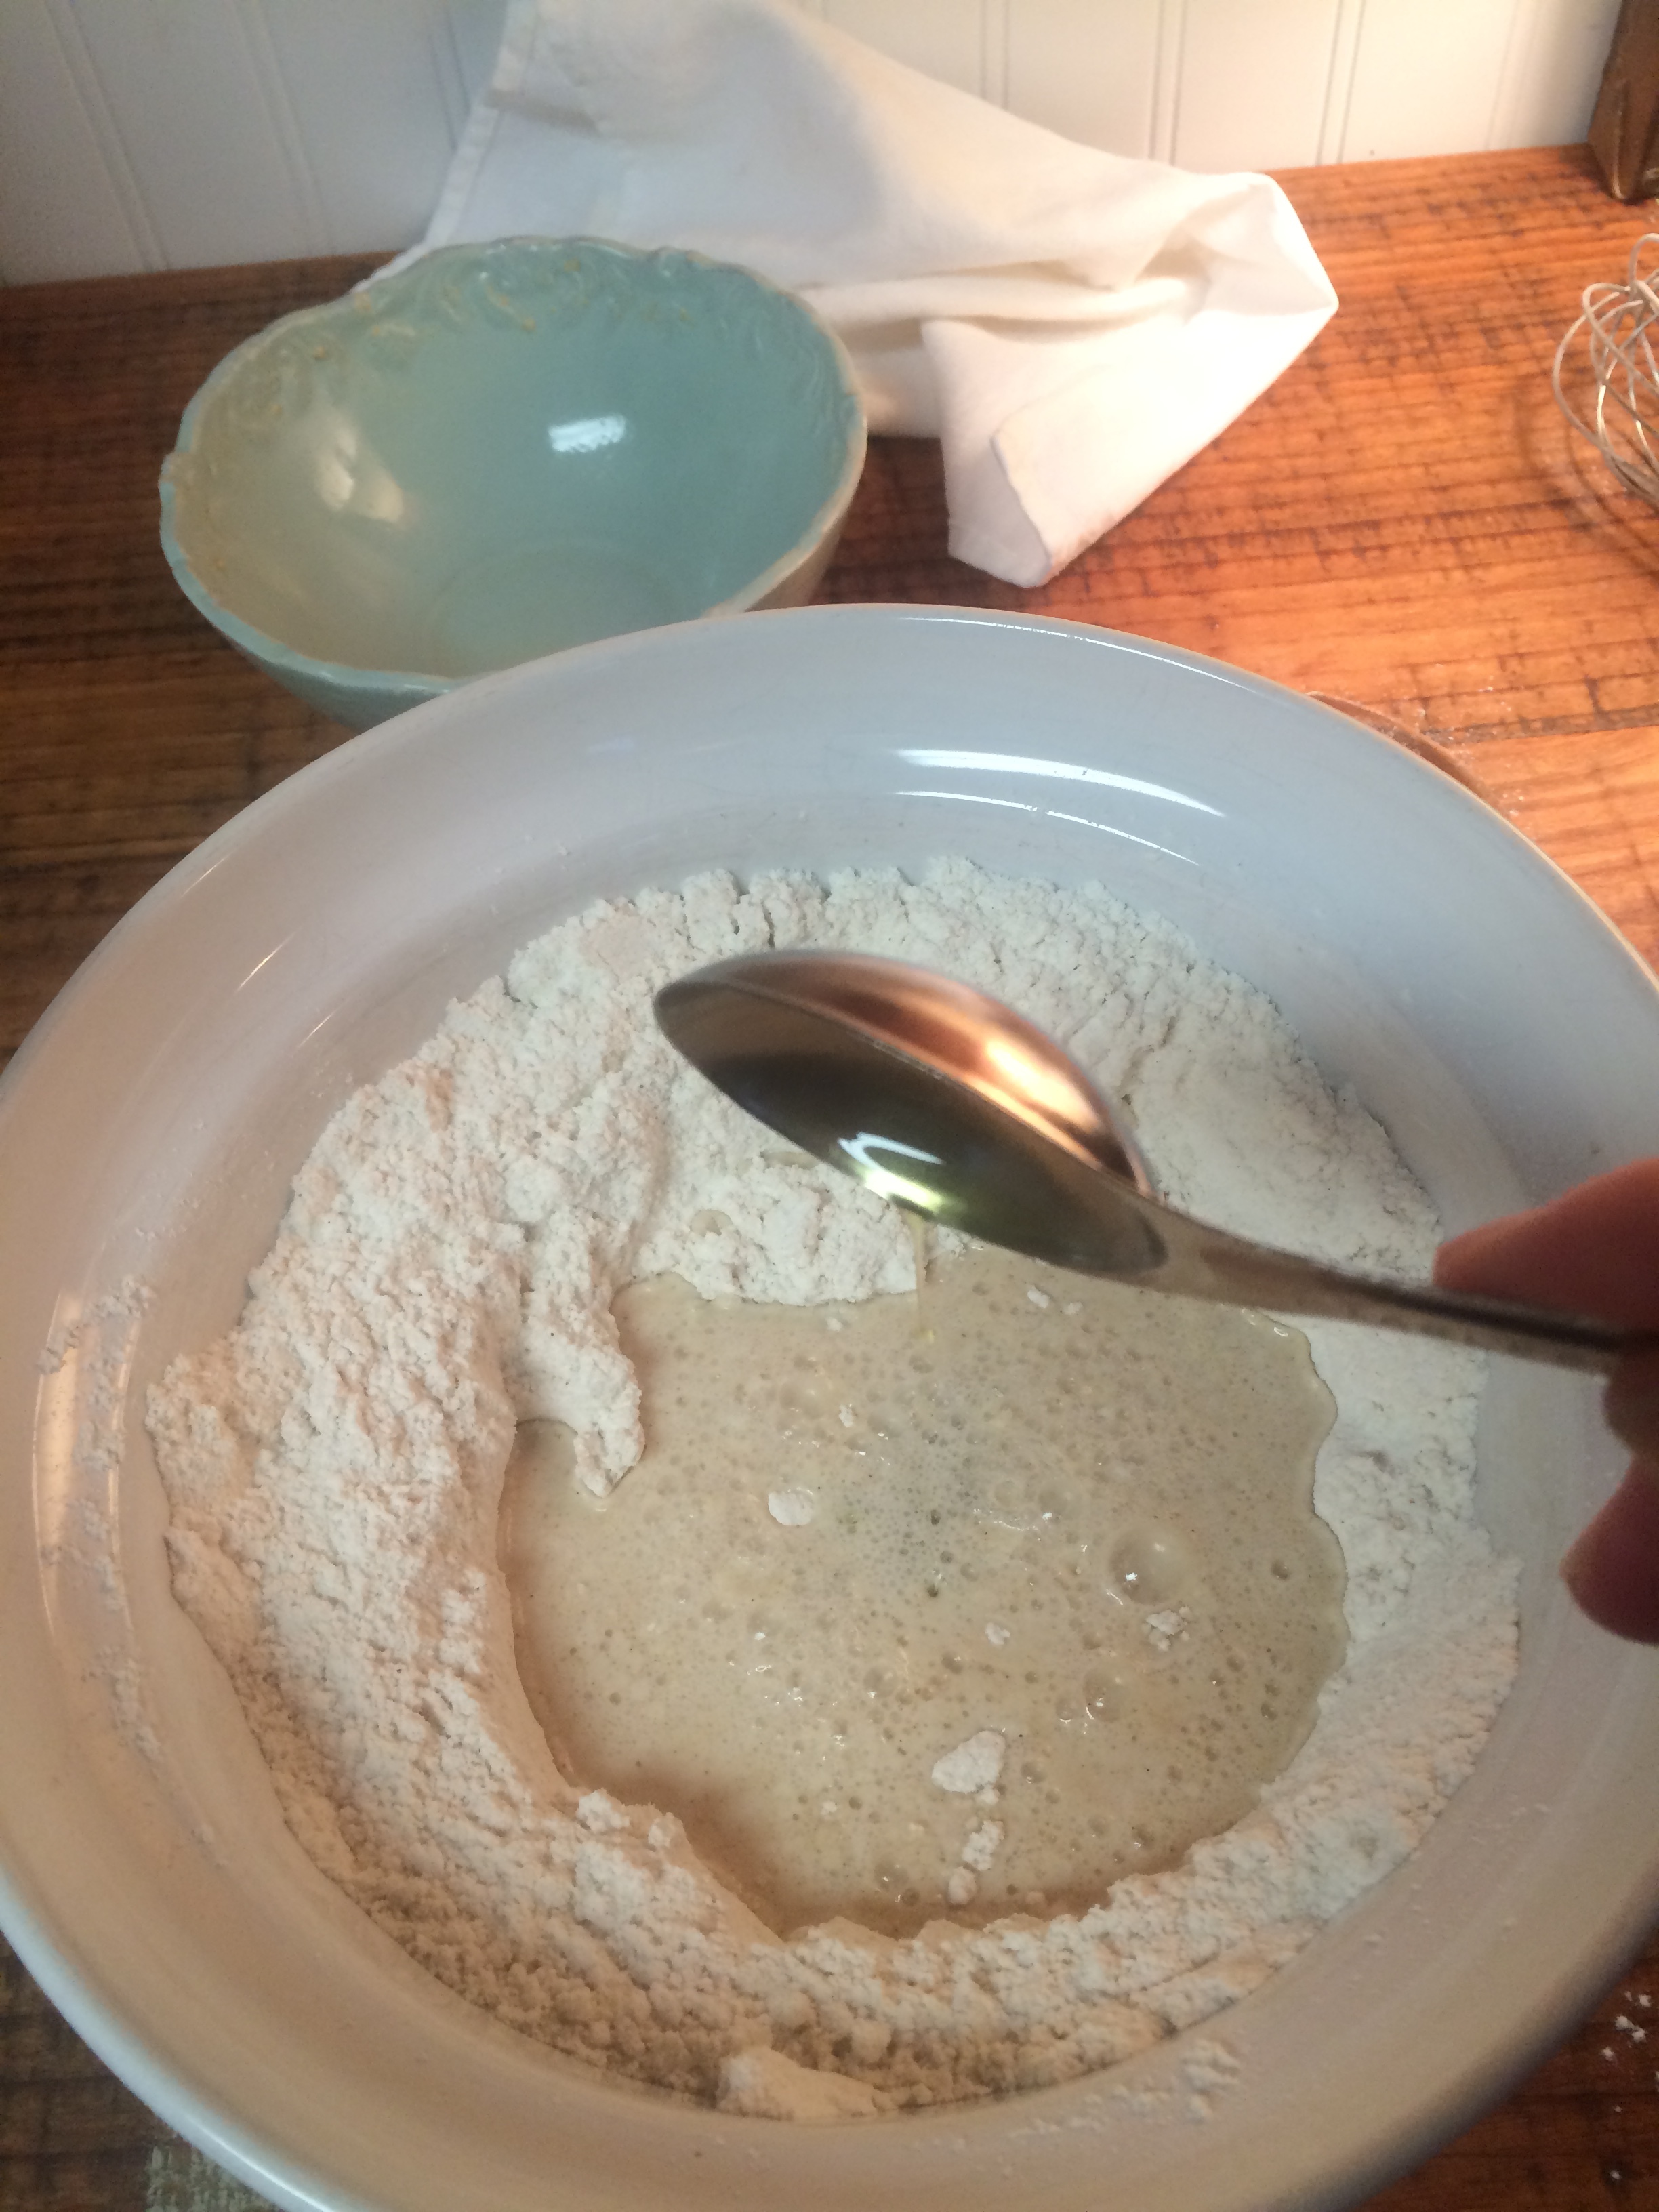
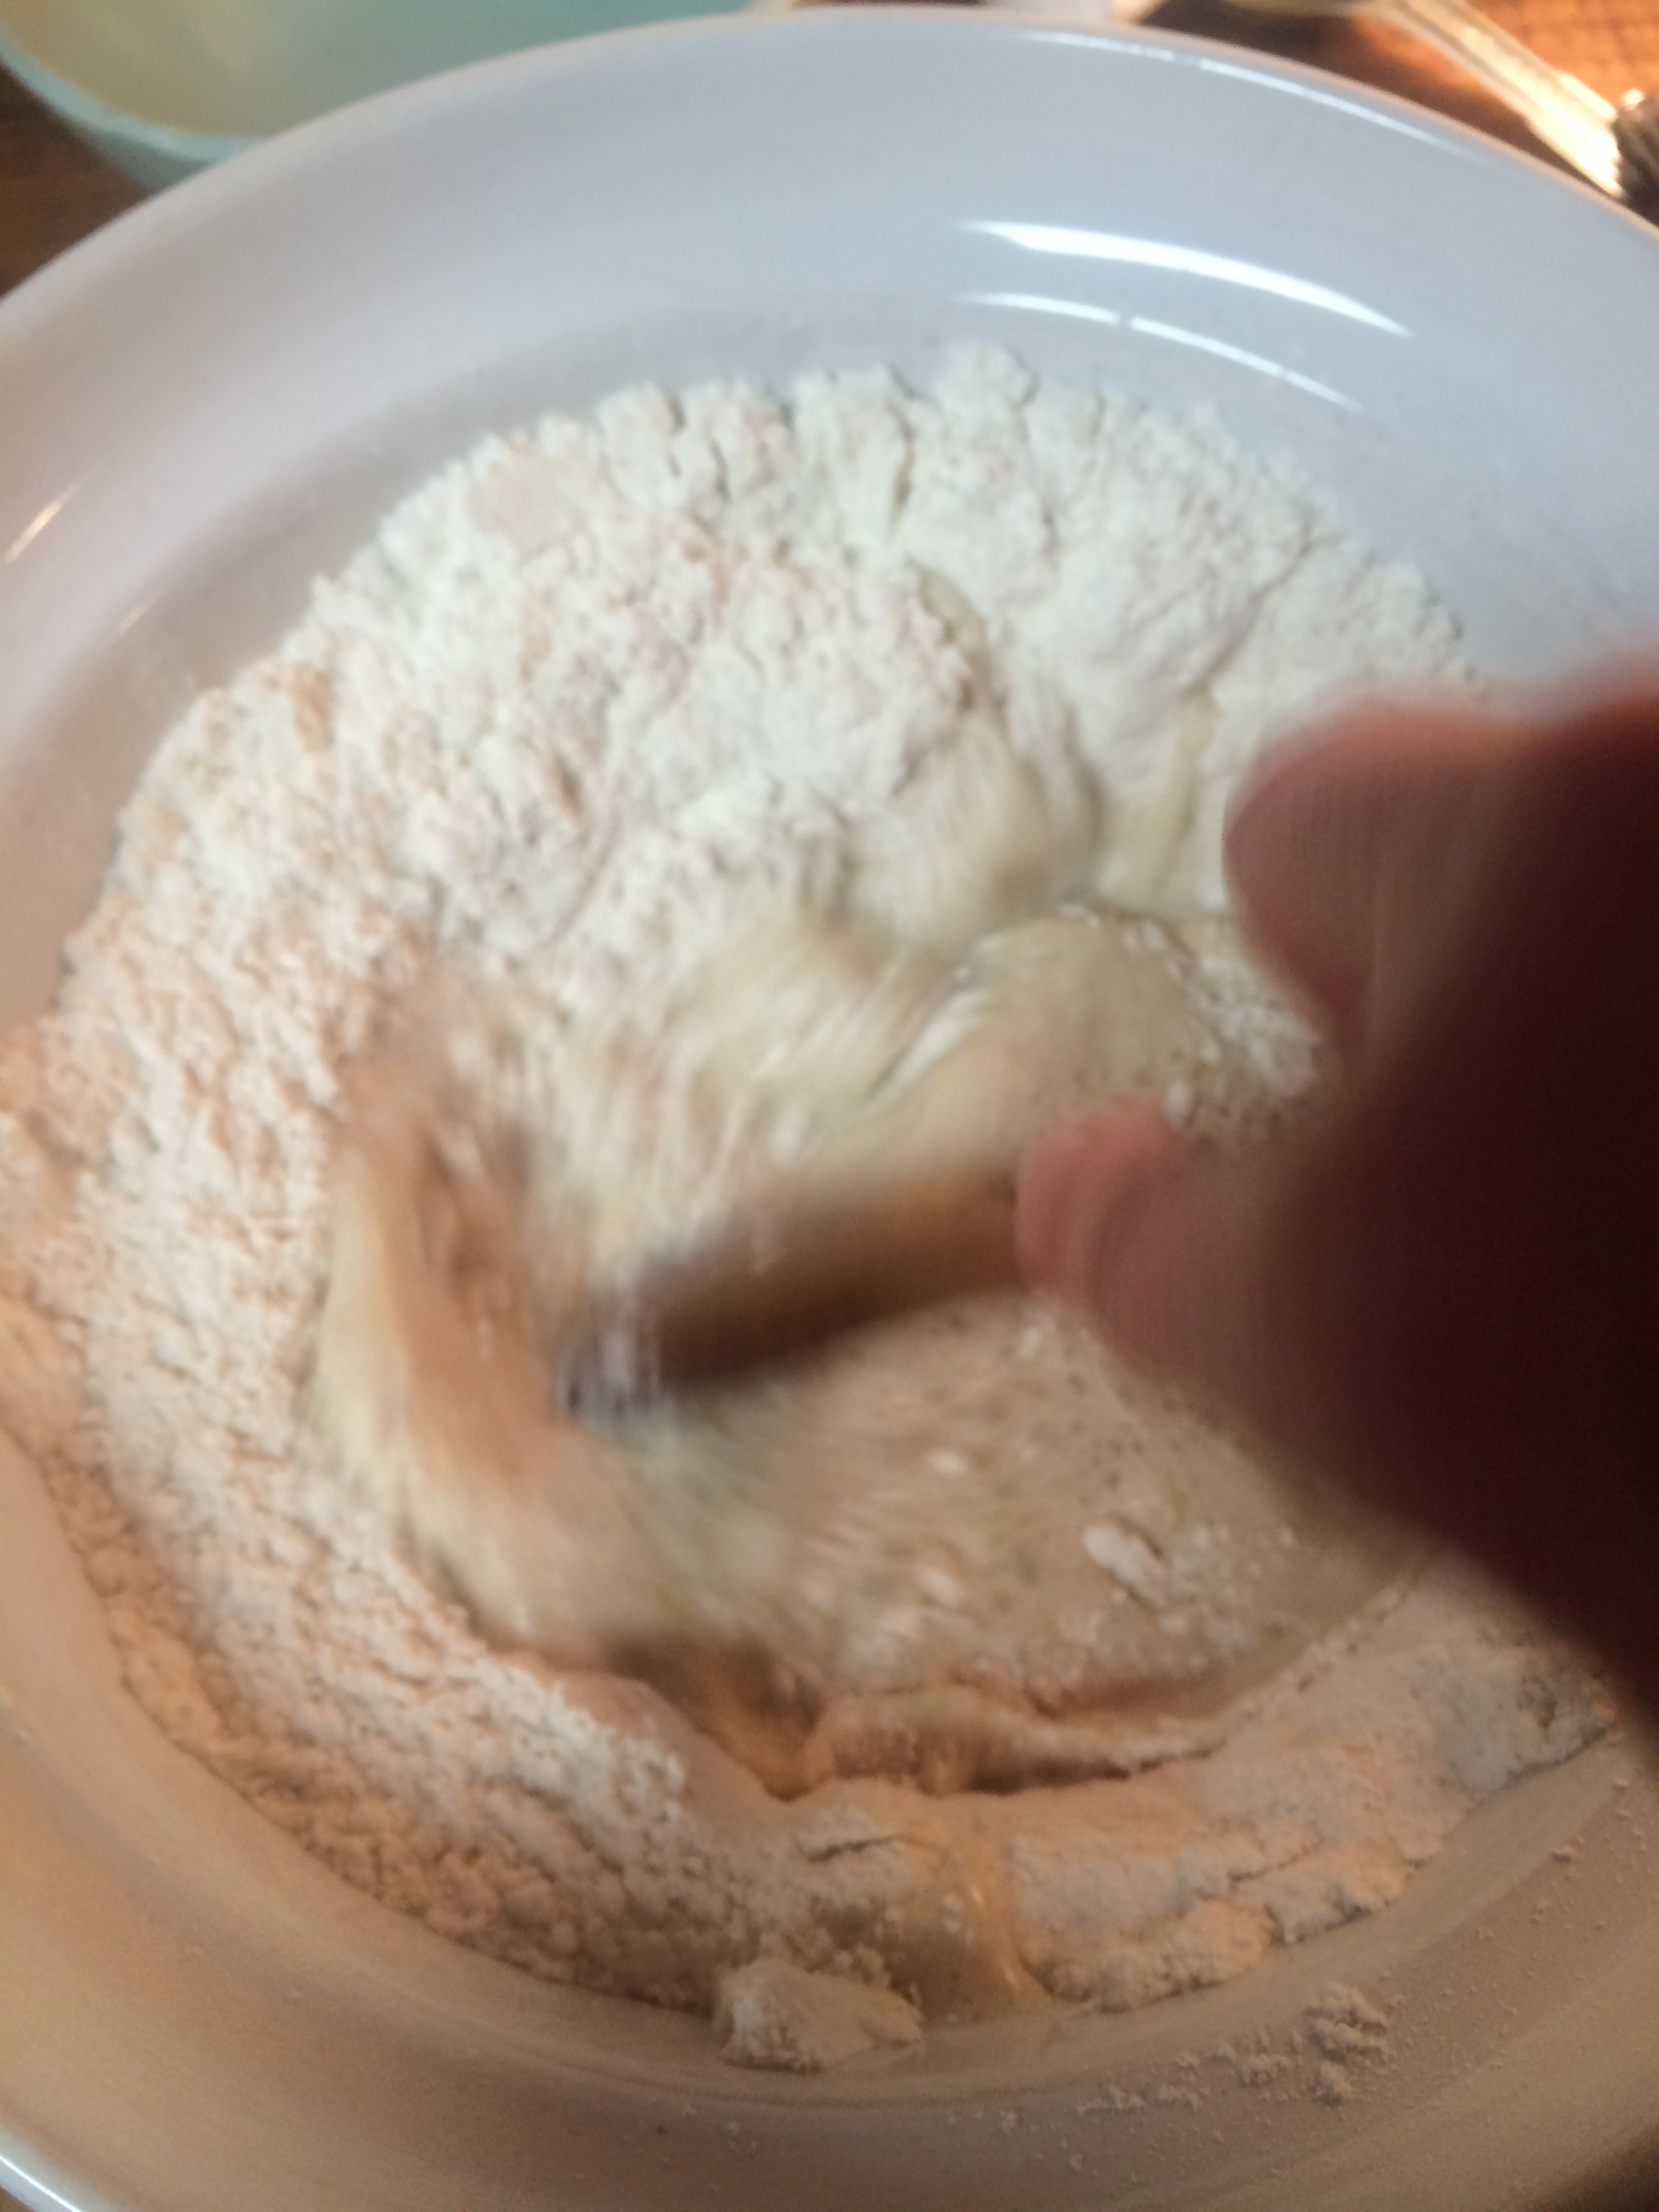
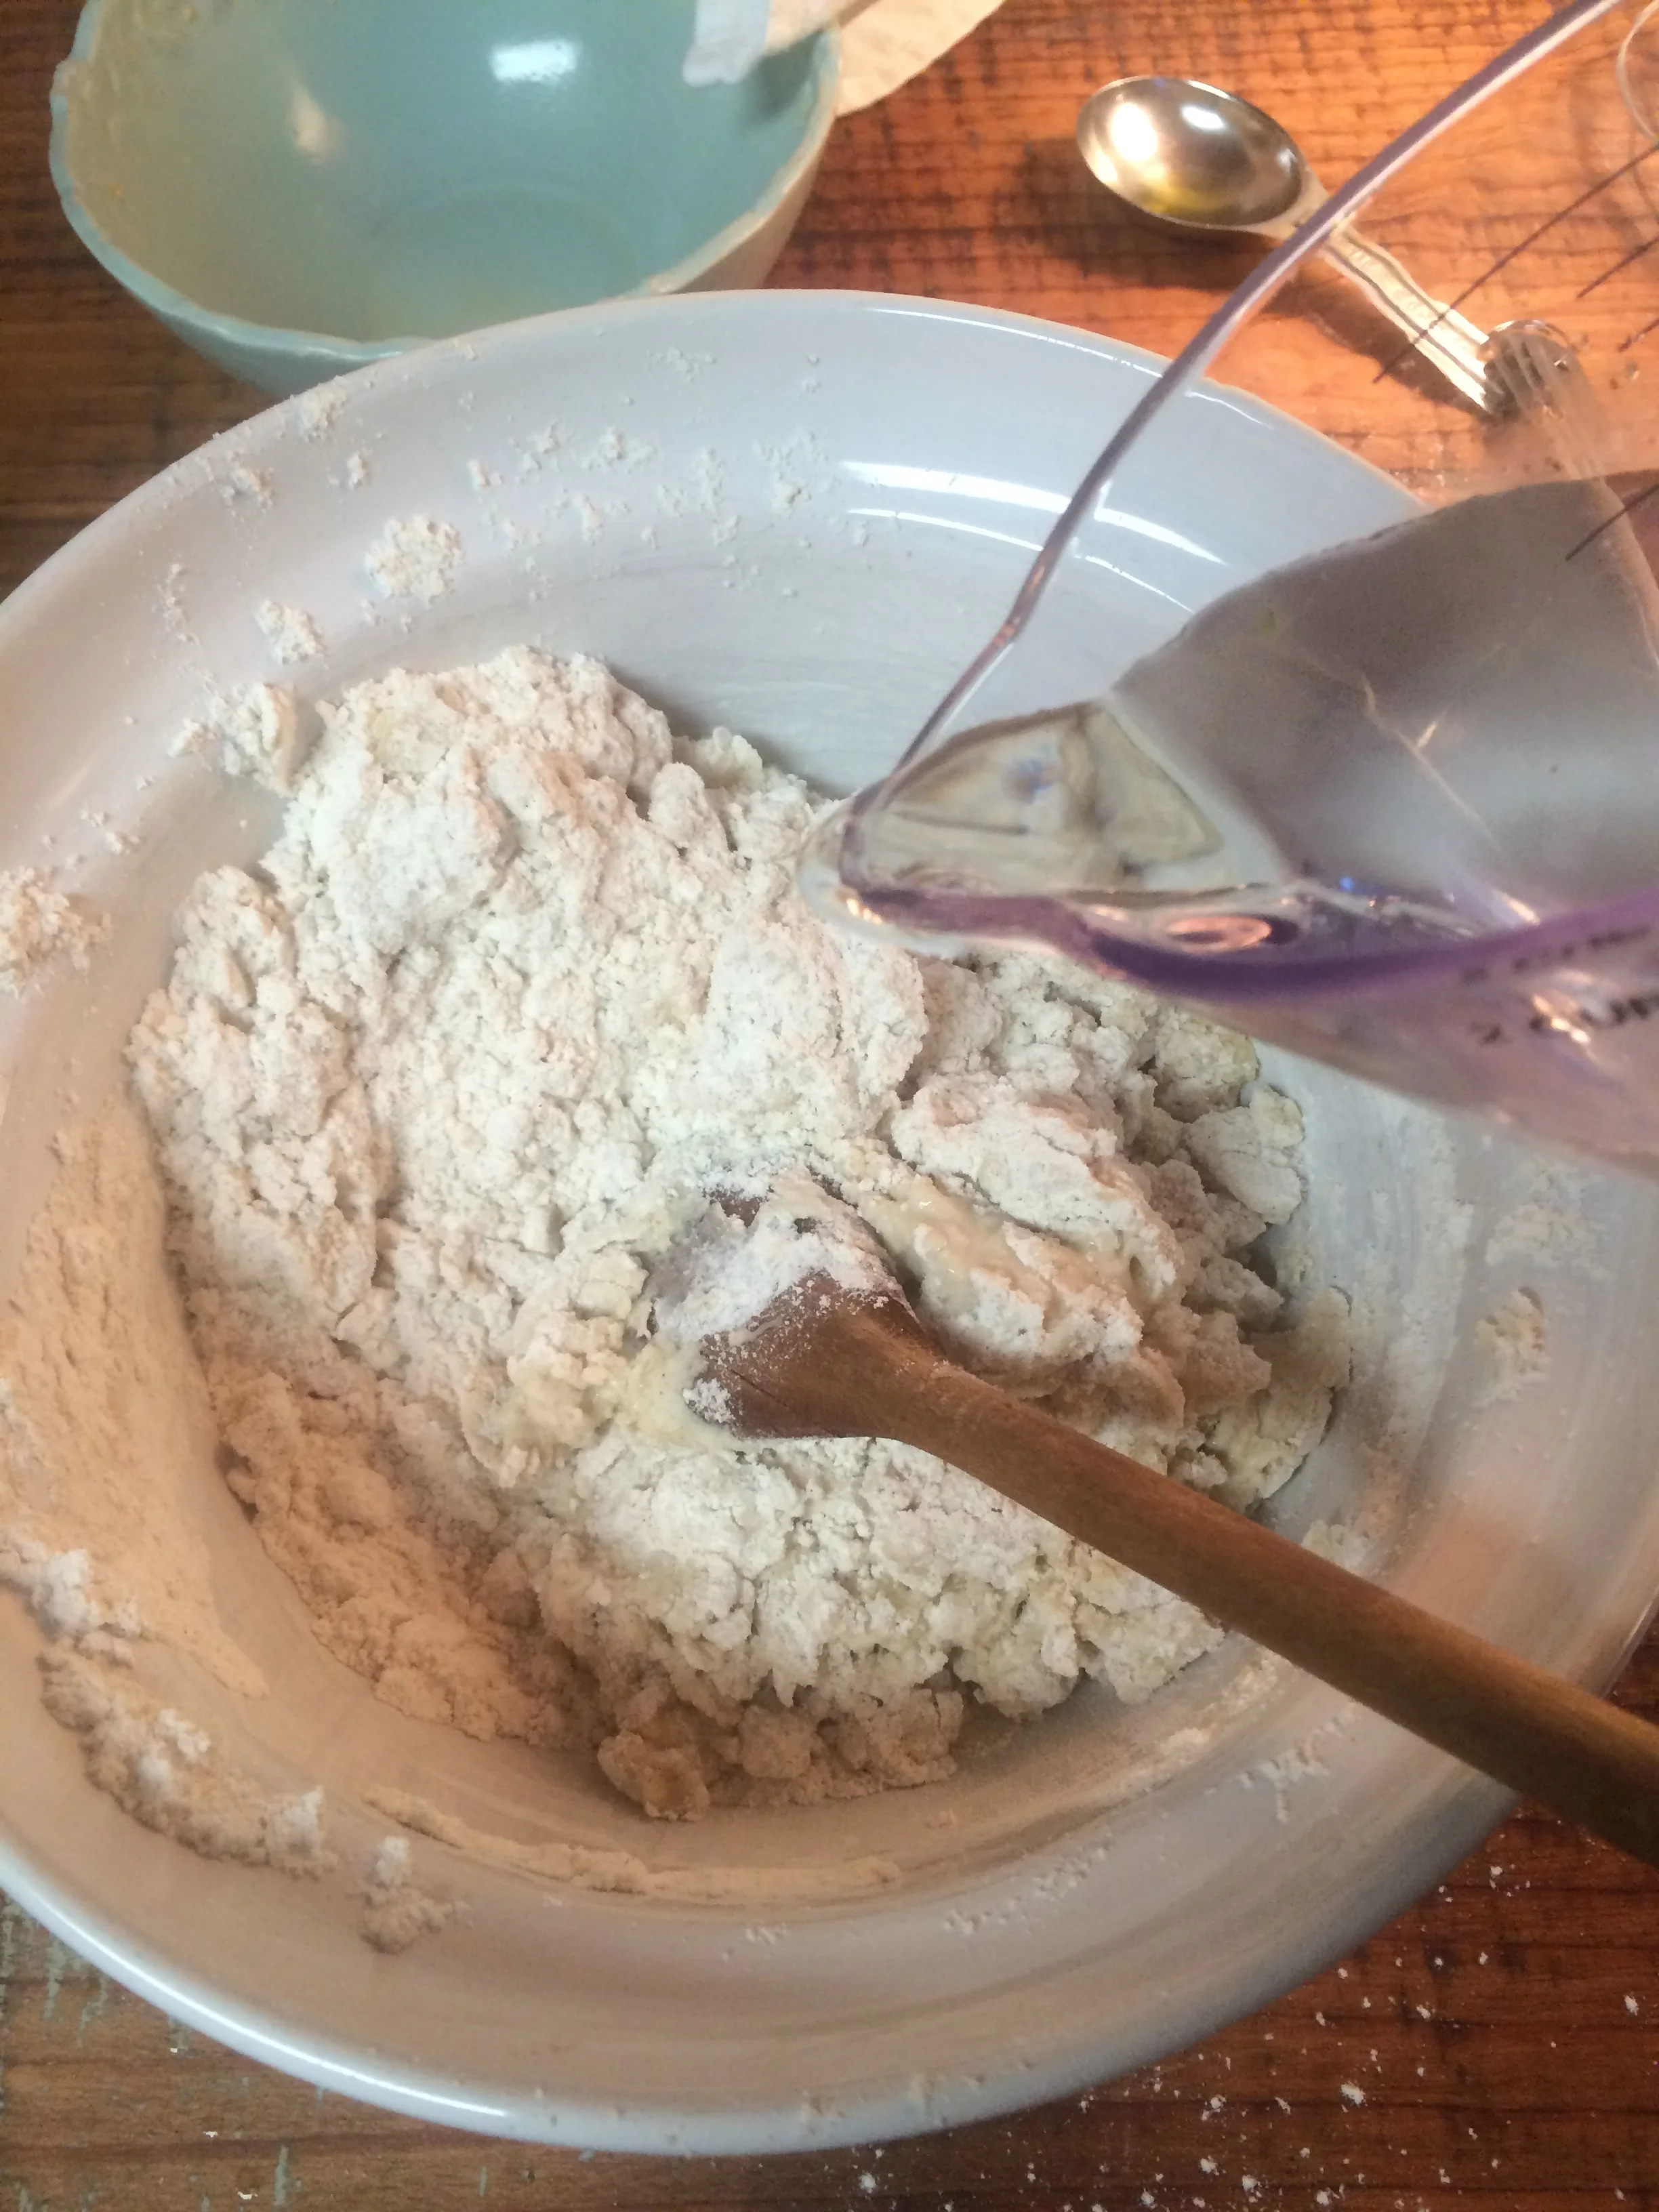
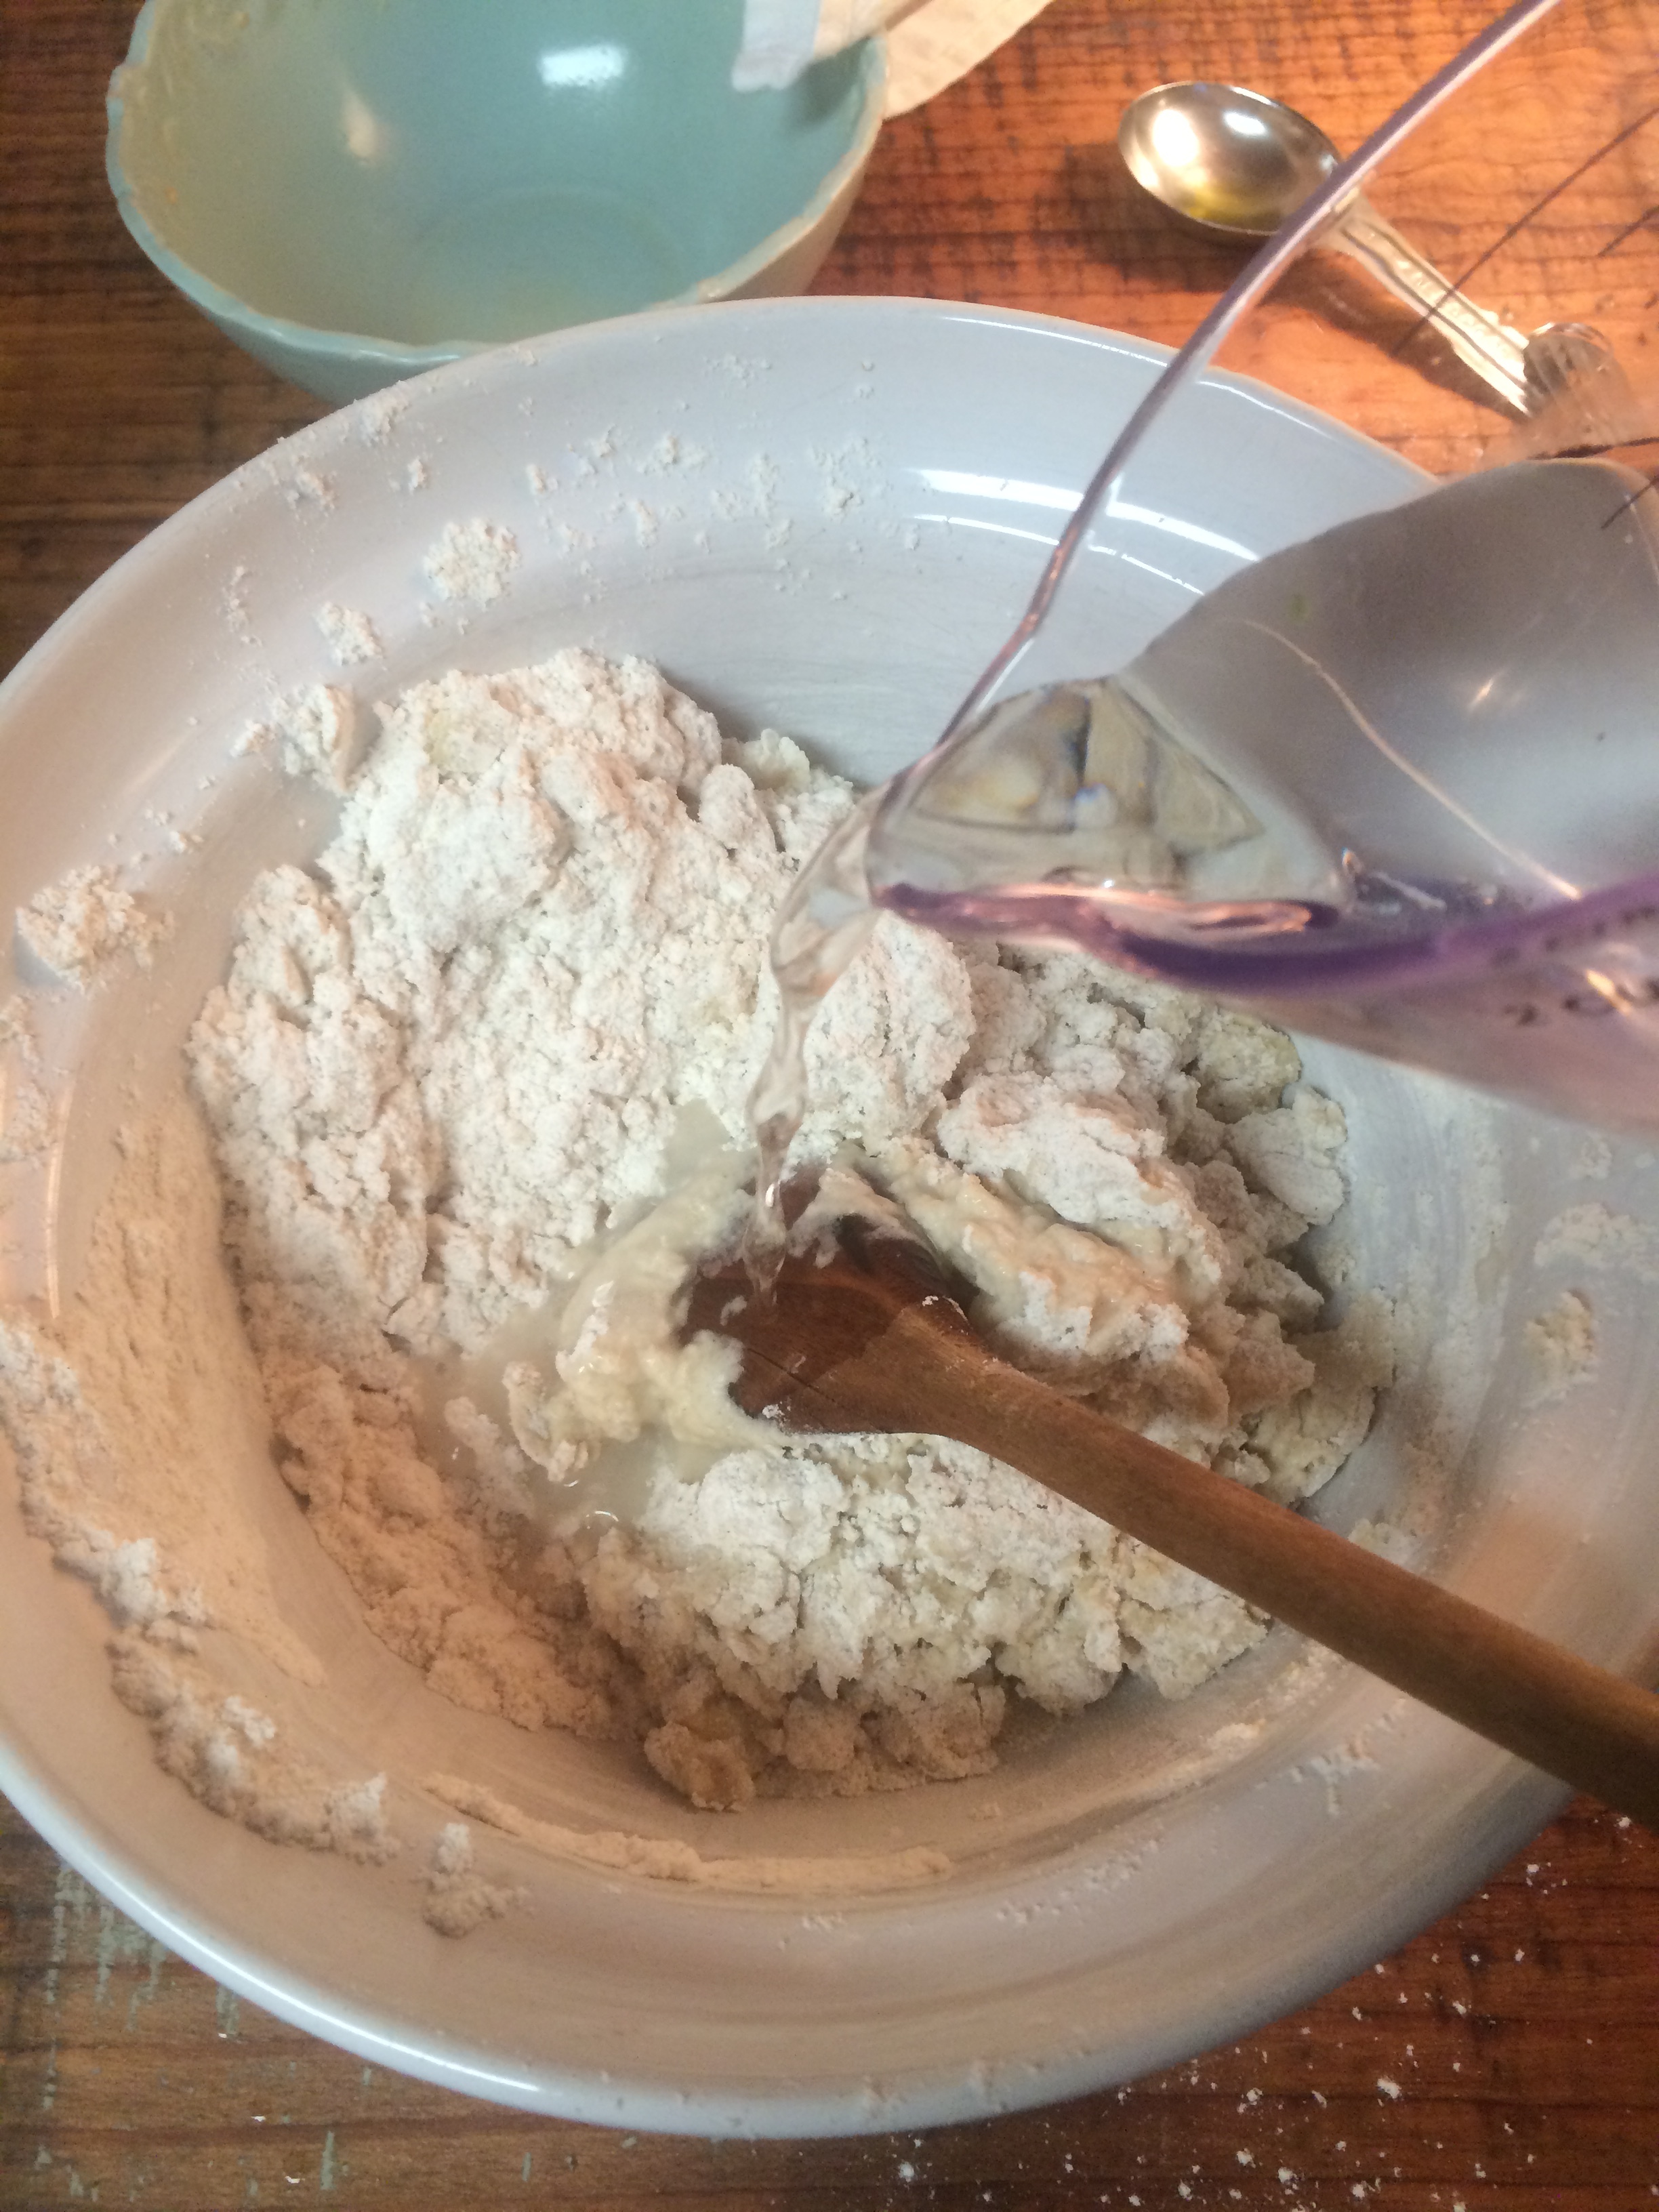
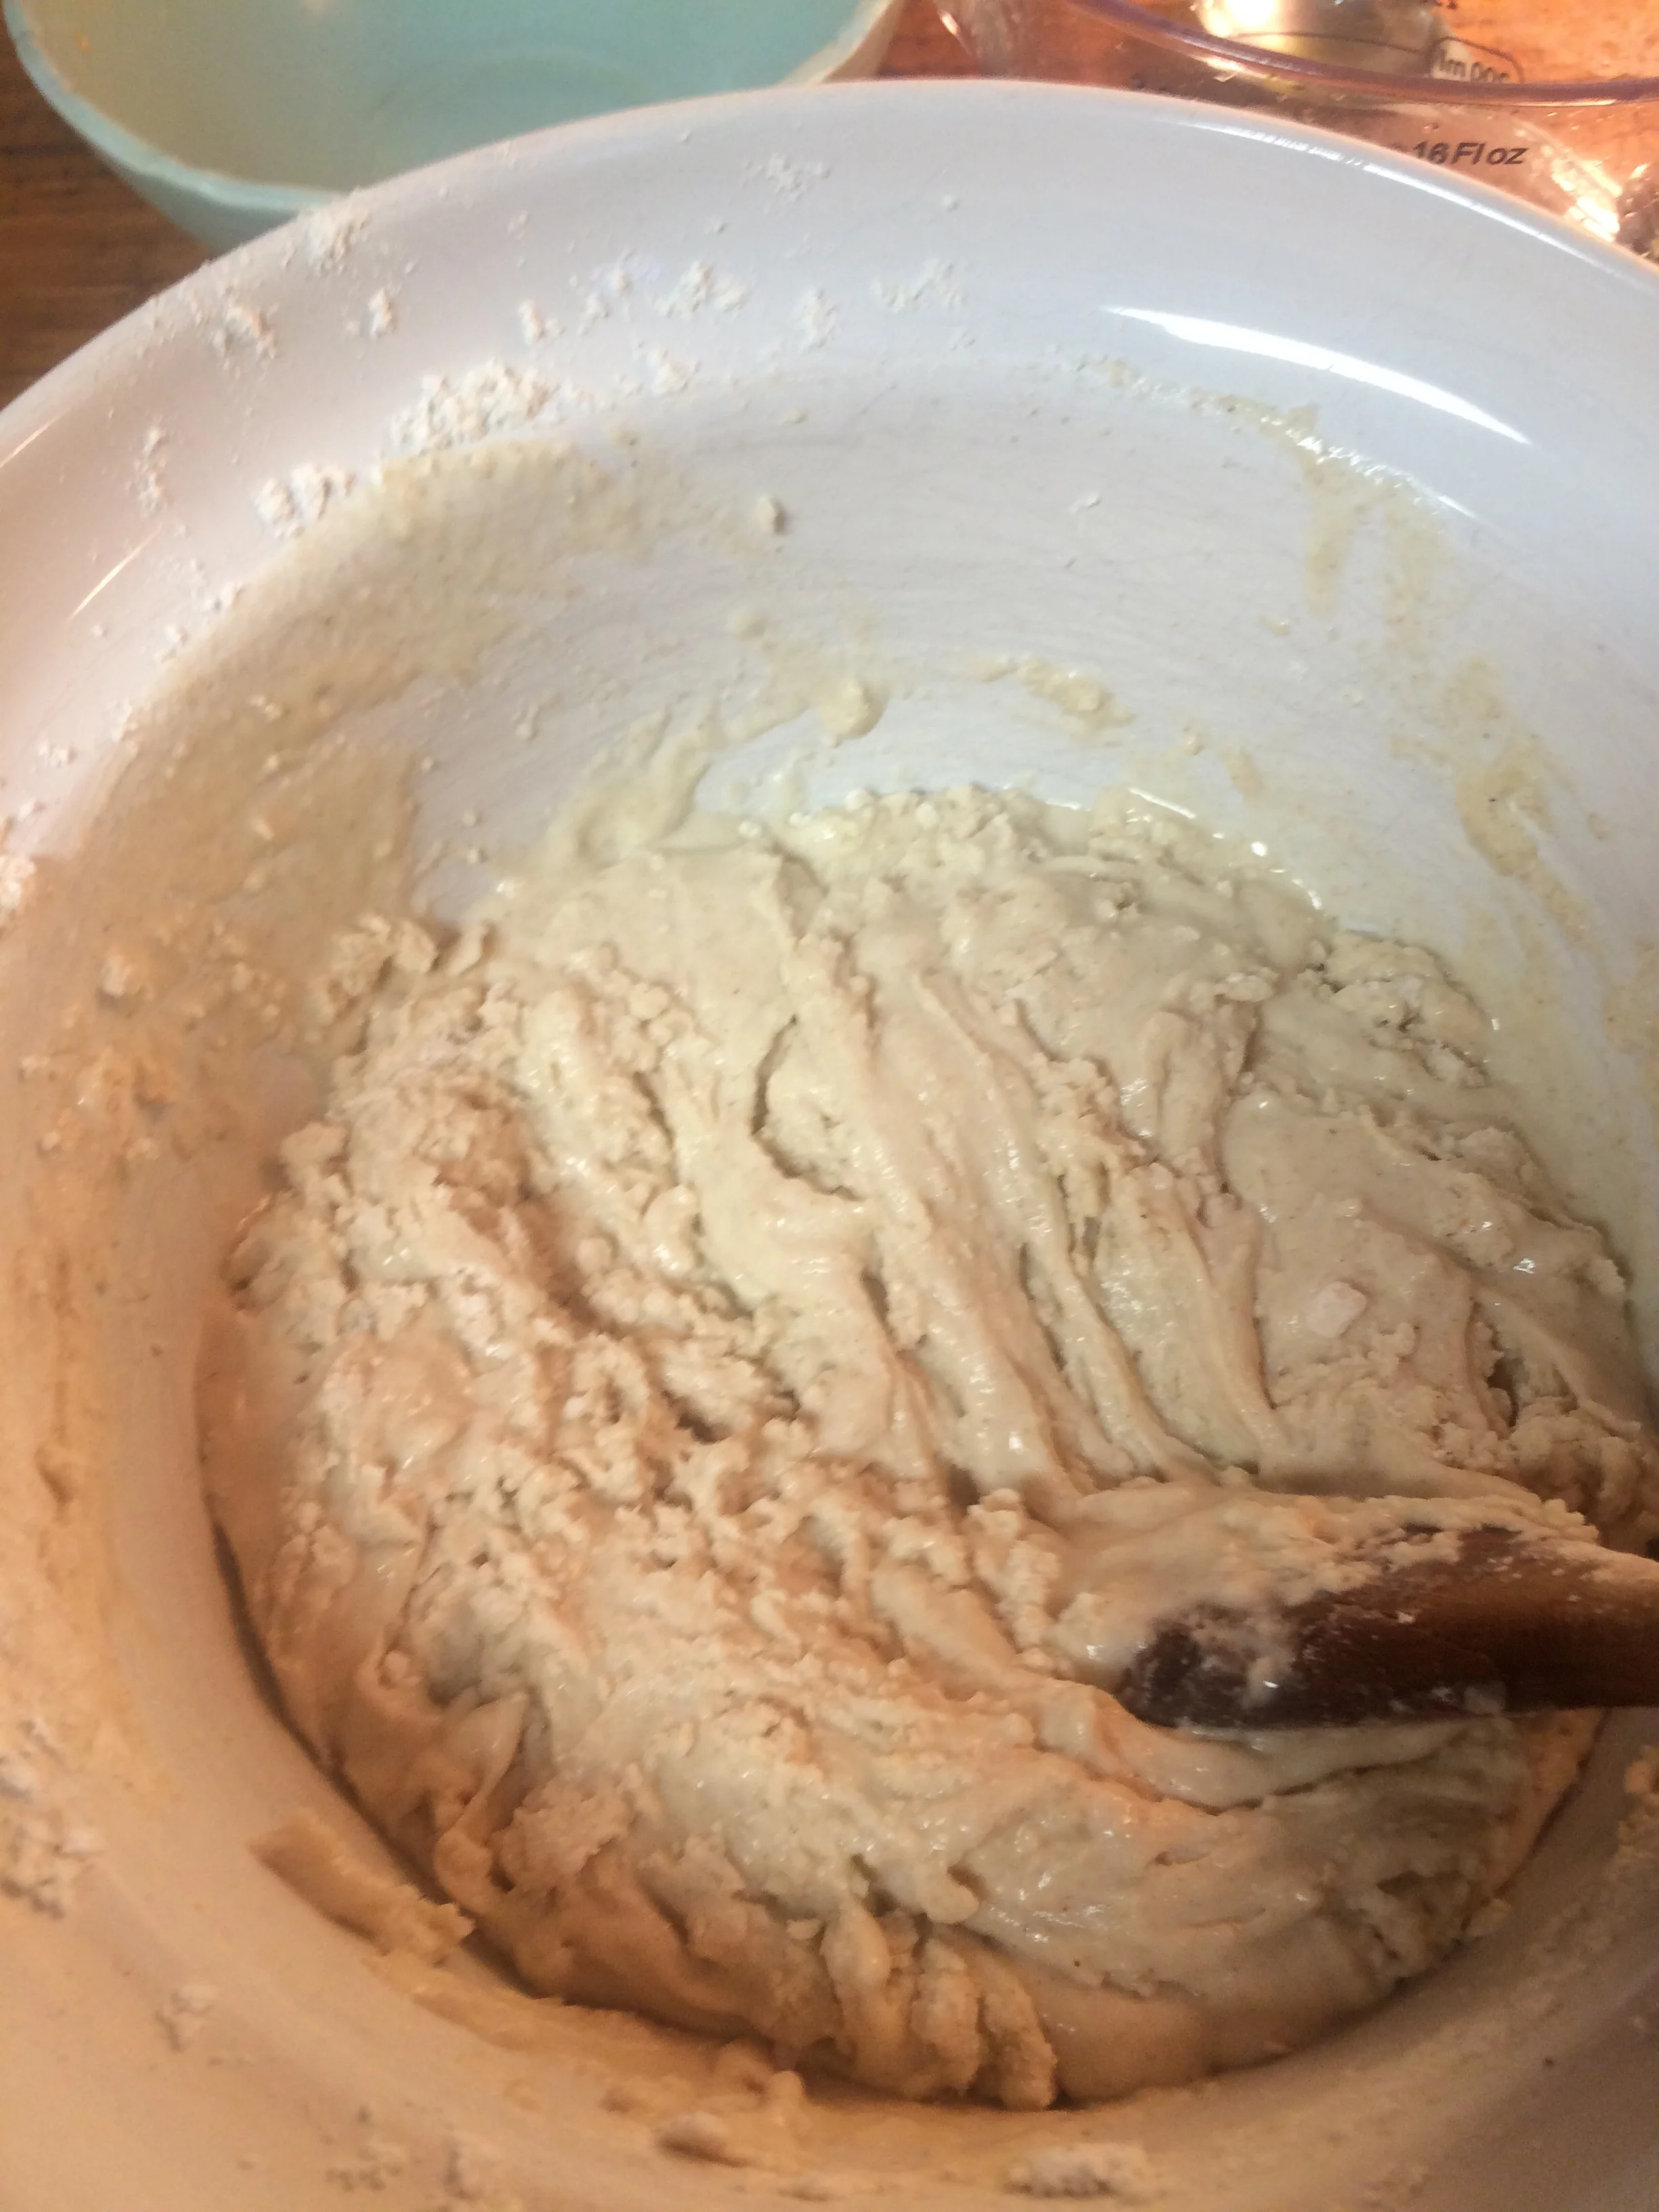
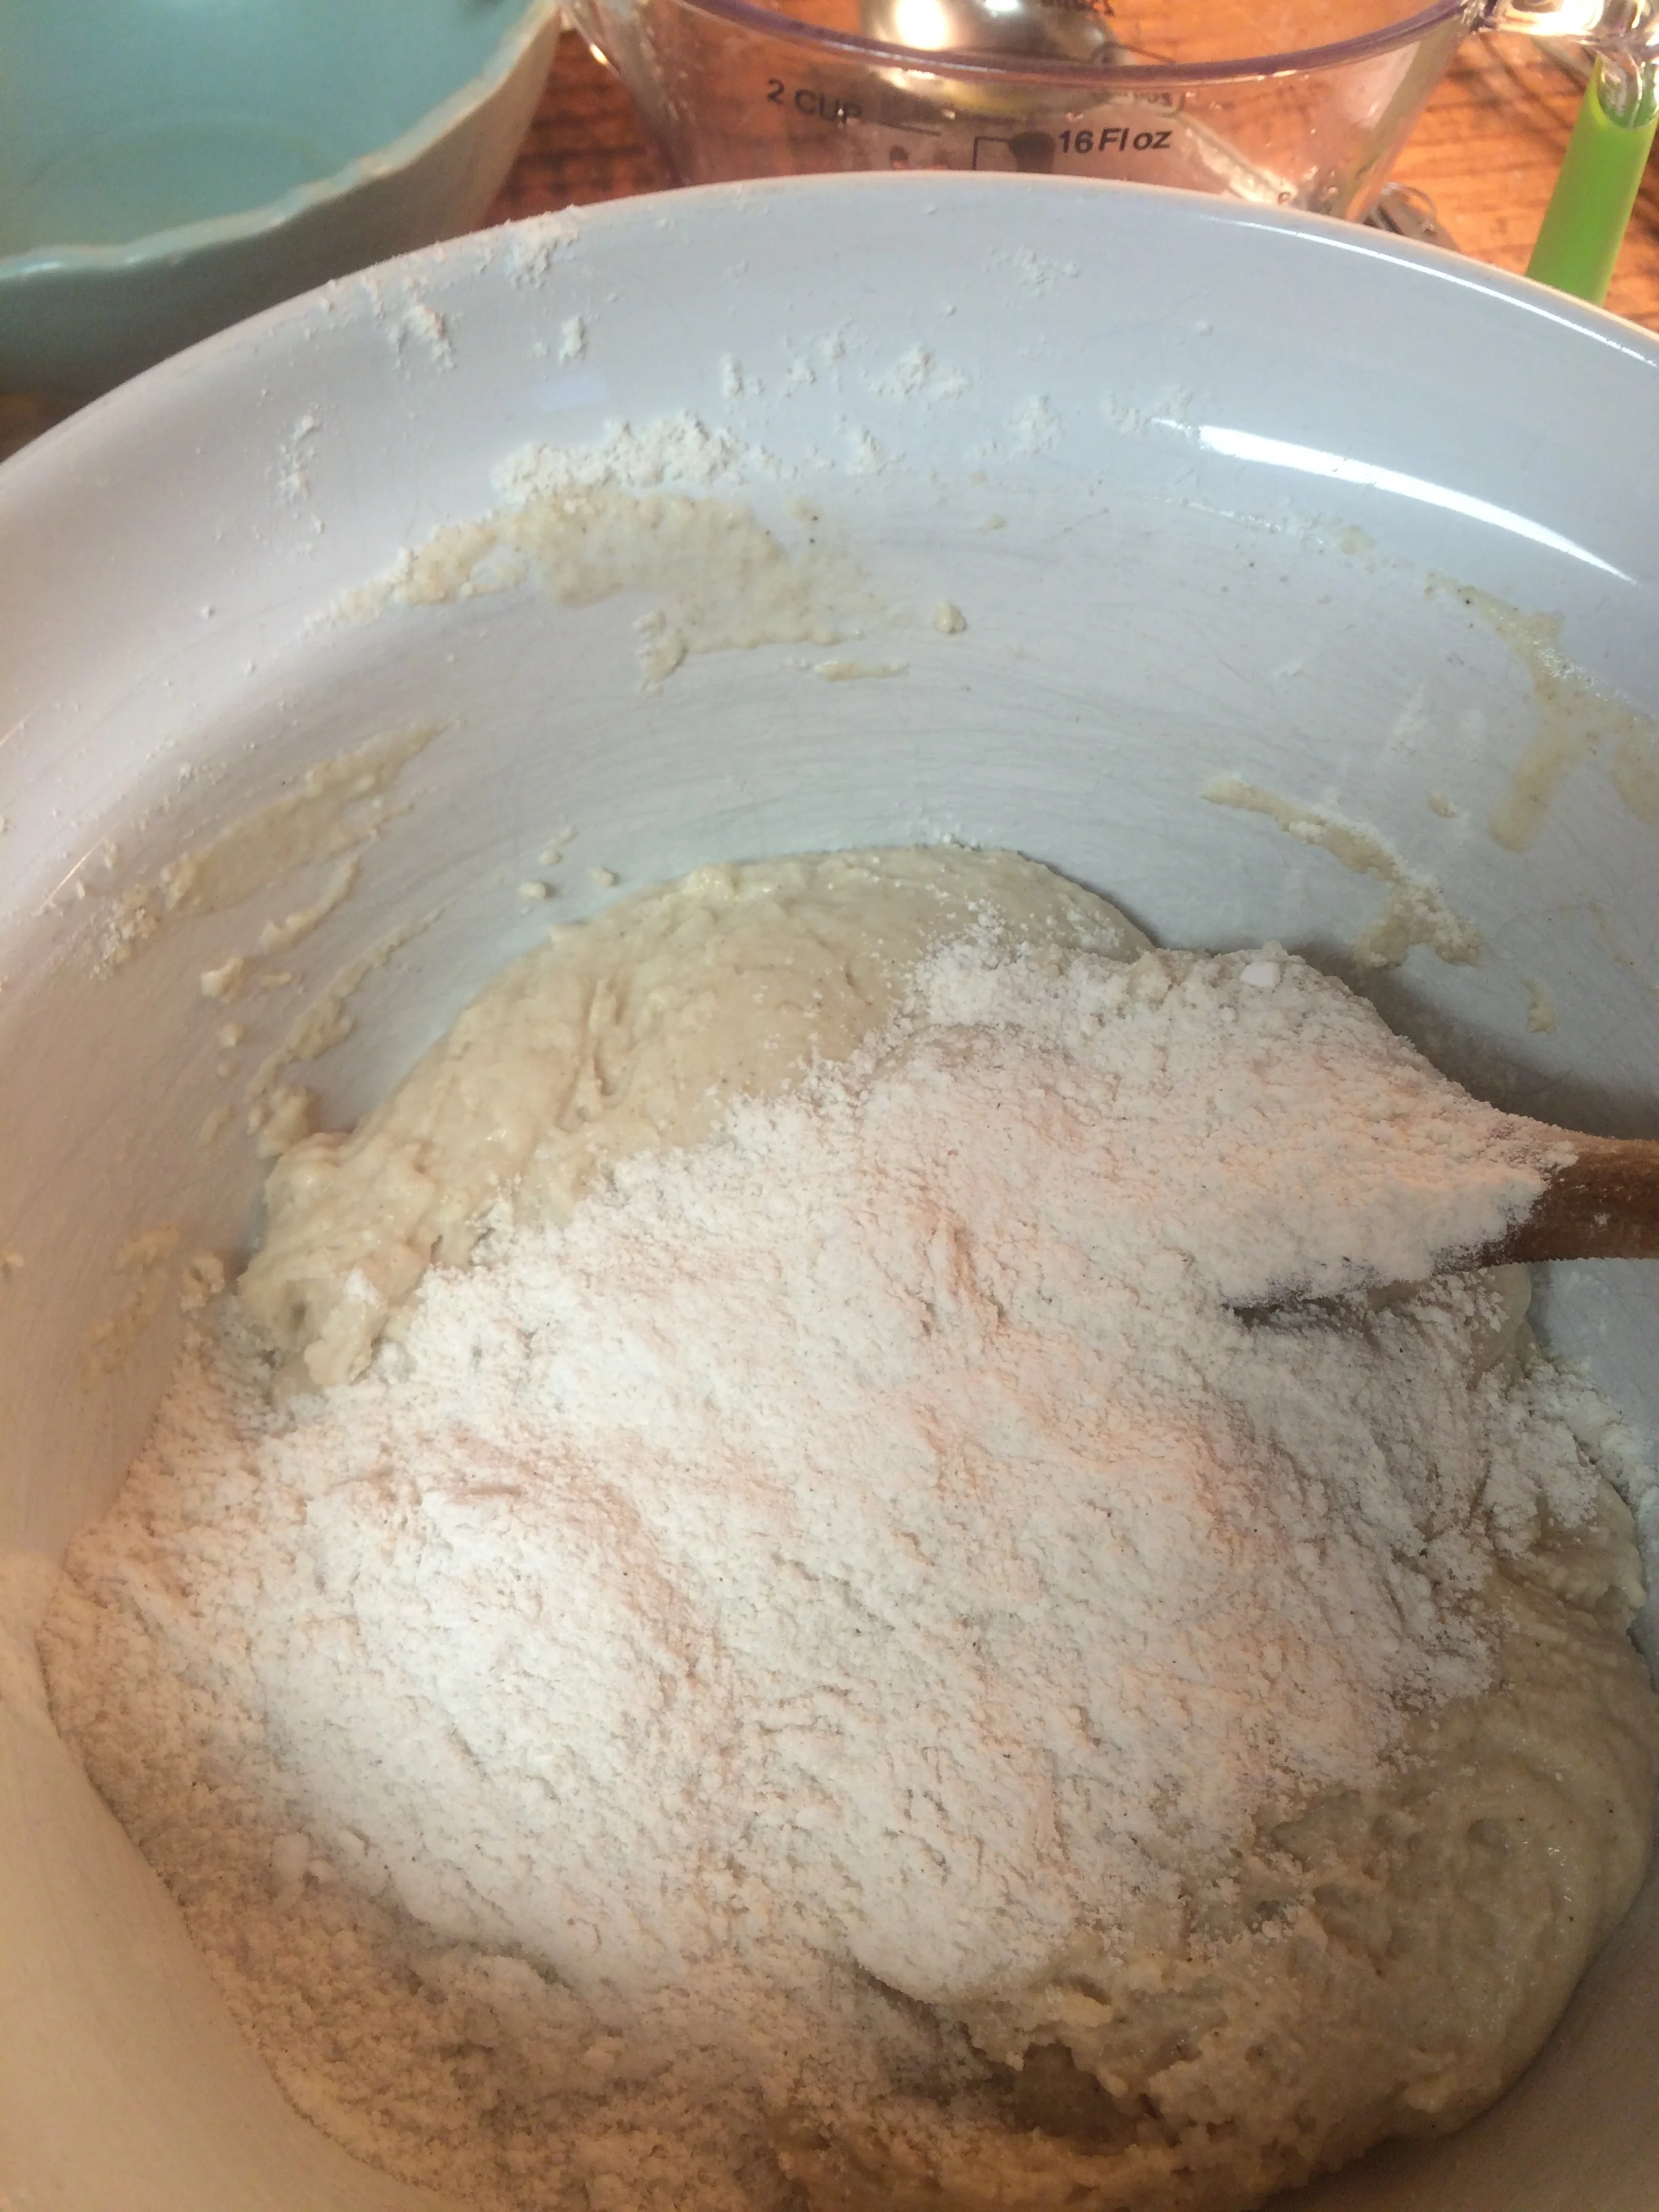
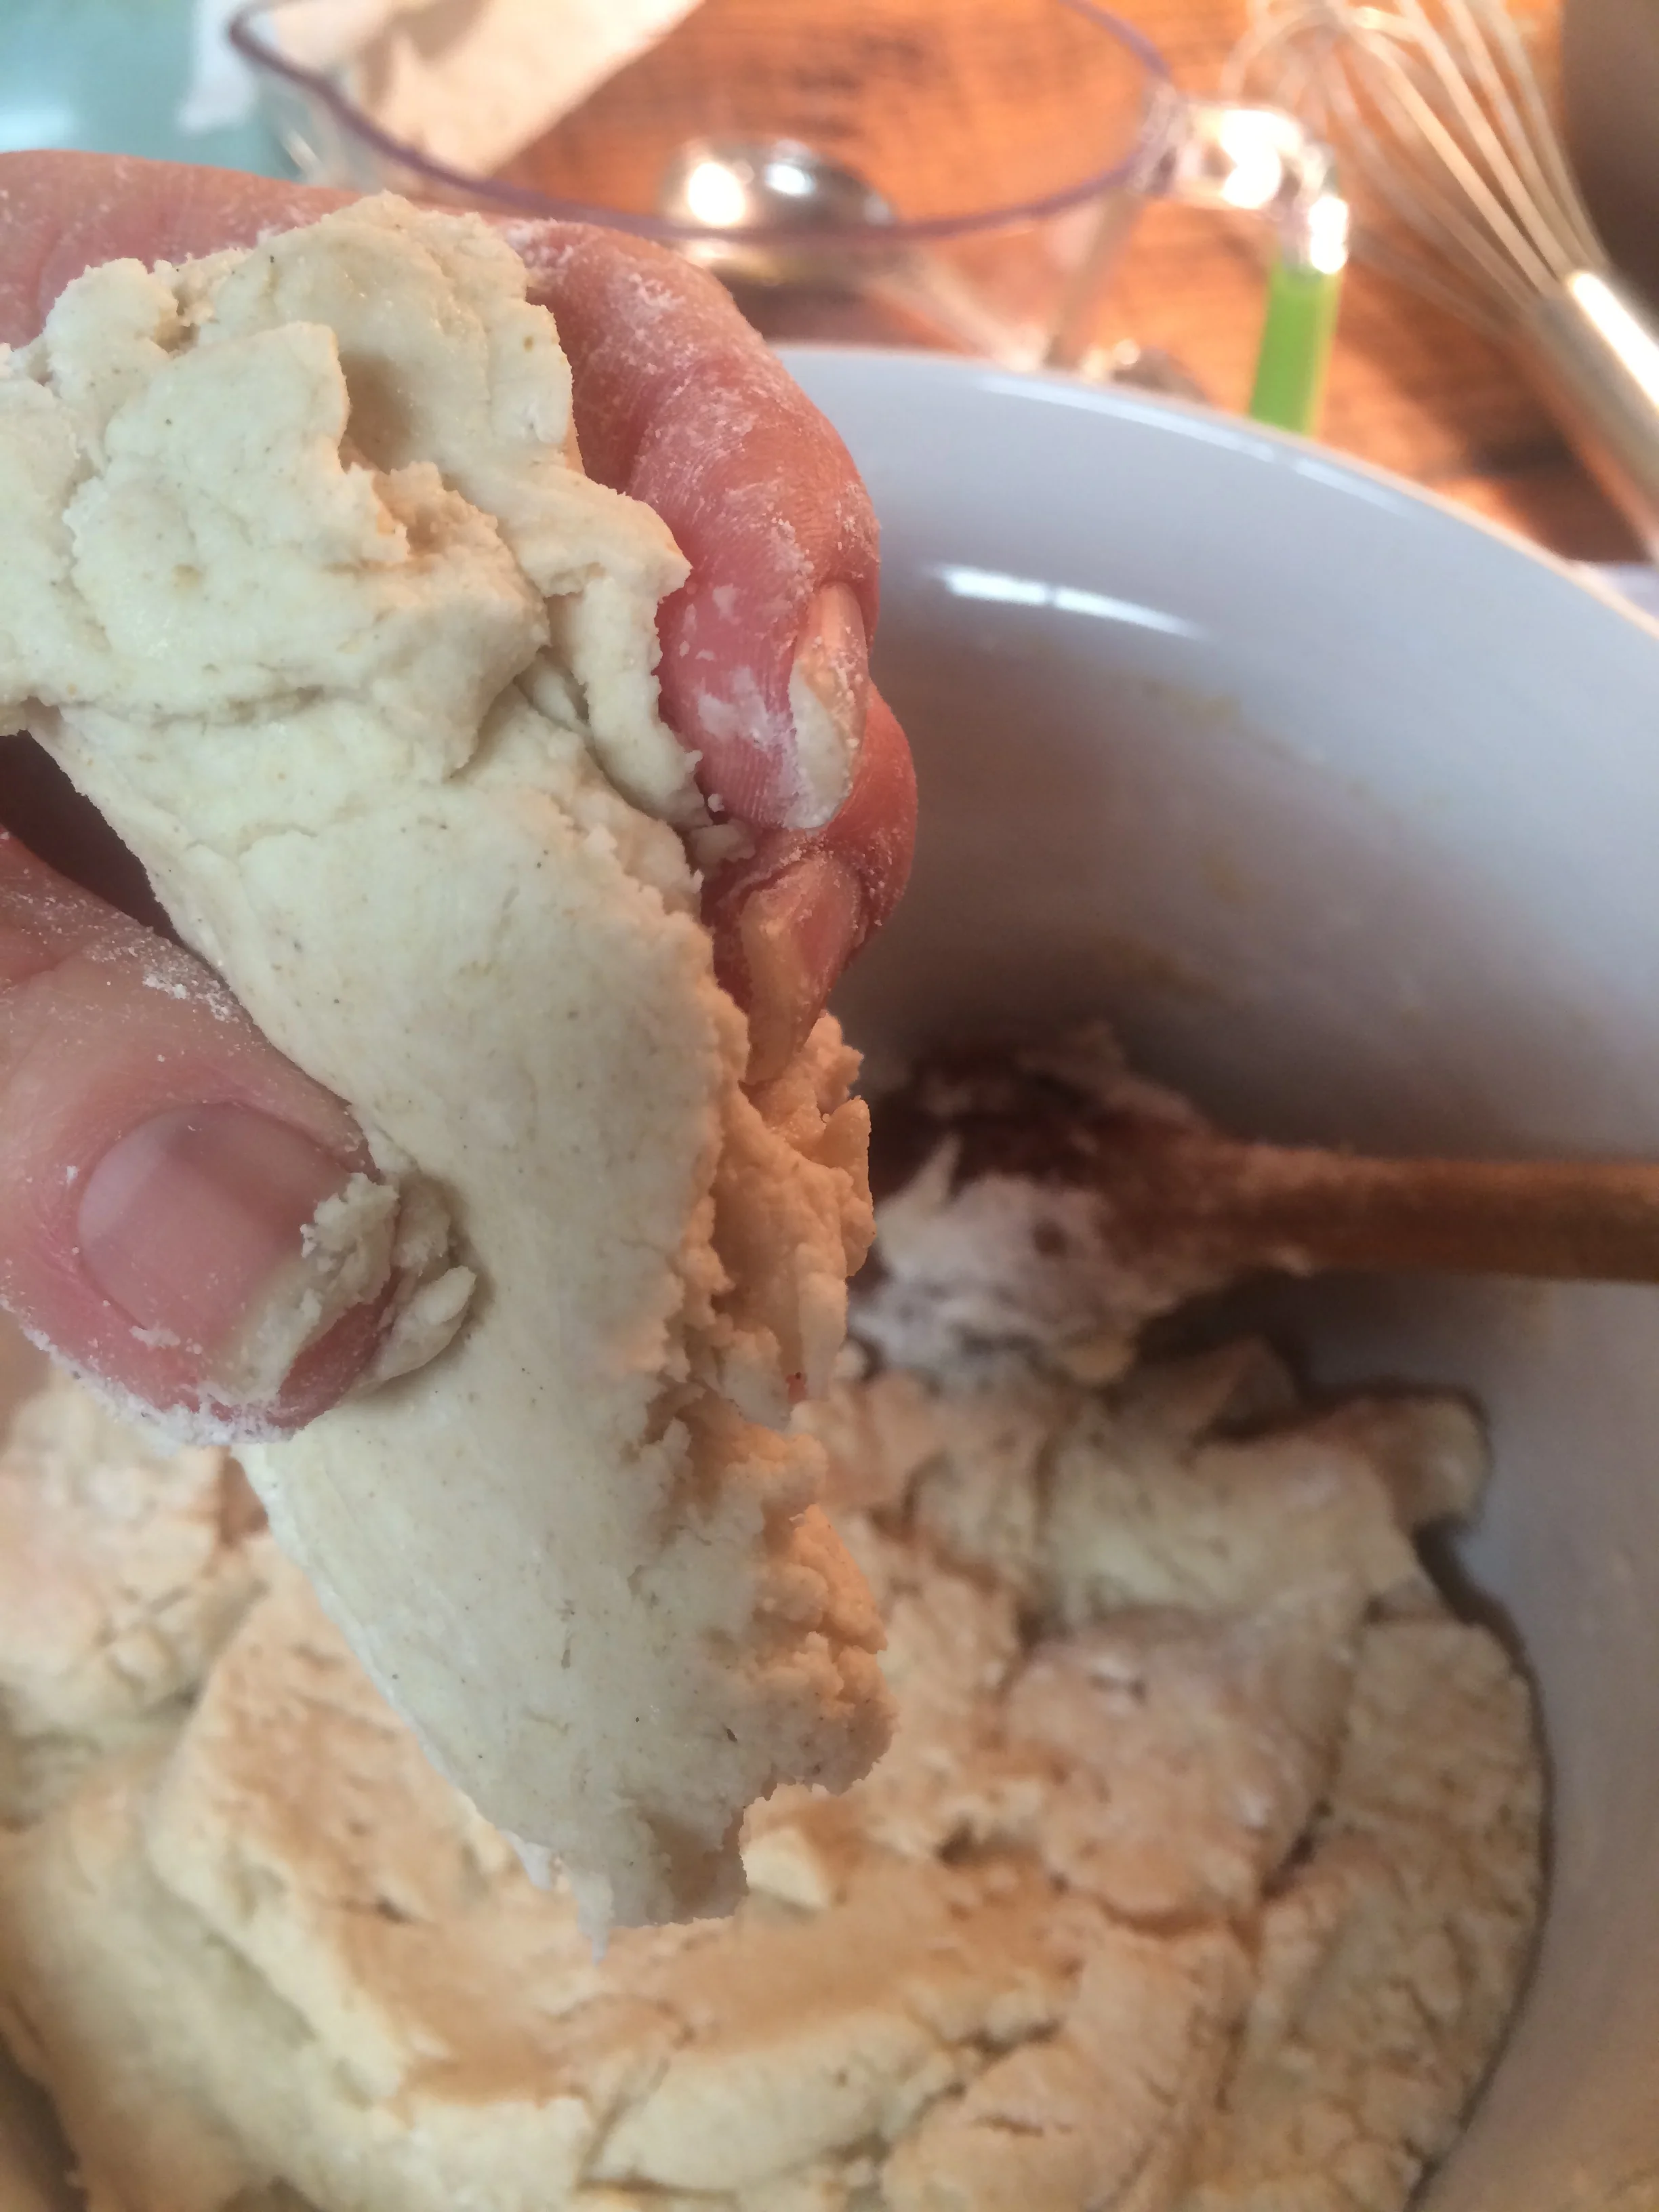
4. Pour in the yeast mixture, an additional 1/2 cup warm water and 1 Tbs. olive oil. Mix it well with a wooden spoon and add up to 1/4 cup warm water as needed to make a soft dough, but NOT goopy, (like most gf dough recipes seem to be!). You may need to add a teensy bit of gf flour, alternately. Mix it a bit to get to the right consistency. You should be able to hold a chunk of dough.
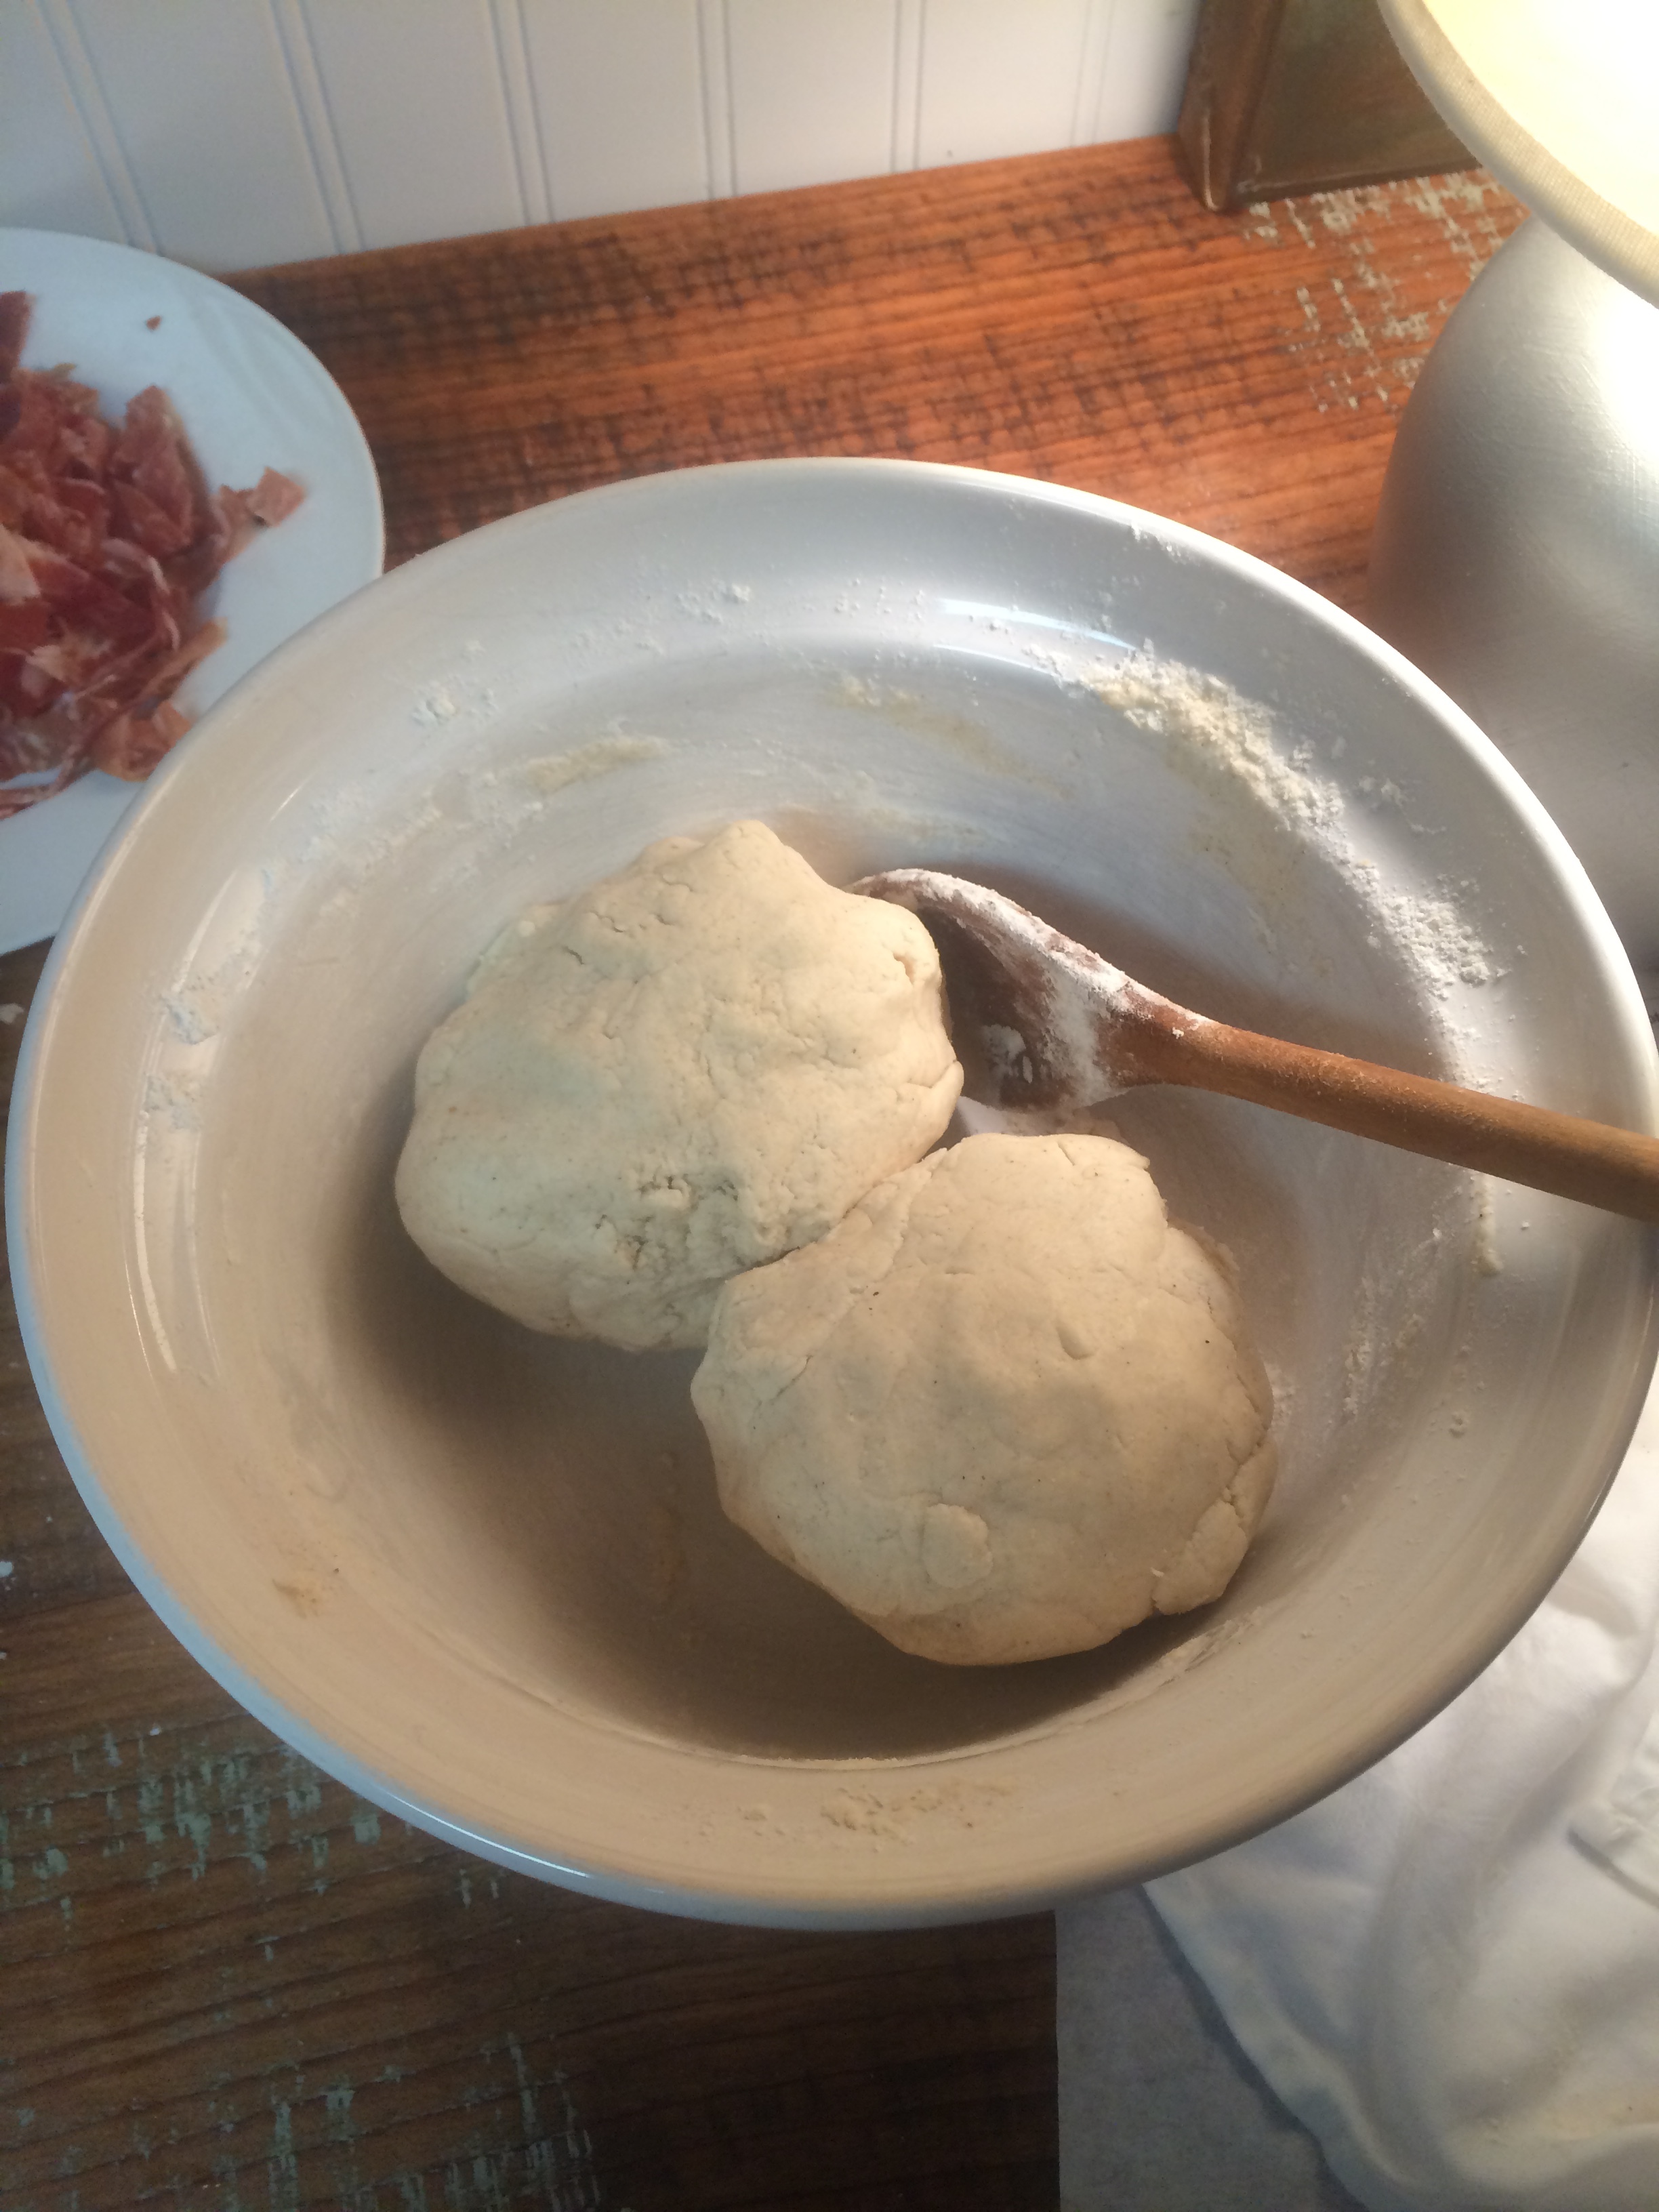
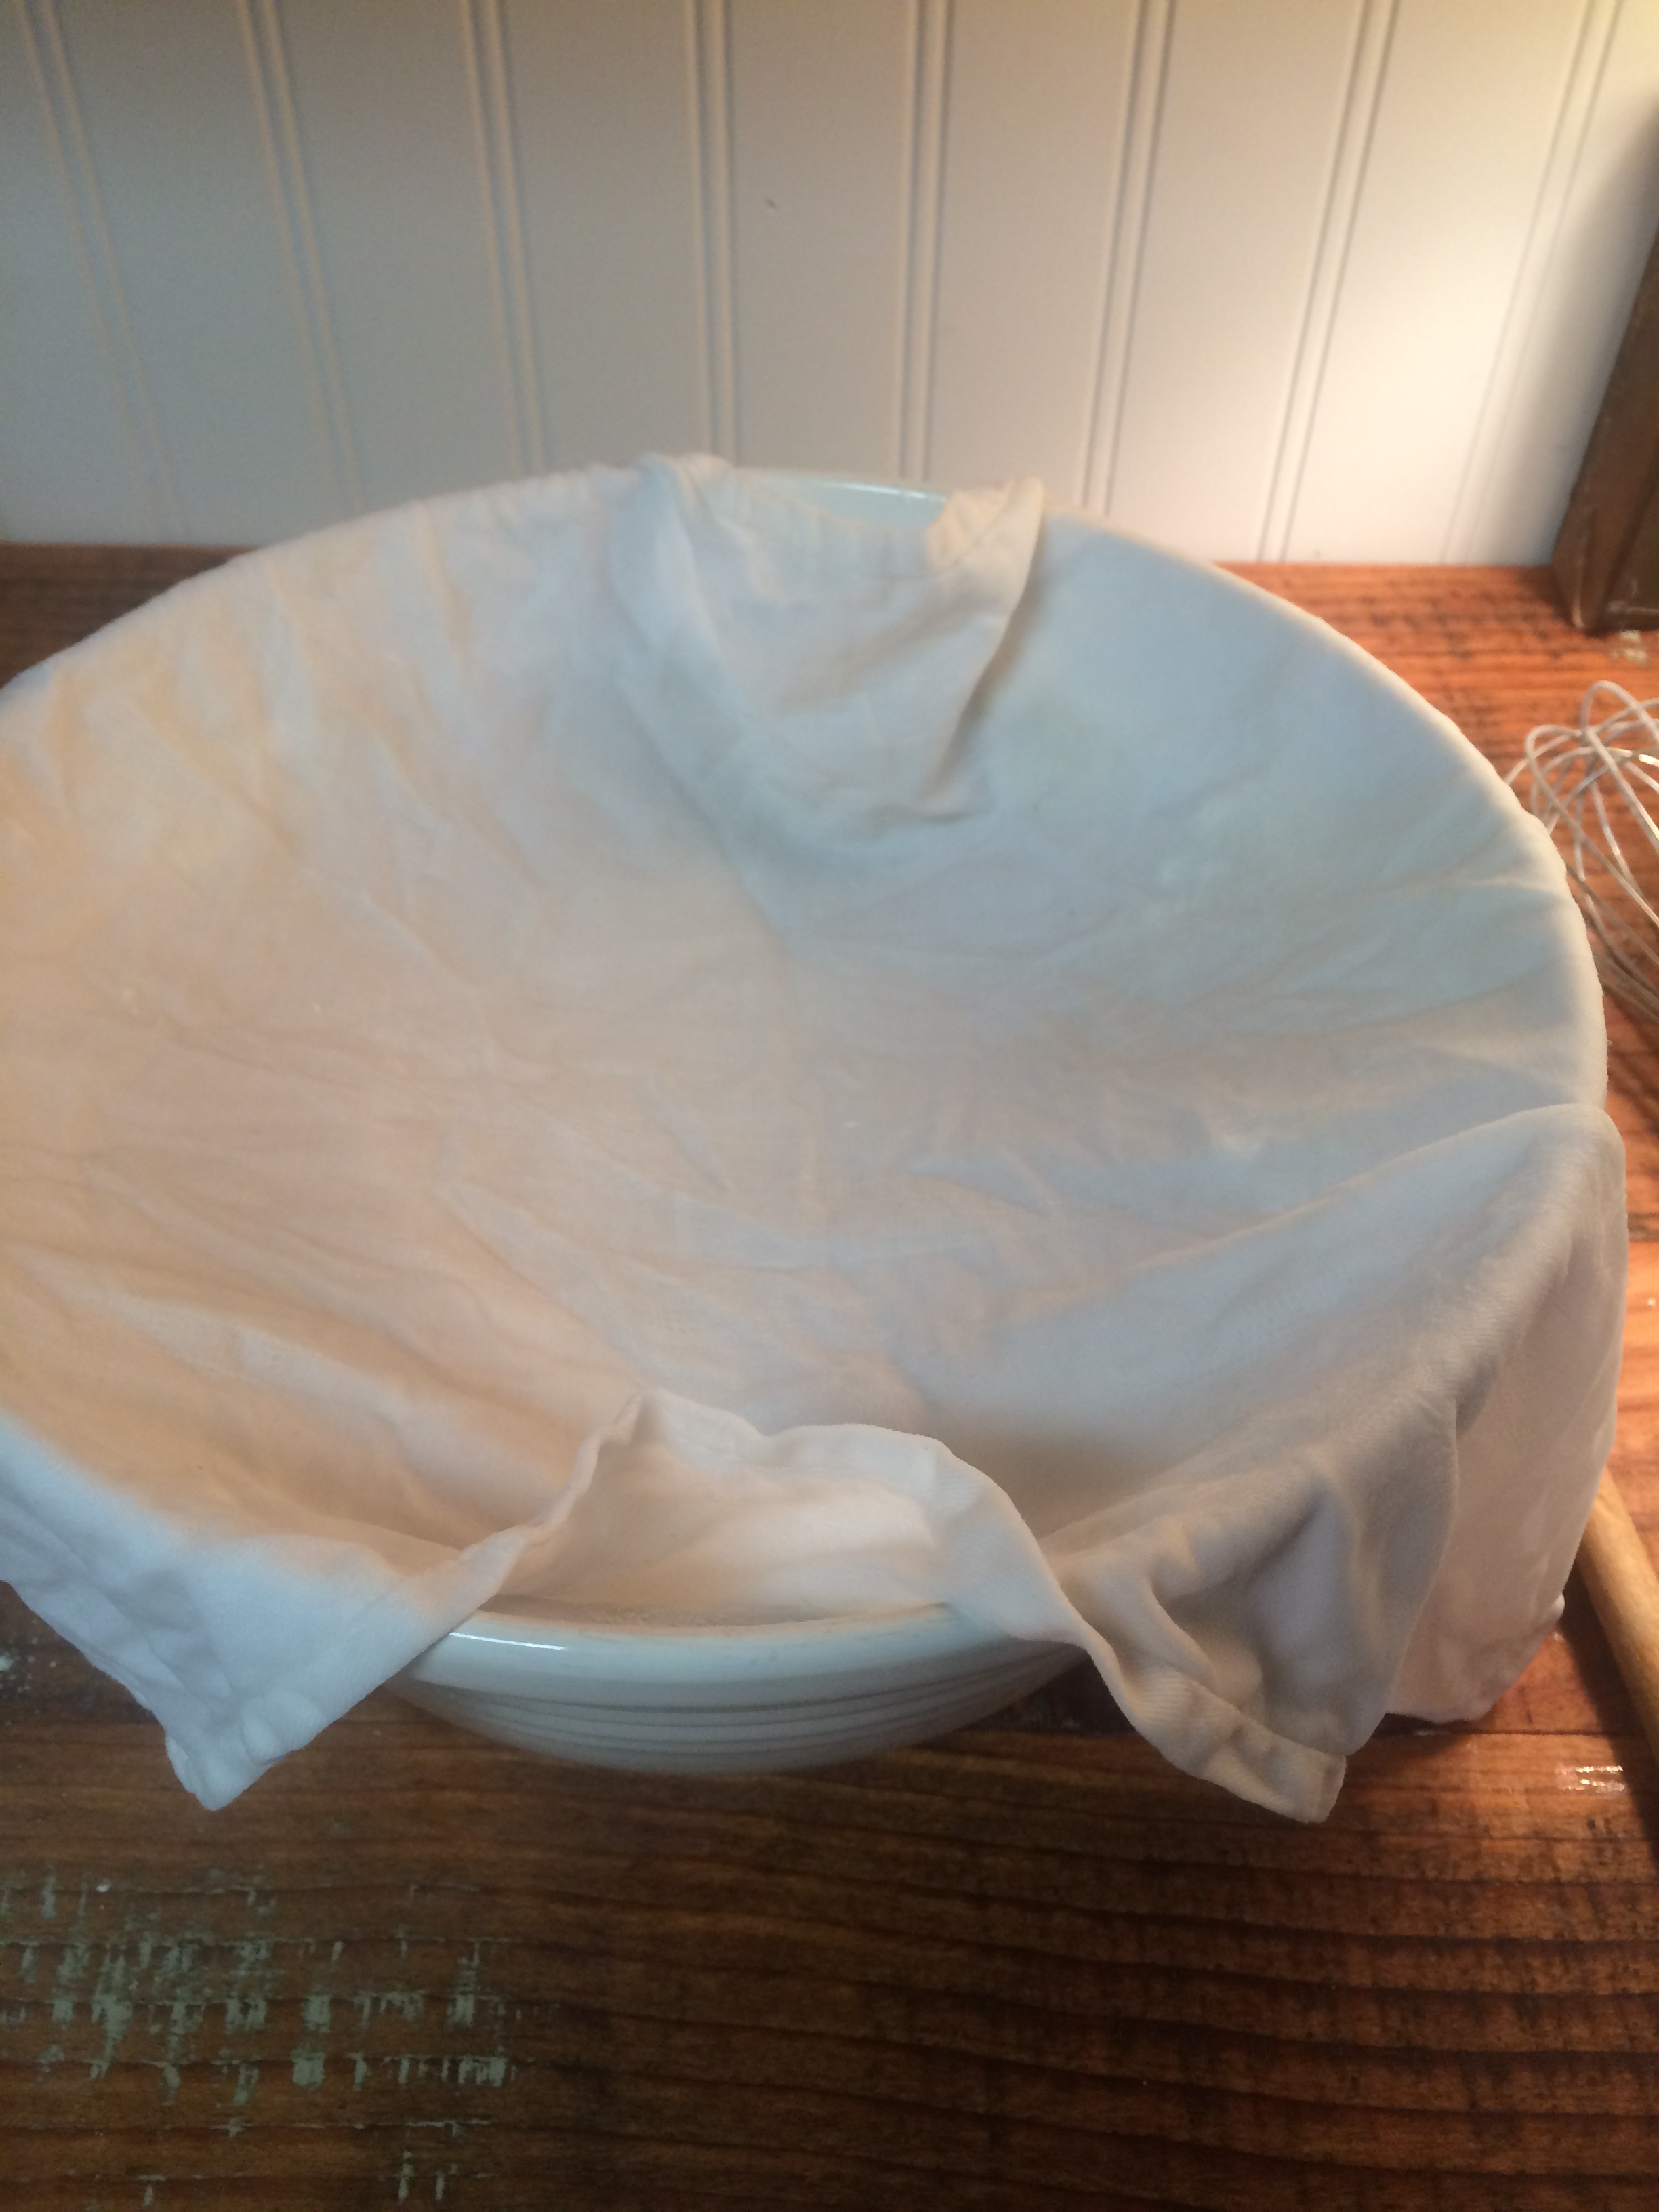
5. Divide dough in half, return to the bowl to rest and cover with a damp towel to keep the dough from drying out. (GF dough is just weird, people!) Get your toppings ready!
6. Preheat your oven to 500* Yep! It’s hot! BE SURE to put your stone into the oven, a little higher than the middle, before it starts preheating. It needs to be hot too. *(if you don’t have a stone, put your pizza pan in the oven and preheat to 500*)
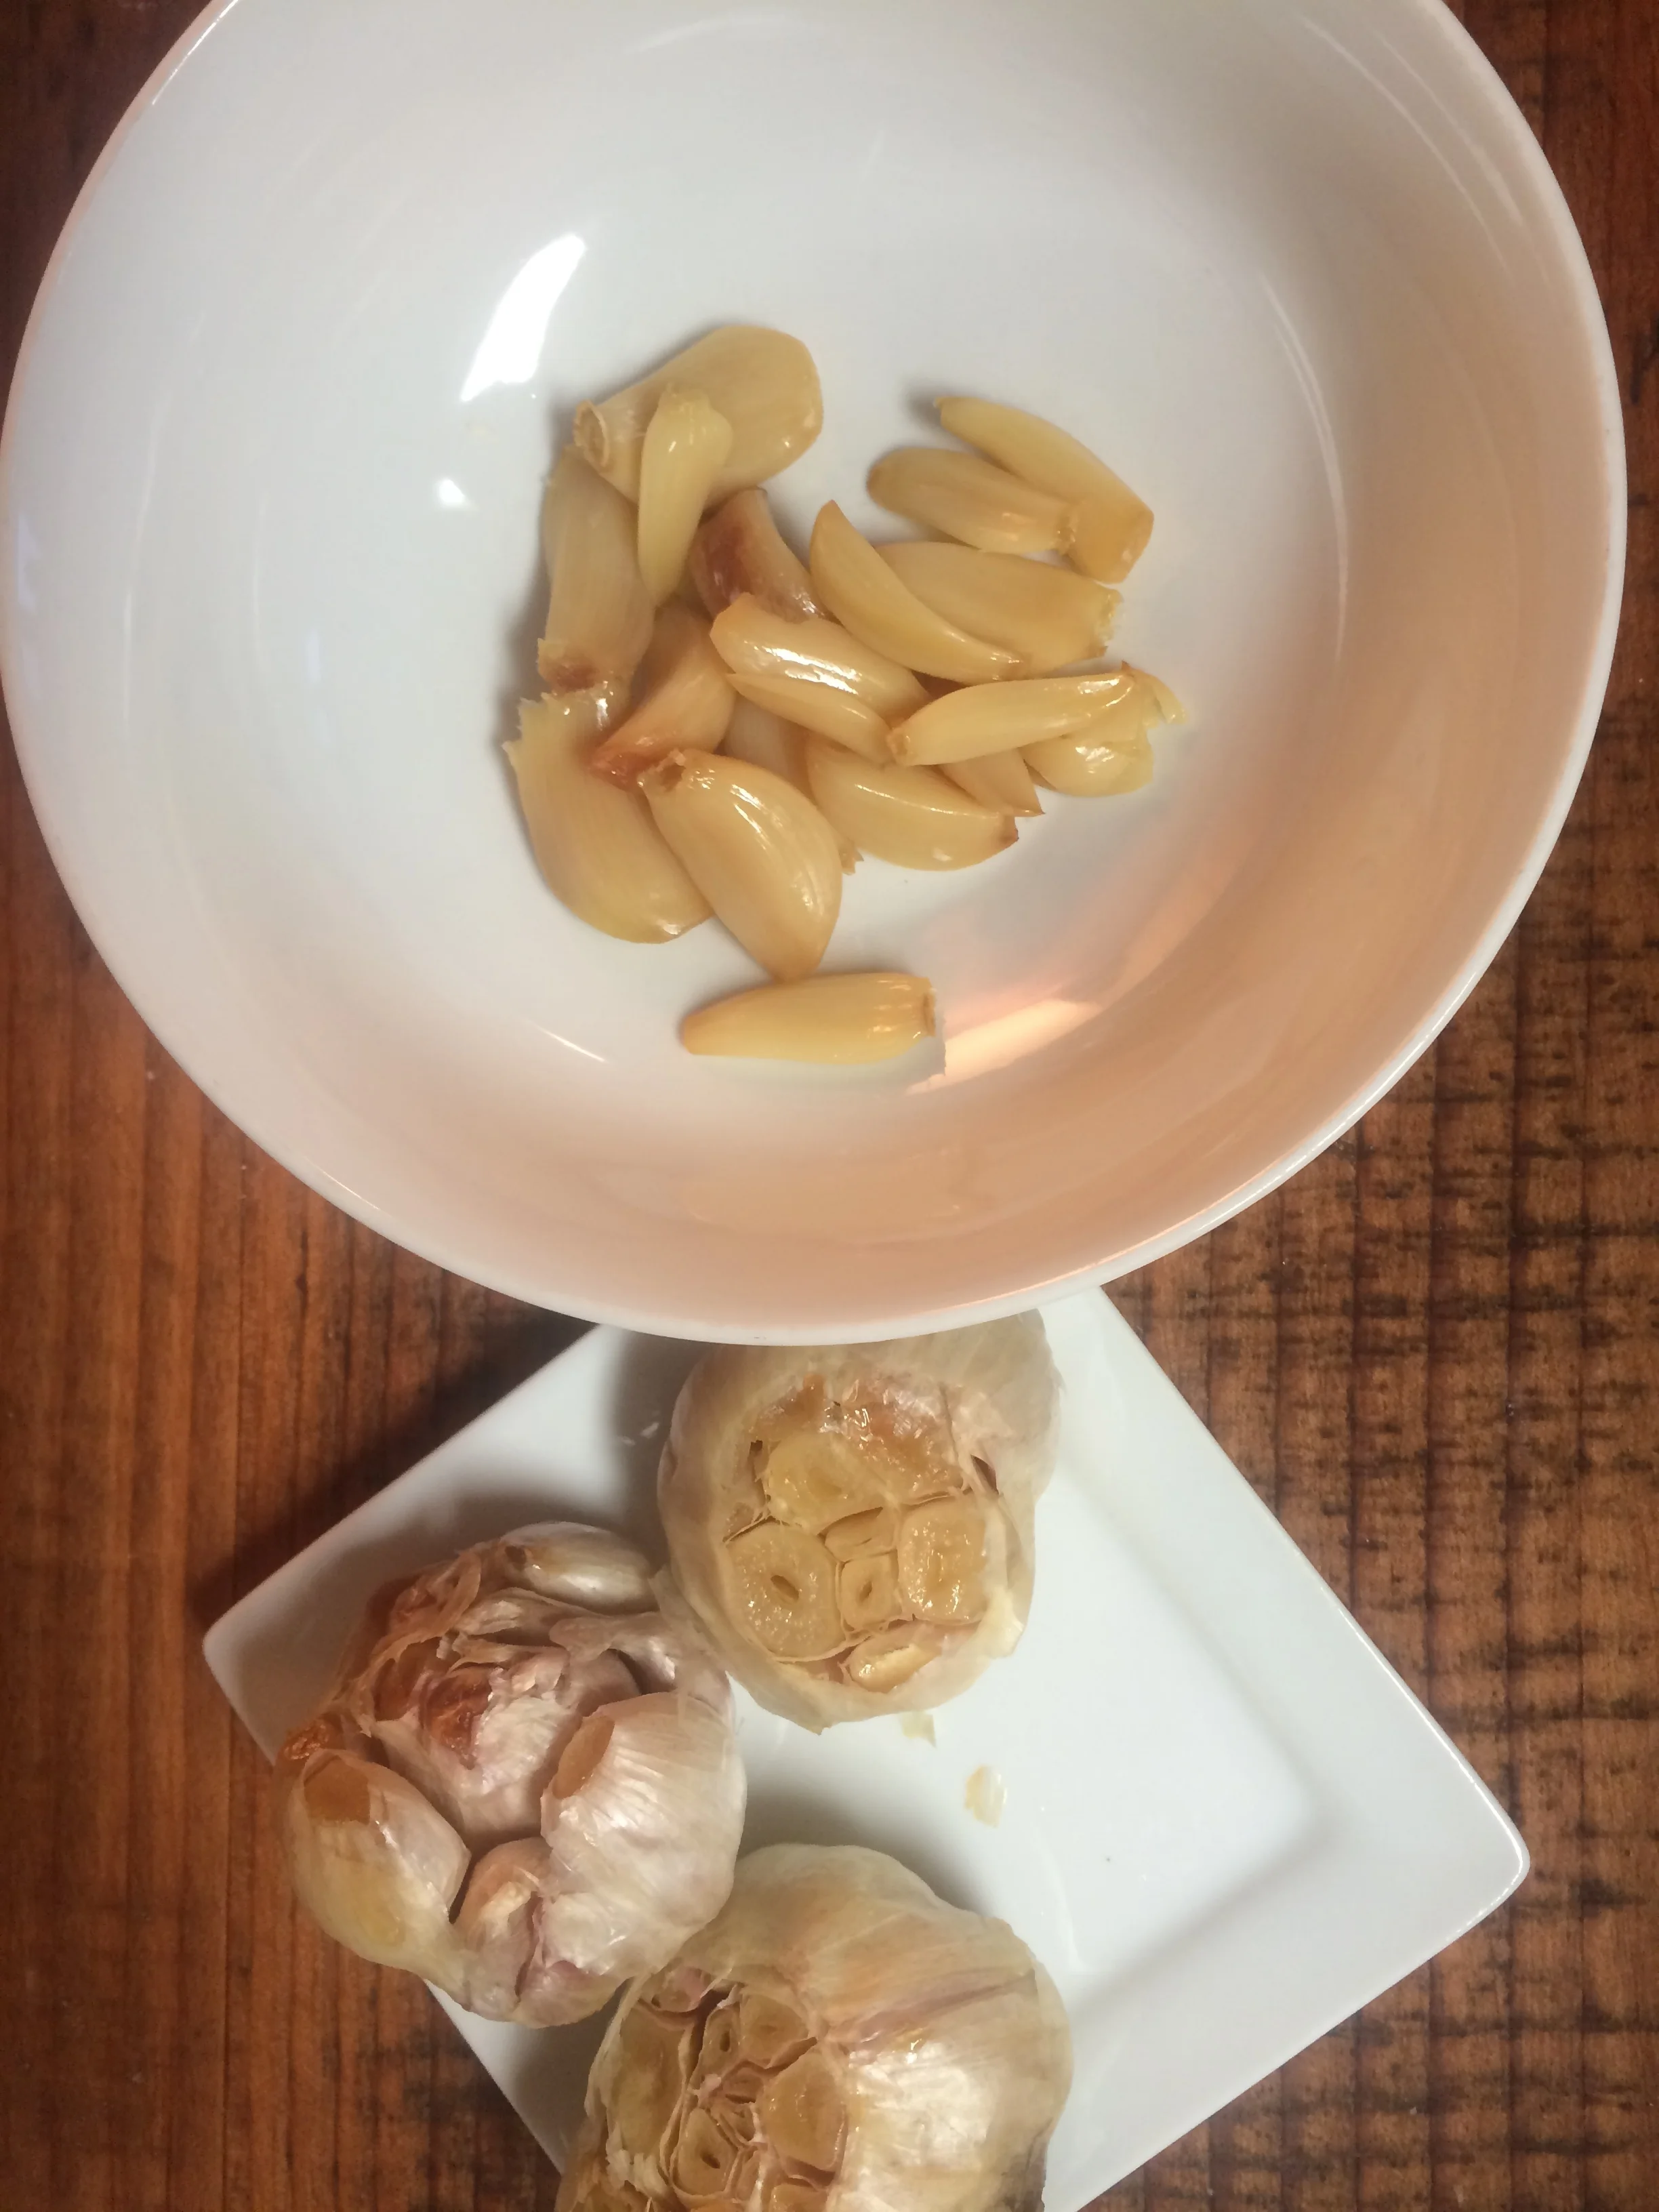
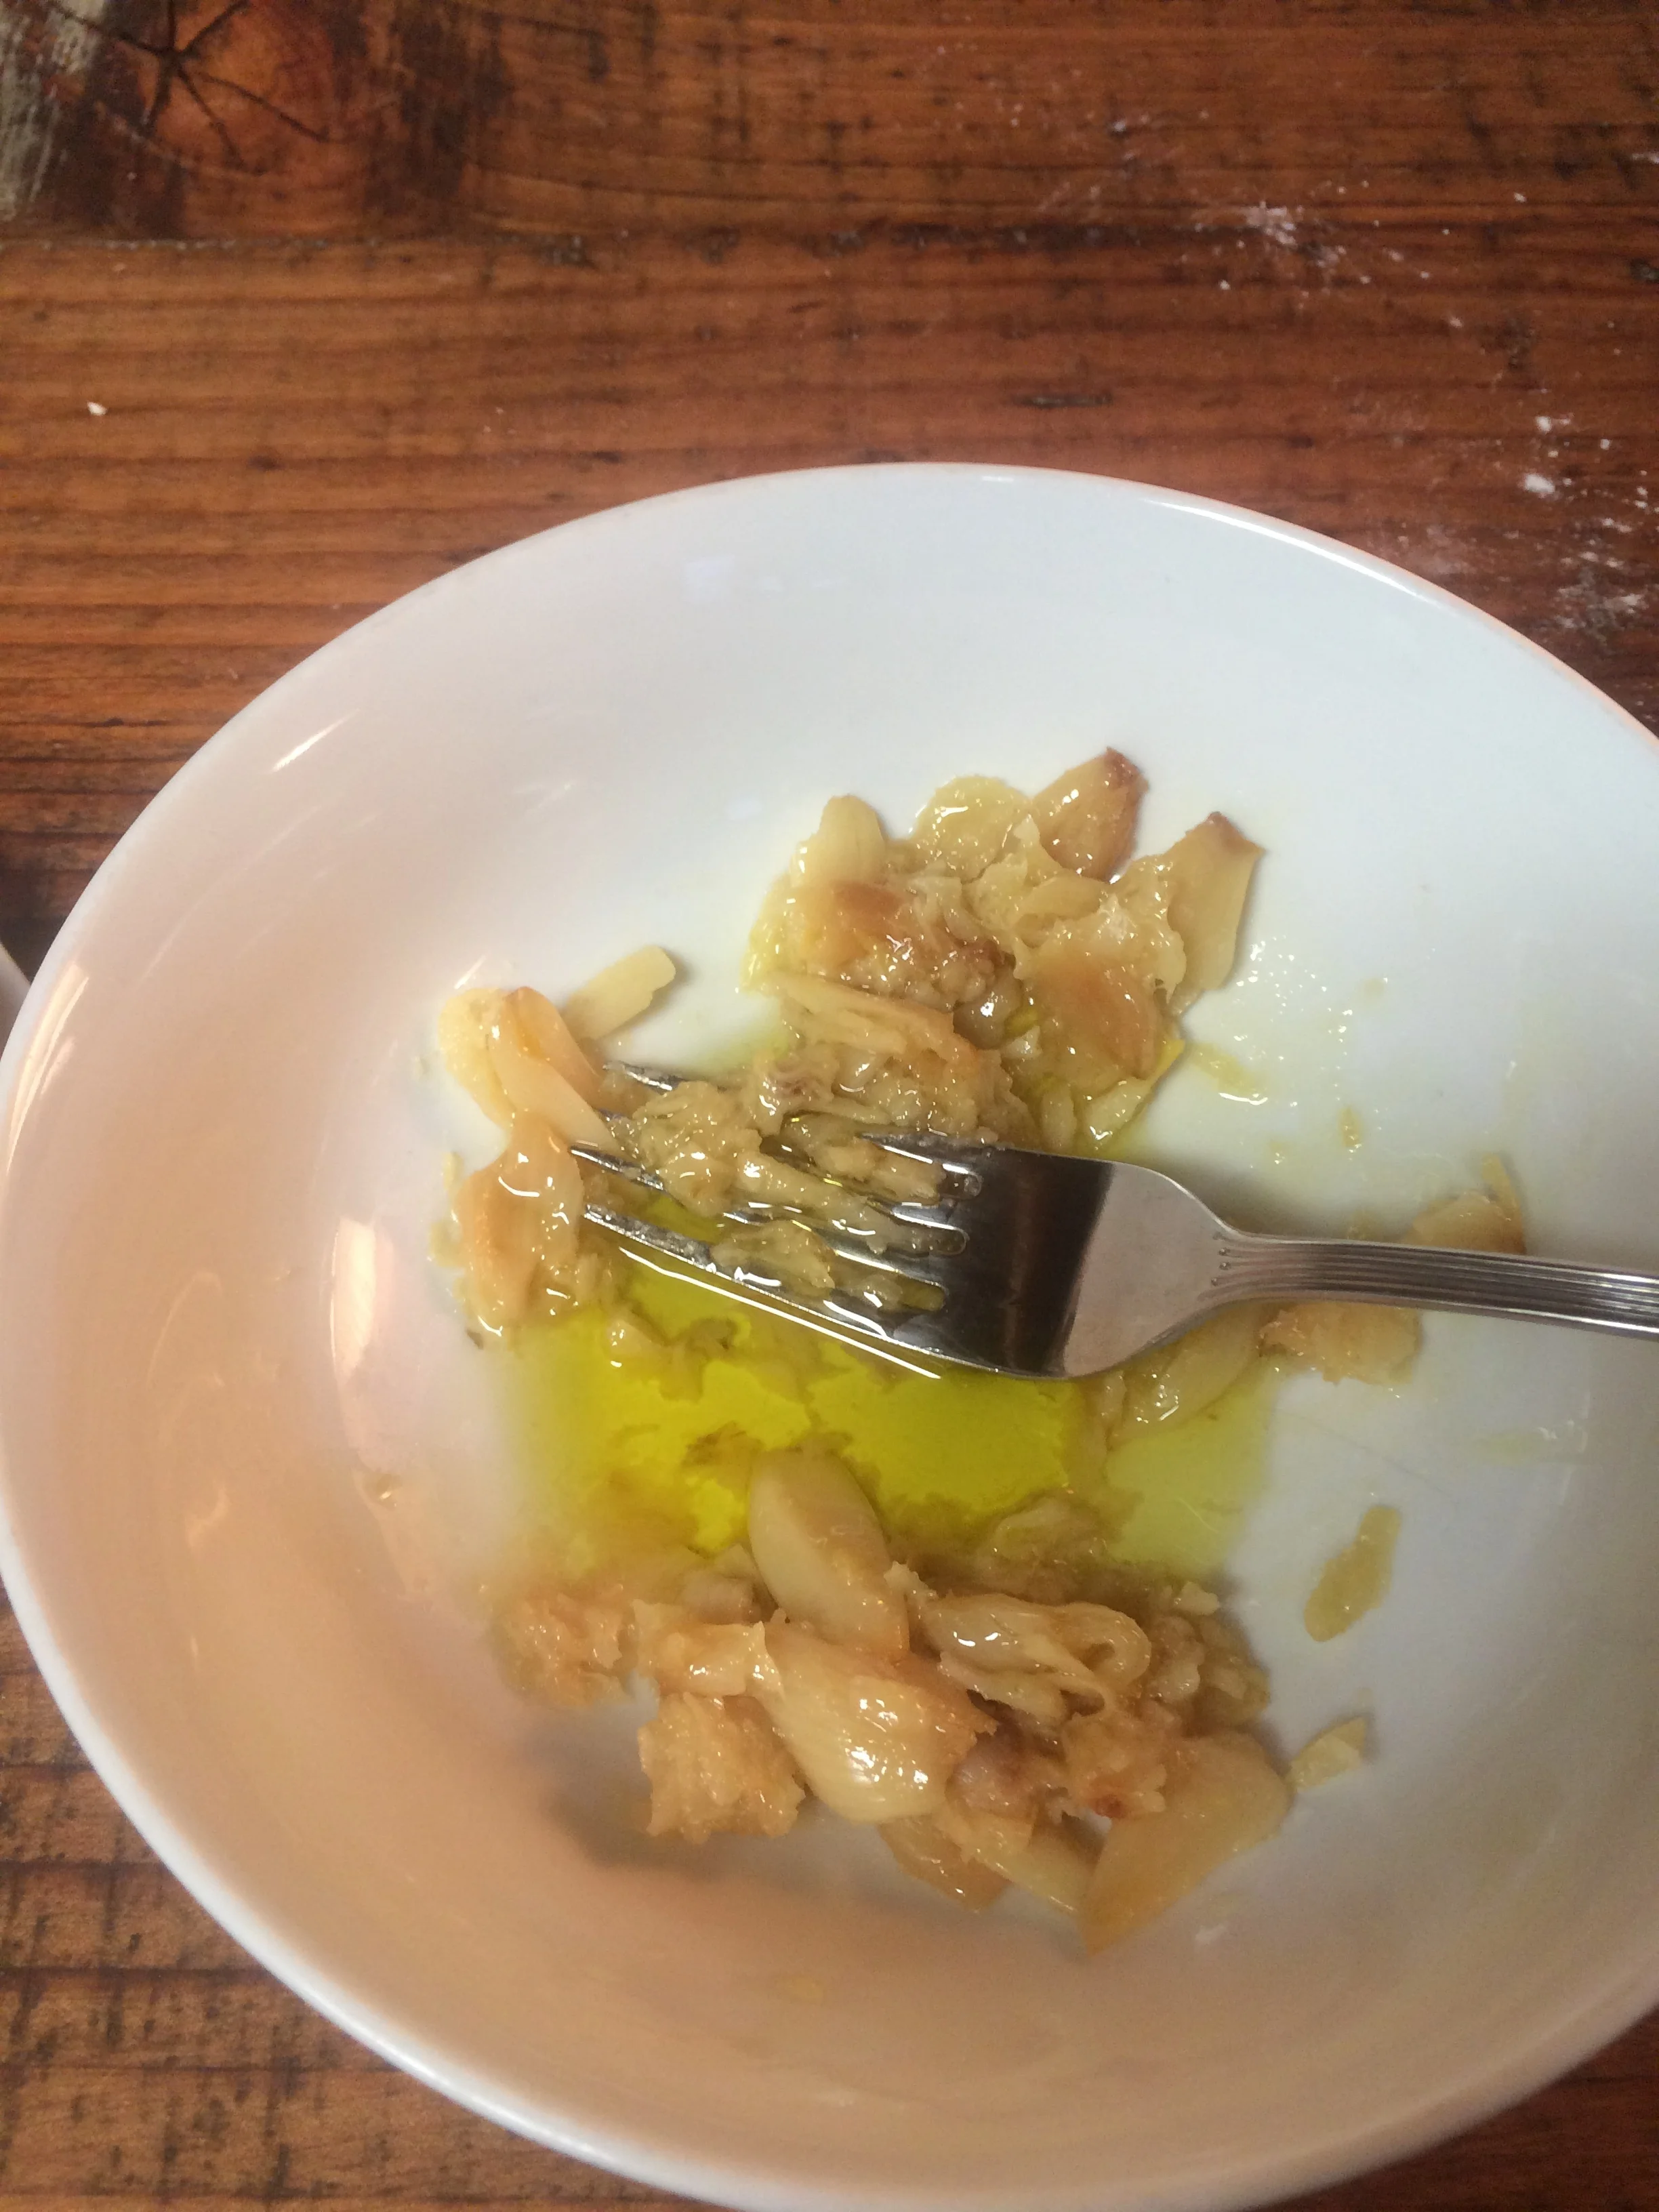
7. Meanwhile, prep your toppings. Whatever your heart fancies, My heart was dreaming of roasted garlic so I roasted 4 plump and fragrant heads of garlic, used one and saved the others in my fridge for other meals this week. >smart cookin’<
*A quicker and equally lovely garlic-lovin' option: coarsely chop or slice 6-8 cloves of fresh garlic and place them in a small pan with about 1/3 cup olive oil. Cook gently on medium/low heat for 5-10 minutes until soft and just starting to turn golden. Do NOT overcook. Then turn off heat and let sit. I do this at the start of my pizza prep, allowing the oil to become infused with garlic glory. I drizzle the oil and garlic chunks all over the pizza and oh.my.stars! It's divine!
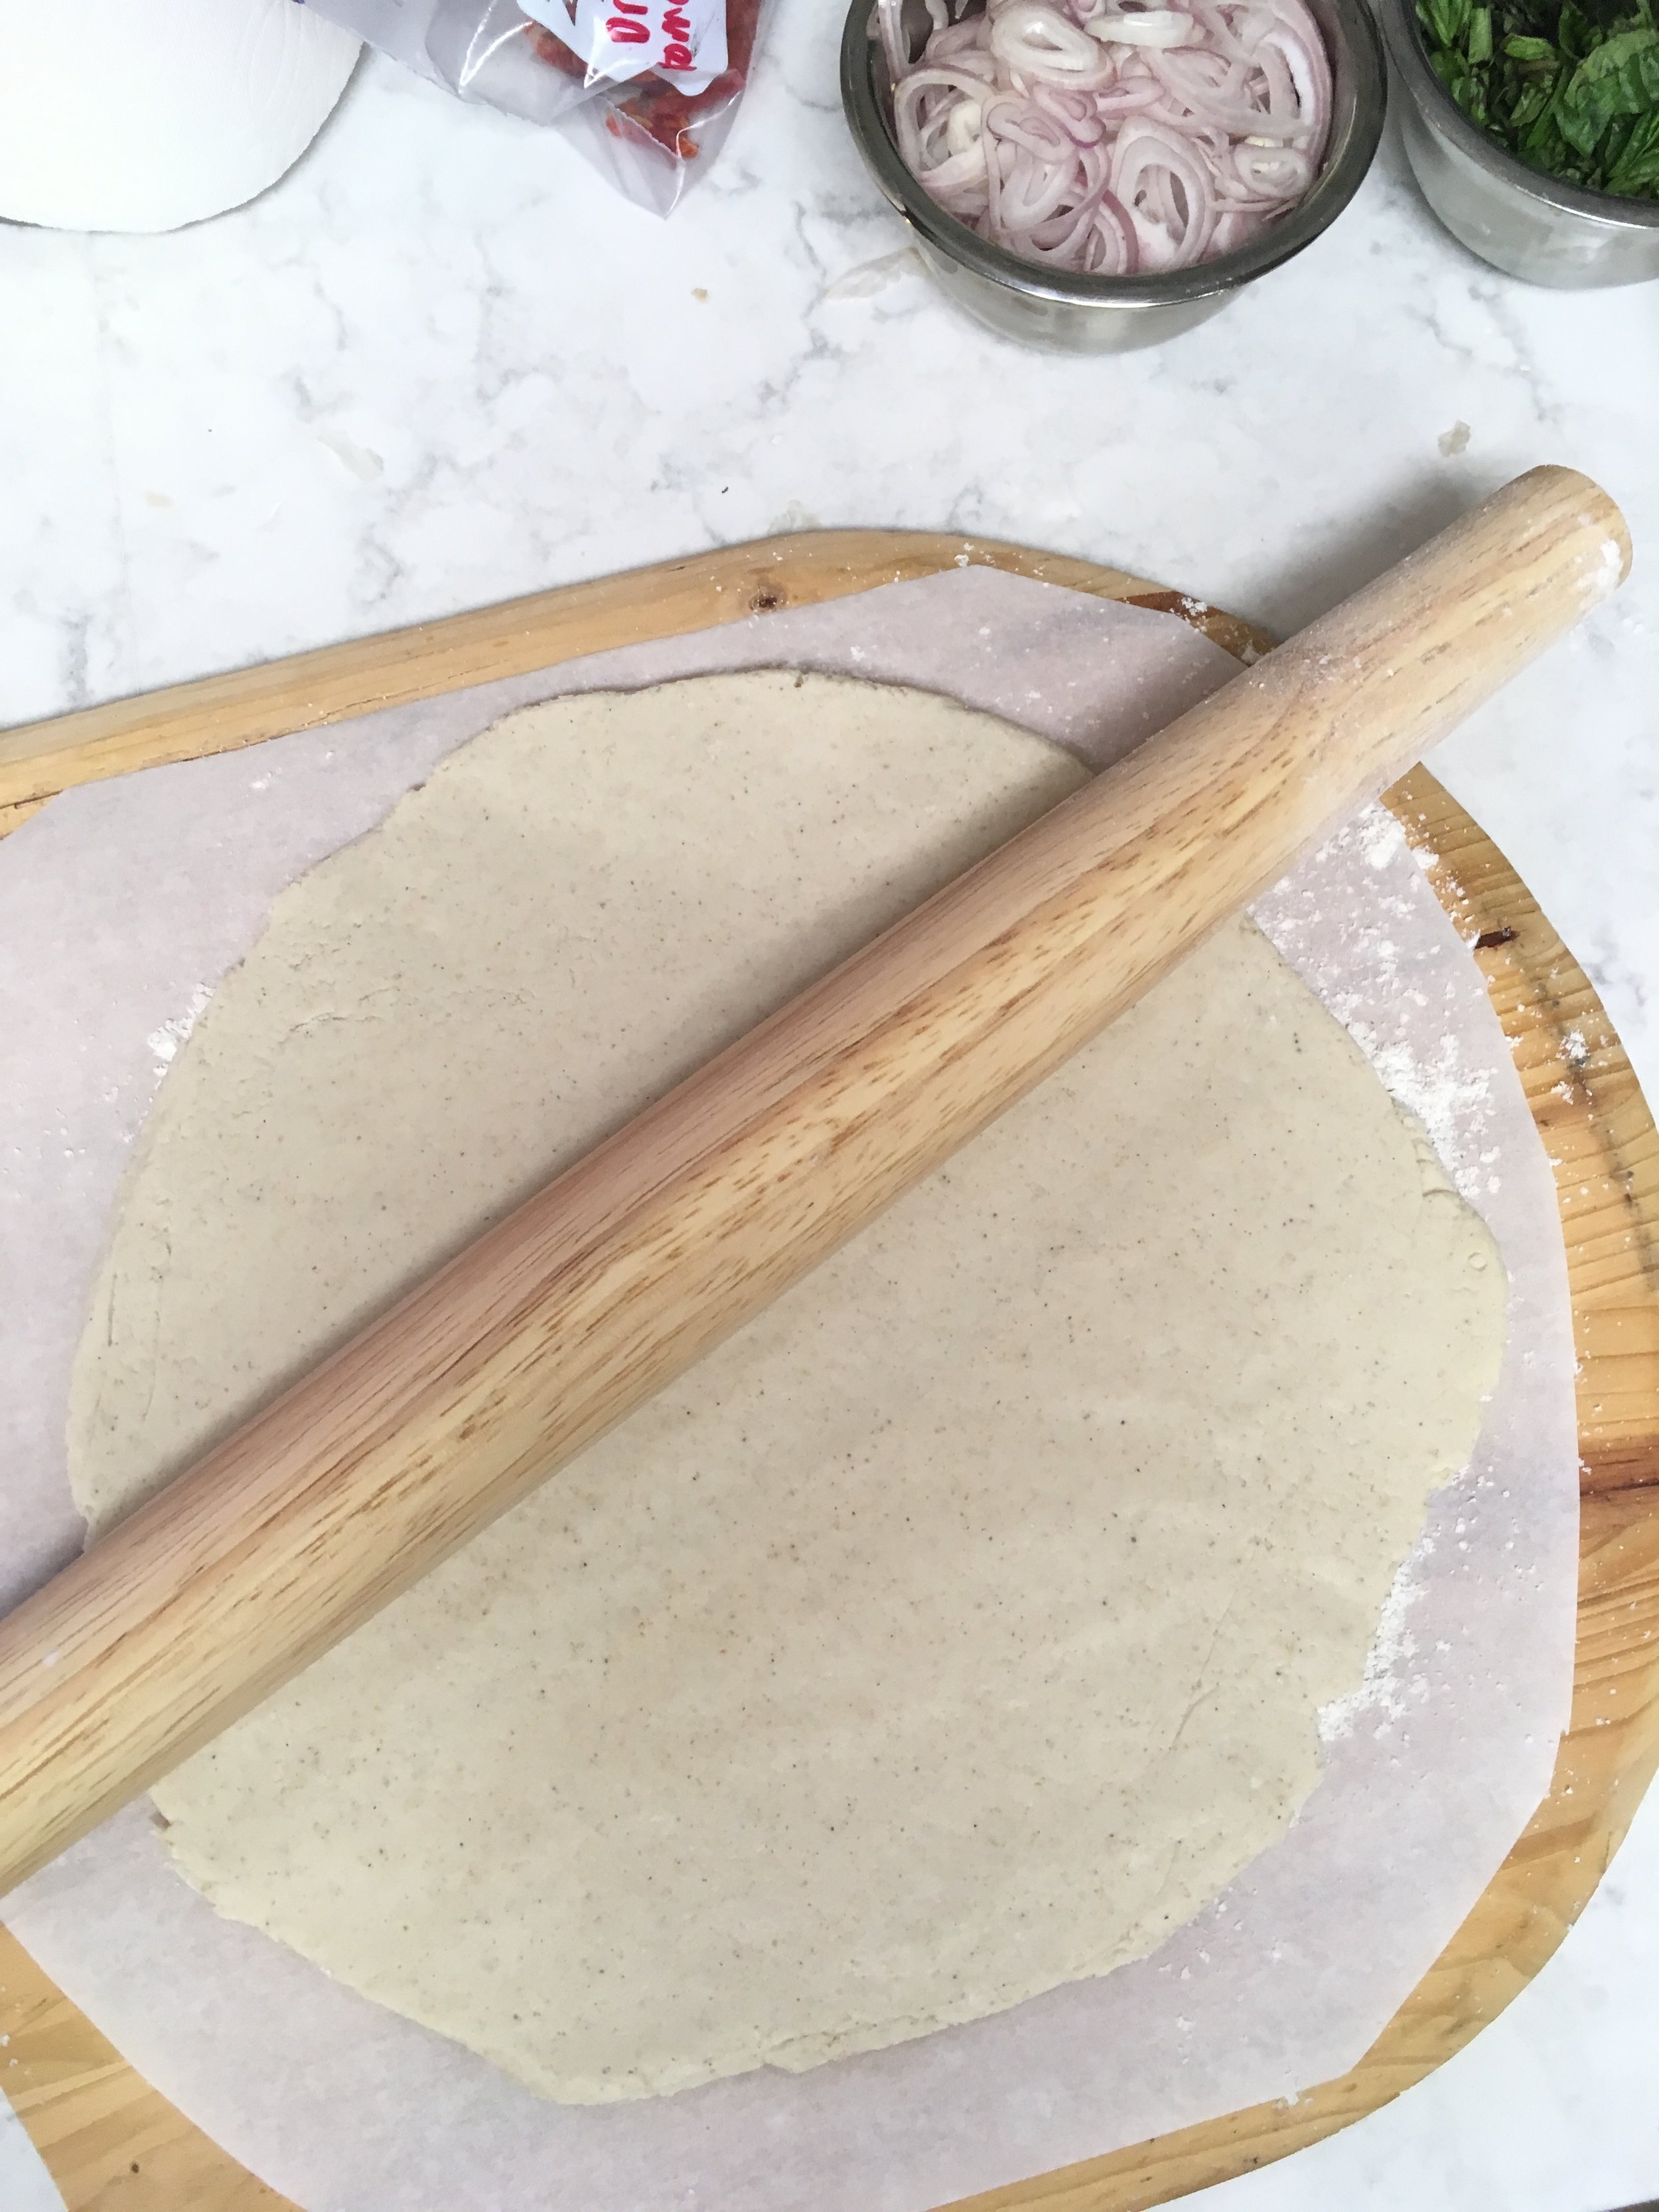
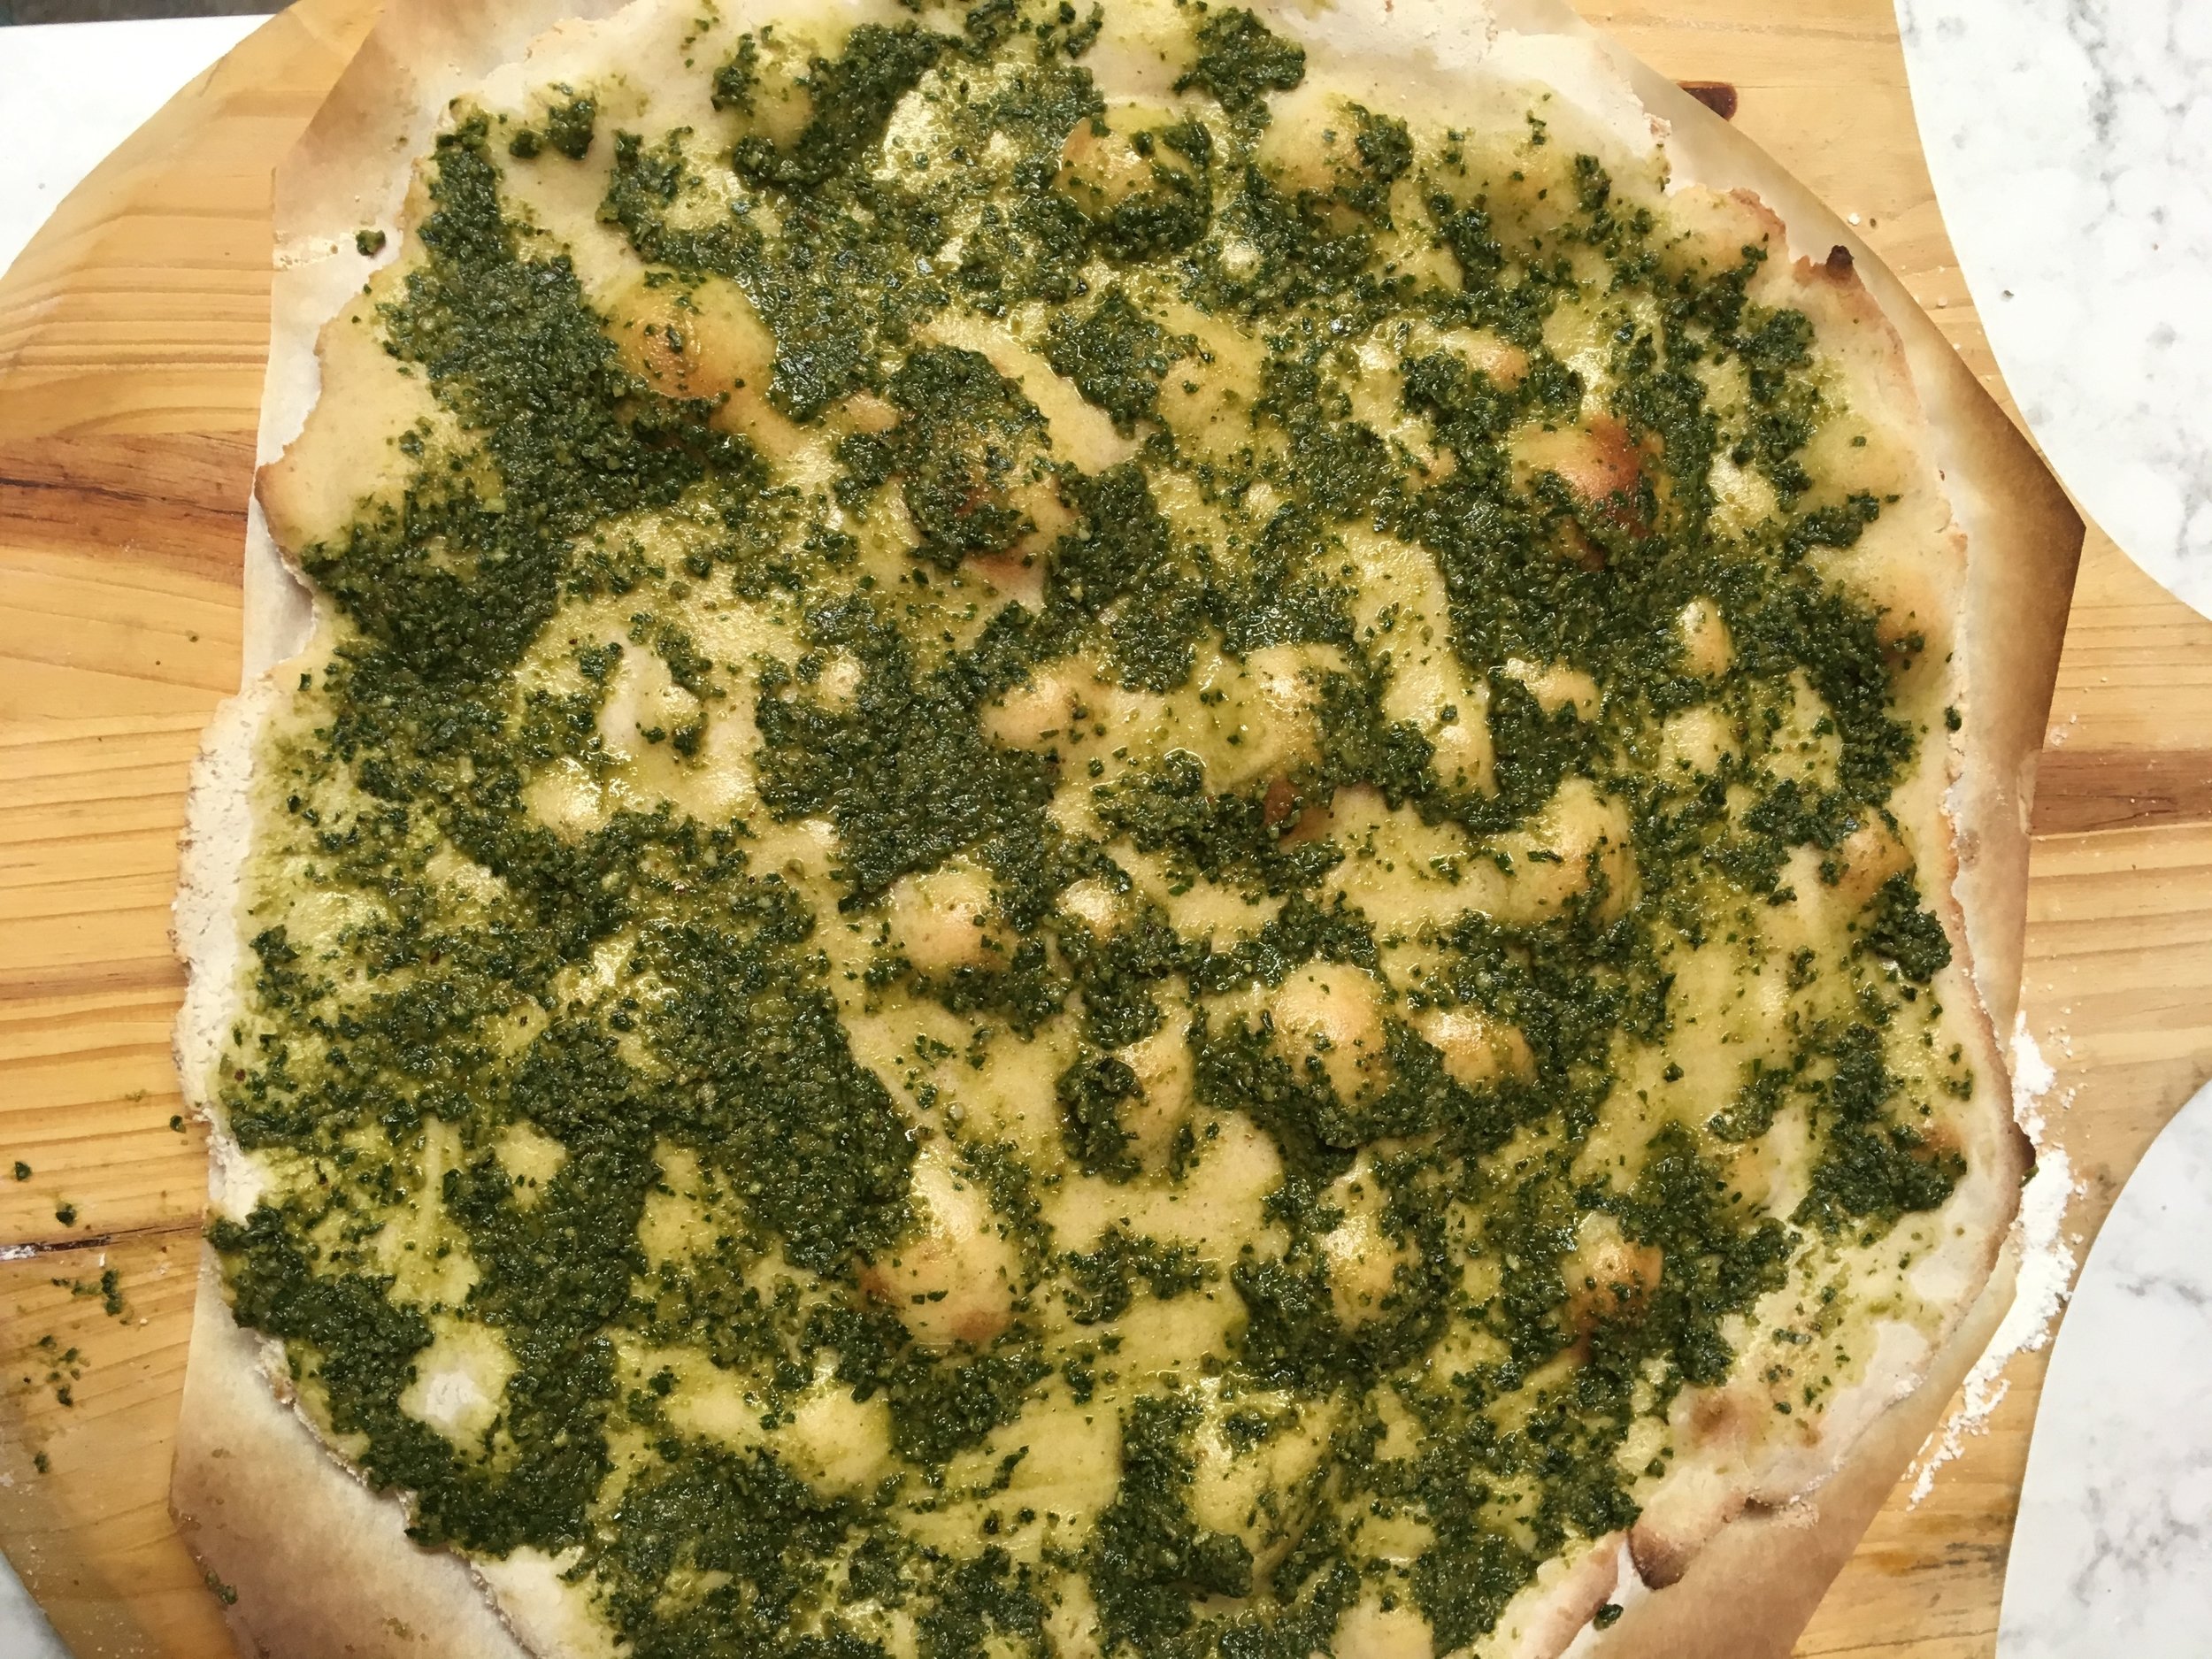
8. Cut 2 circles from parchment paper that are as big as your peel and pizza stone will allow, just not bigger. You’ll be making 2 pizzas, but one at a time. Lay 1 parchment circle on the peel, place 1 dough ball on it, and flour your hands and rolling pin. Gently flatten the dough and roll out to a nice thin crust, 1/4”. Here’s where the peel becomes your friend. Spread a little olive oil on the dough, just a tablespoon or two. Slide the dough and paper from the peel onto the hot stone in the oven. Bake the dough for 7-10 minutes. It should look dry, a bit cracked and slightly golden on the edges. Pull dough/paper off stone onto peel and now it’s time for the toppings.
*Using the parchment paper is another key to success with gluten free pizza dough, friends! GF doughs are... well they're just not the same! :( So using the paper helps the dough not stick to the peel, or the stone. It will easily slide from one to the other and then back. After it's all finished with final baking it easily peels right off the back of the pizza.!

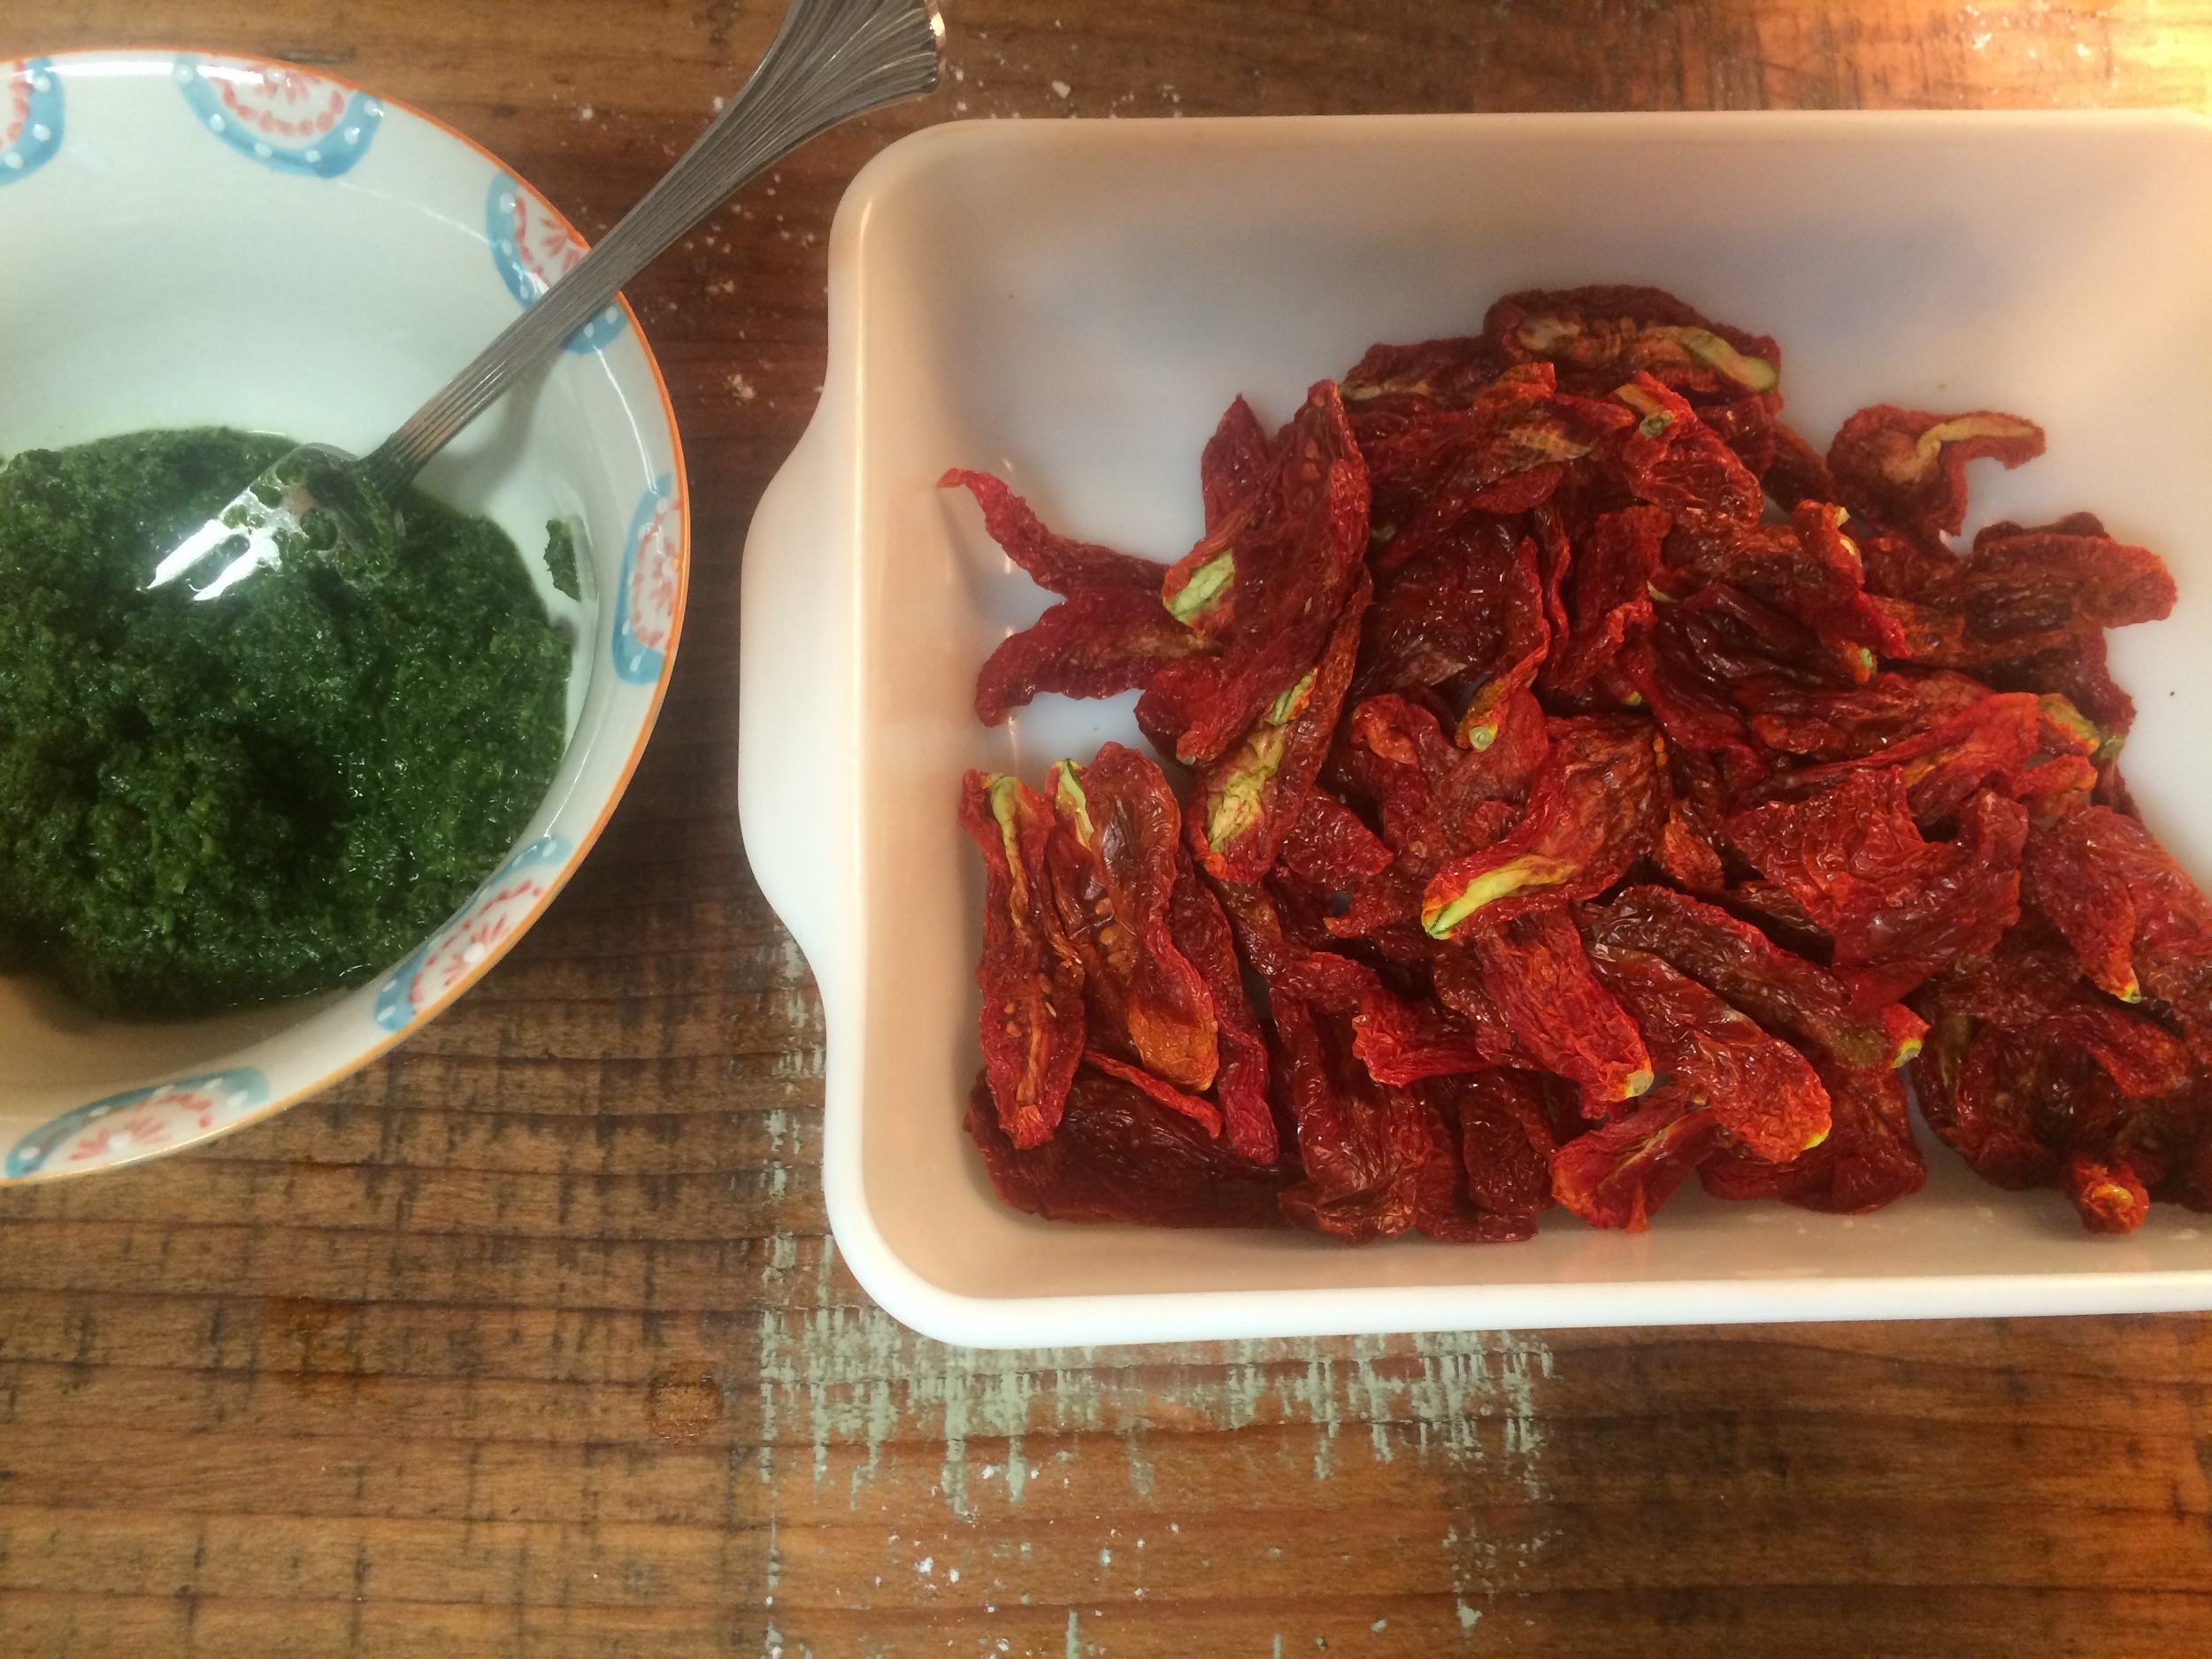
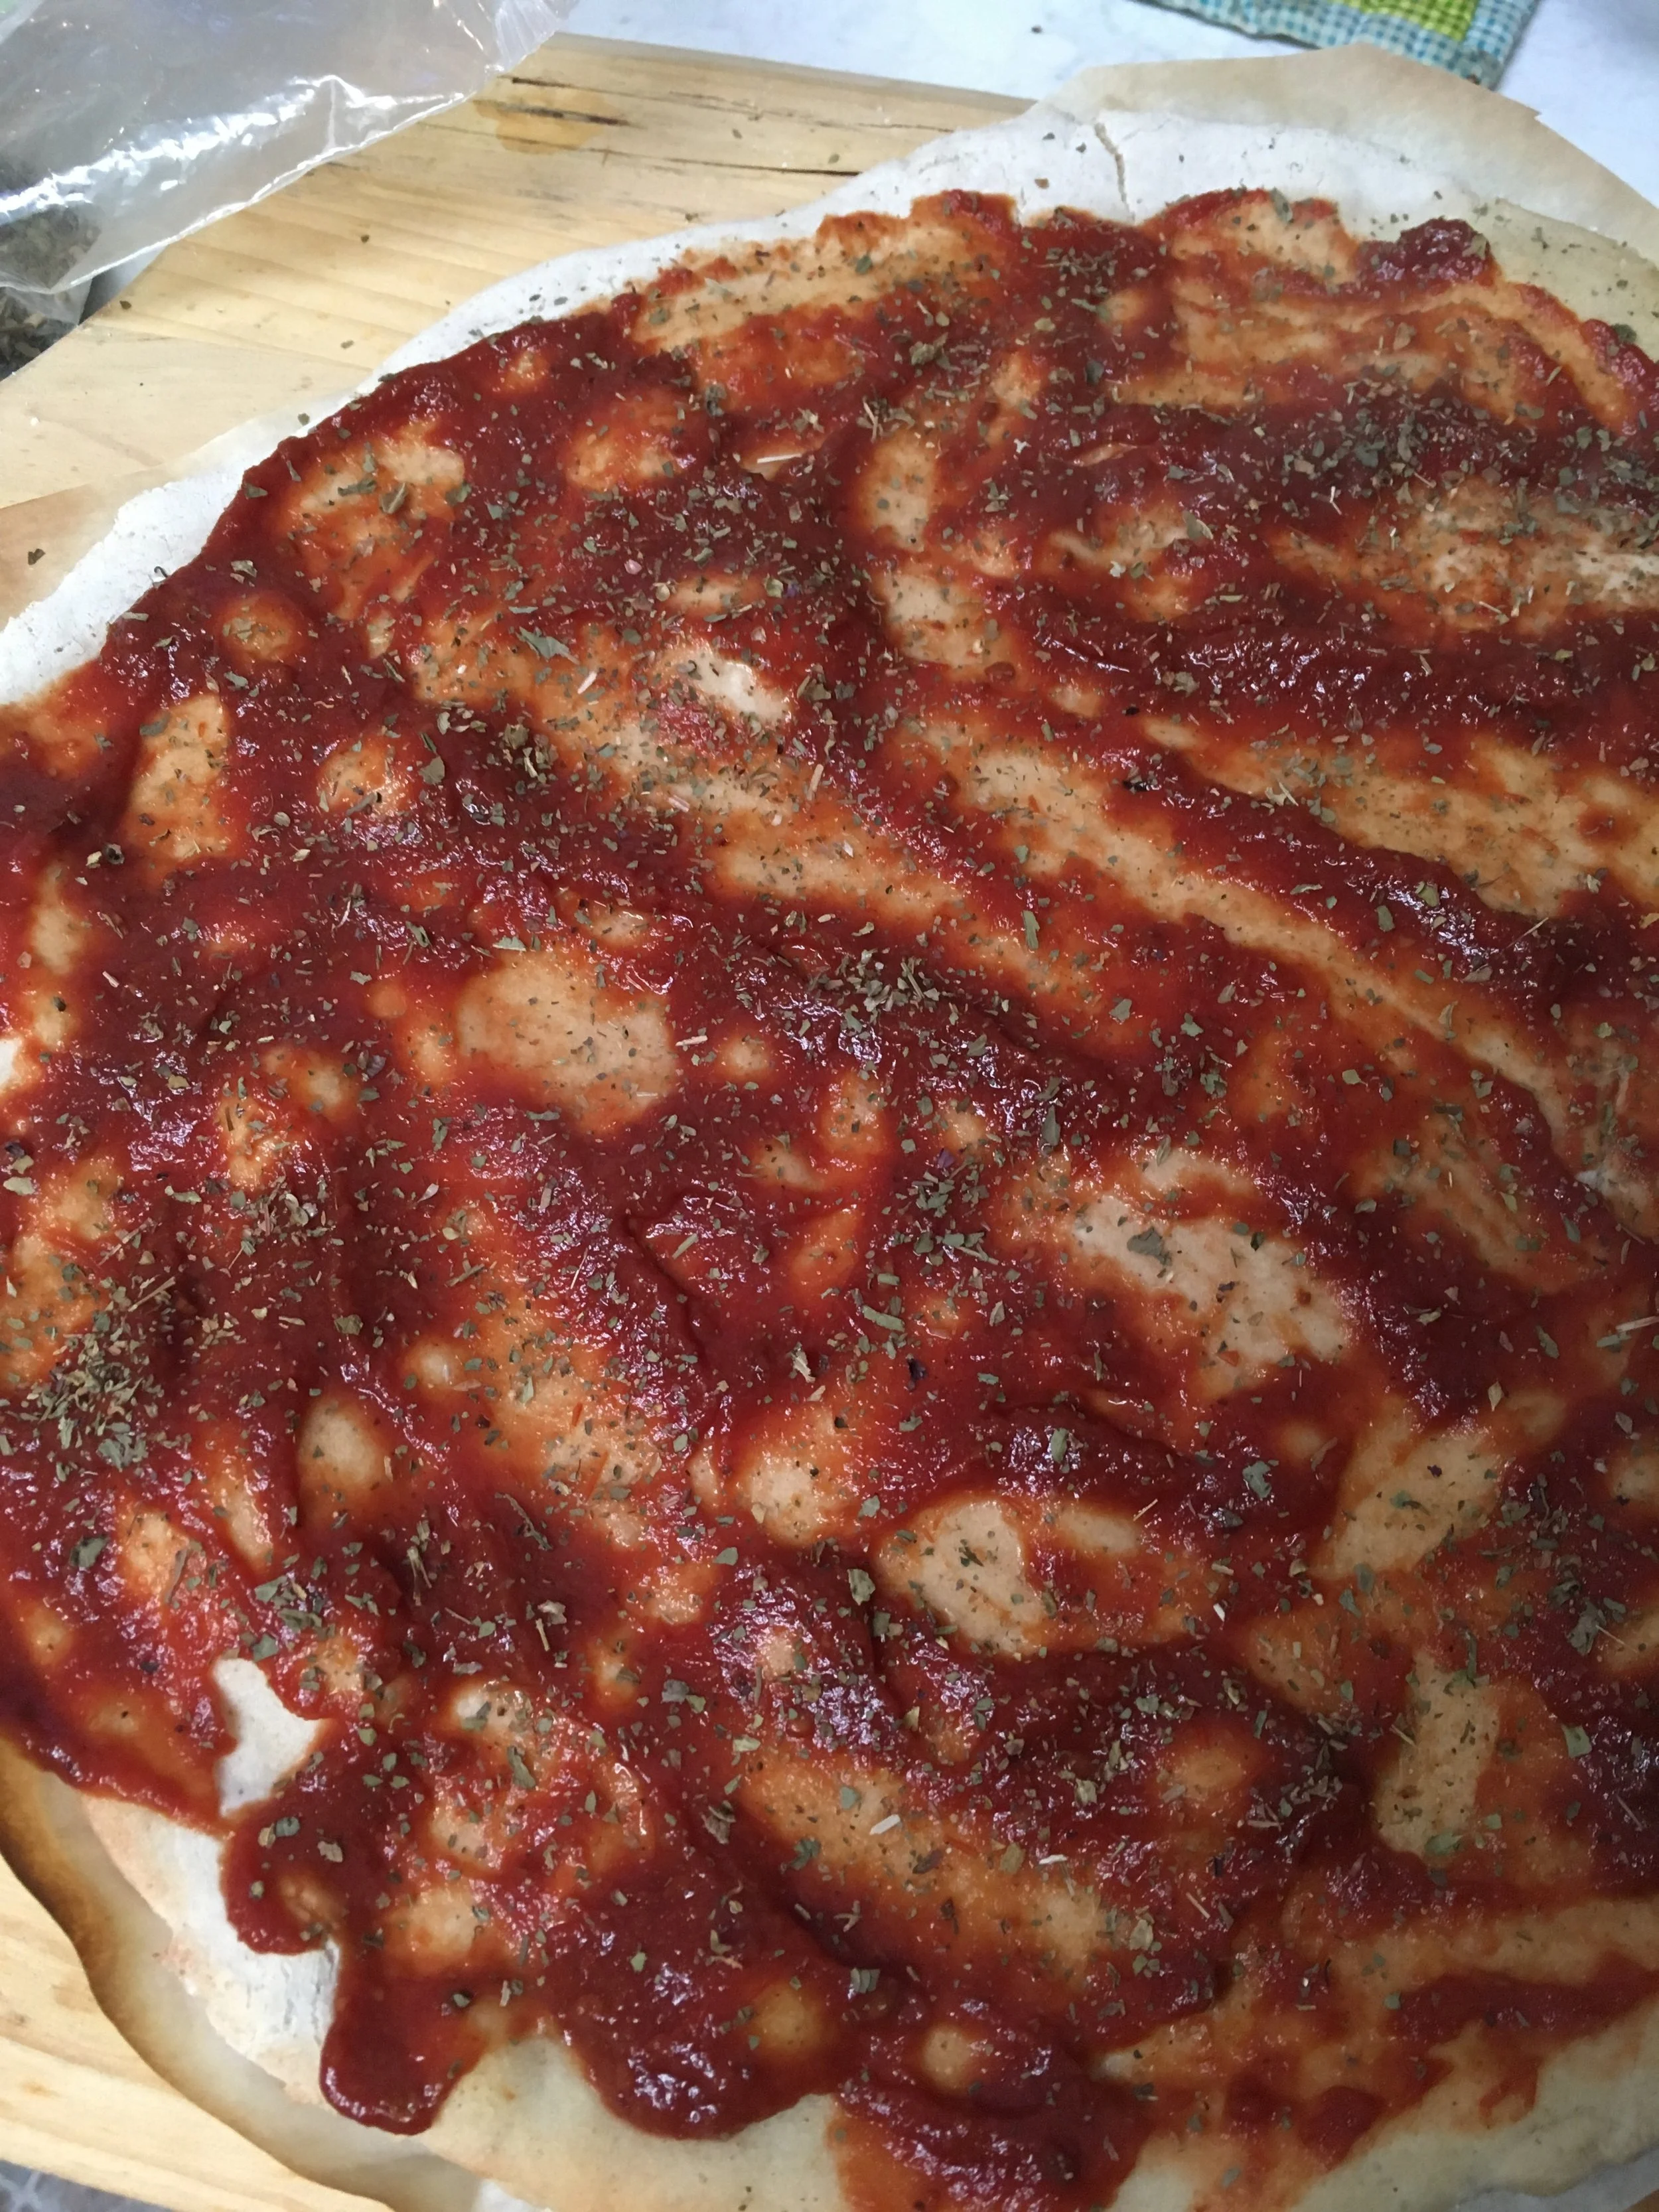
9. Slathered on your base. Could be a mixture of a roasted garlic & olive oil. You might prefer just olive oil, pesto, or a traditional red sauce. Whatever you want. It’s YOUR pizza masterpiece! I used some homemade pesto that I had frozen this summer on one and, & home canned roasted tomato sauce on the other, with some dried basil & oregano sprinkled on it. (Heck! Use a jarred pizza sauce if it works for ya!)
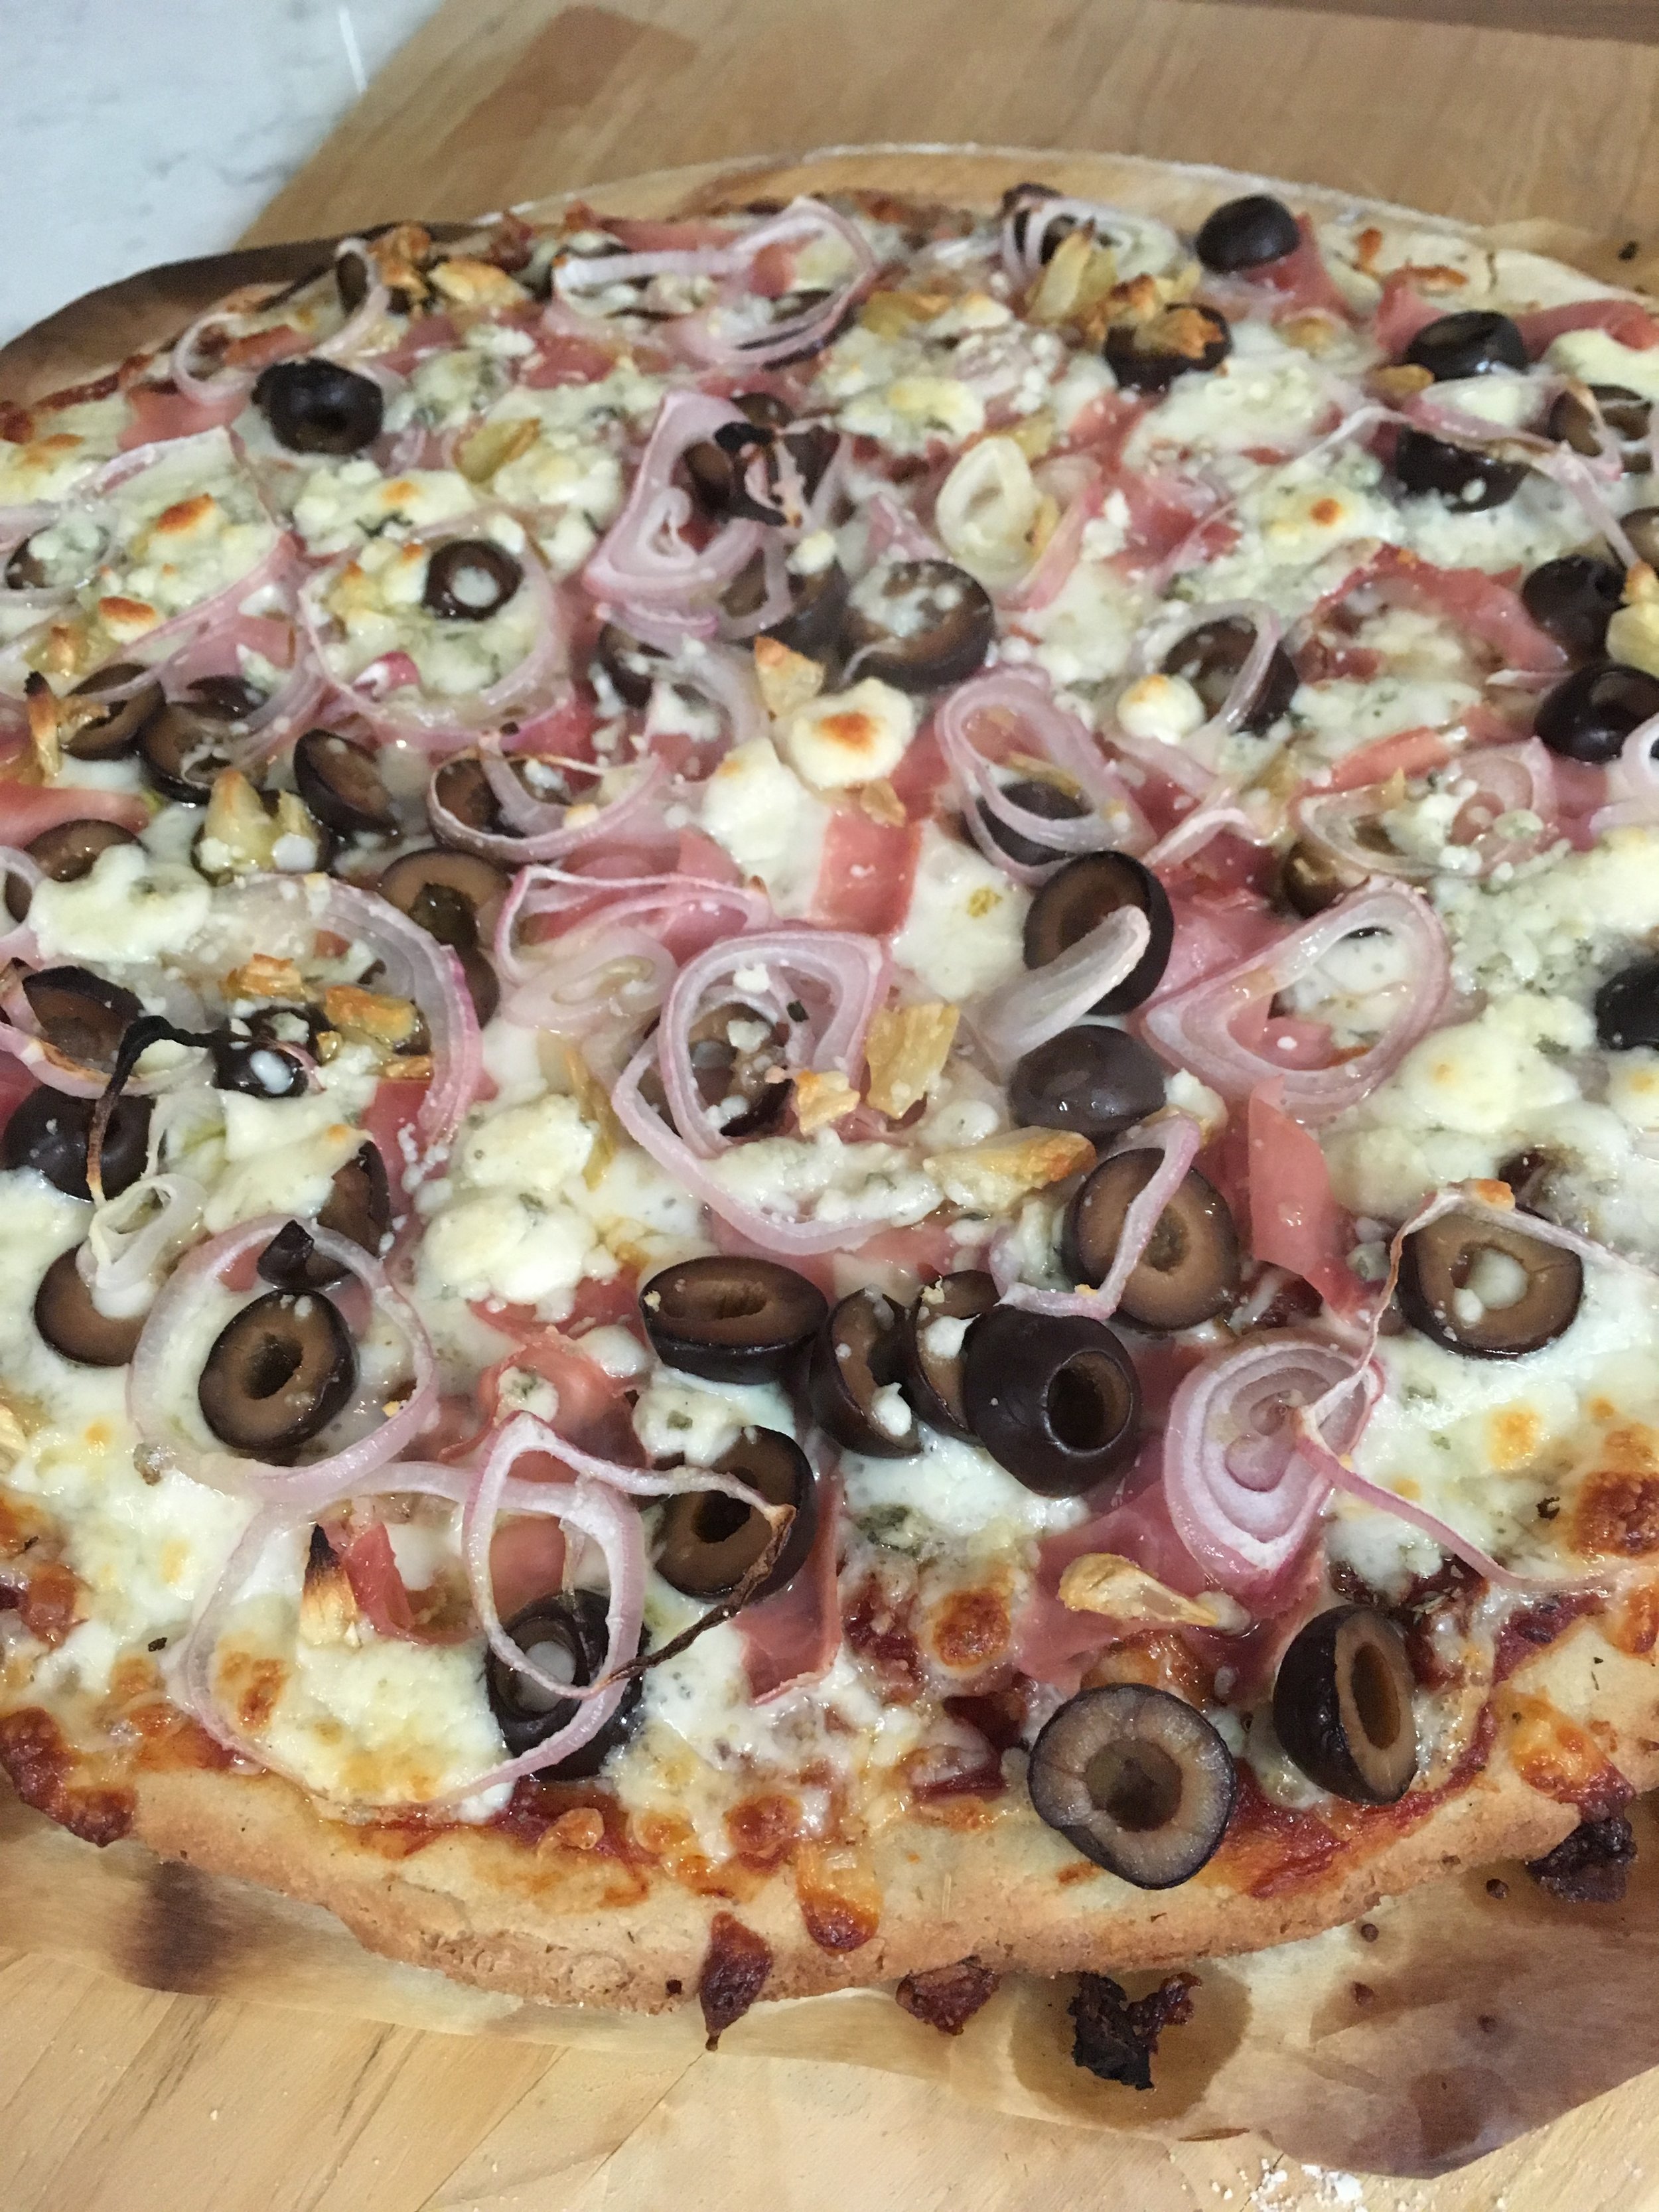
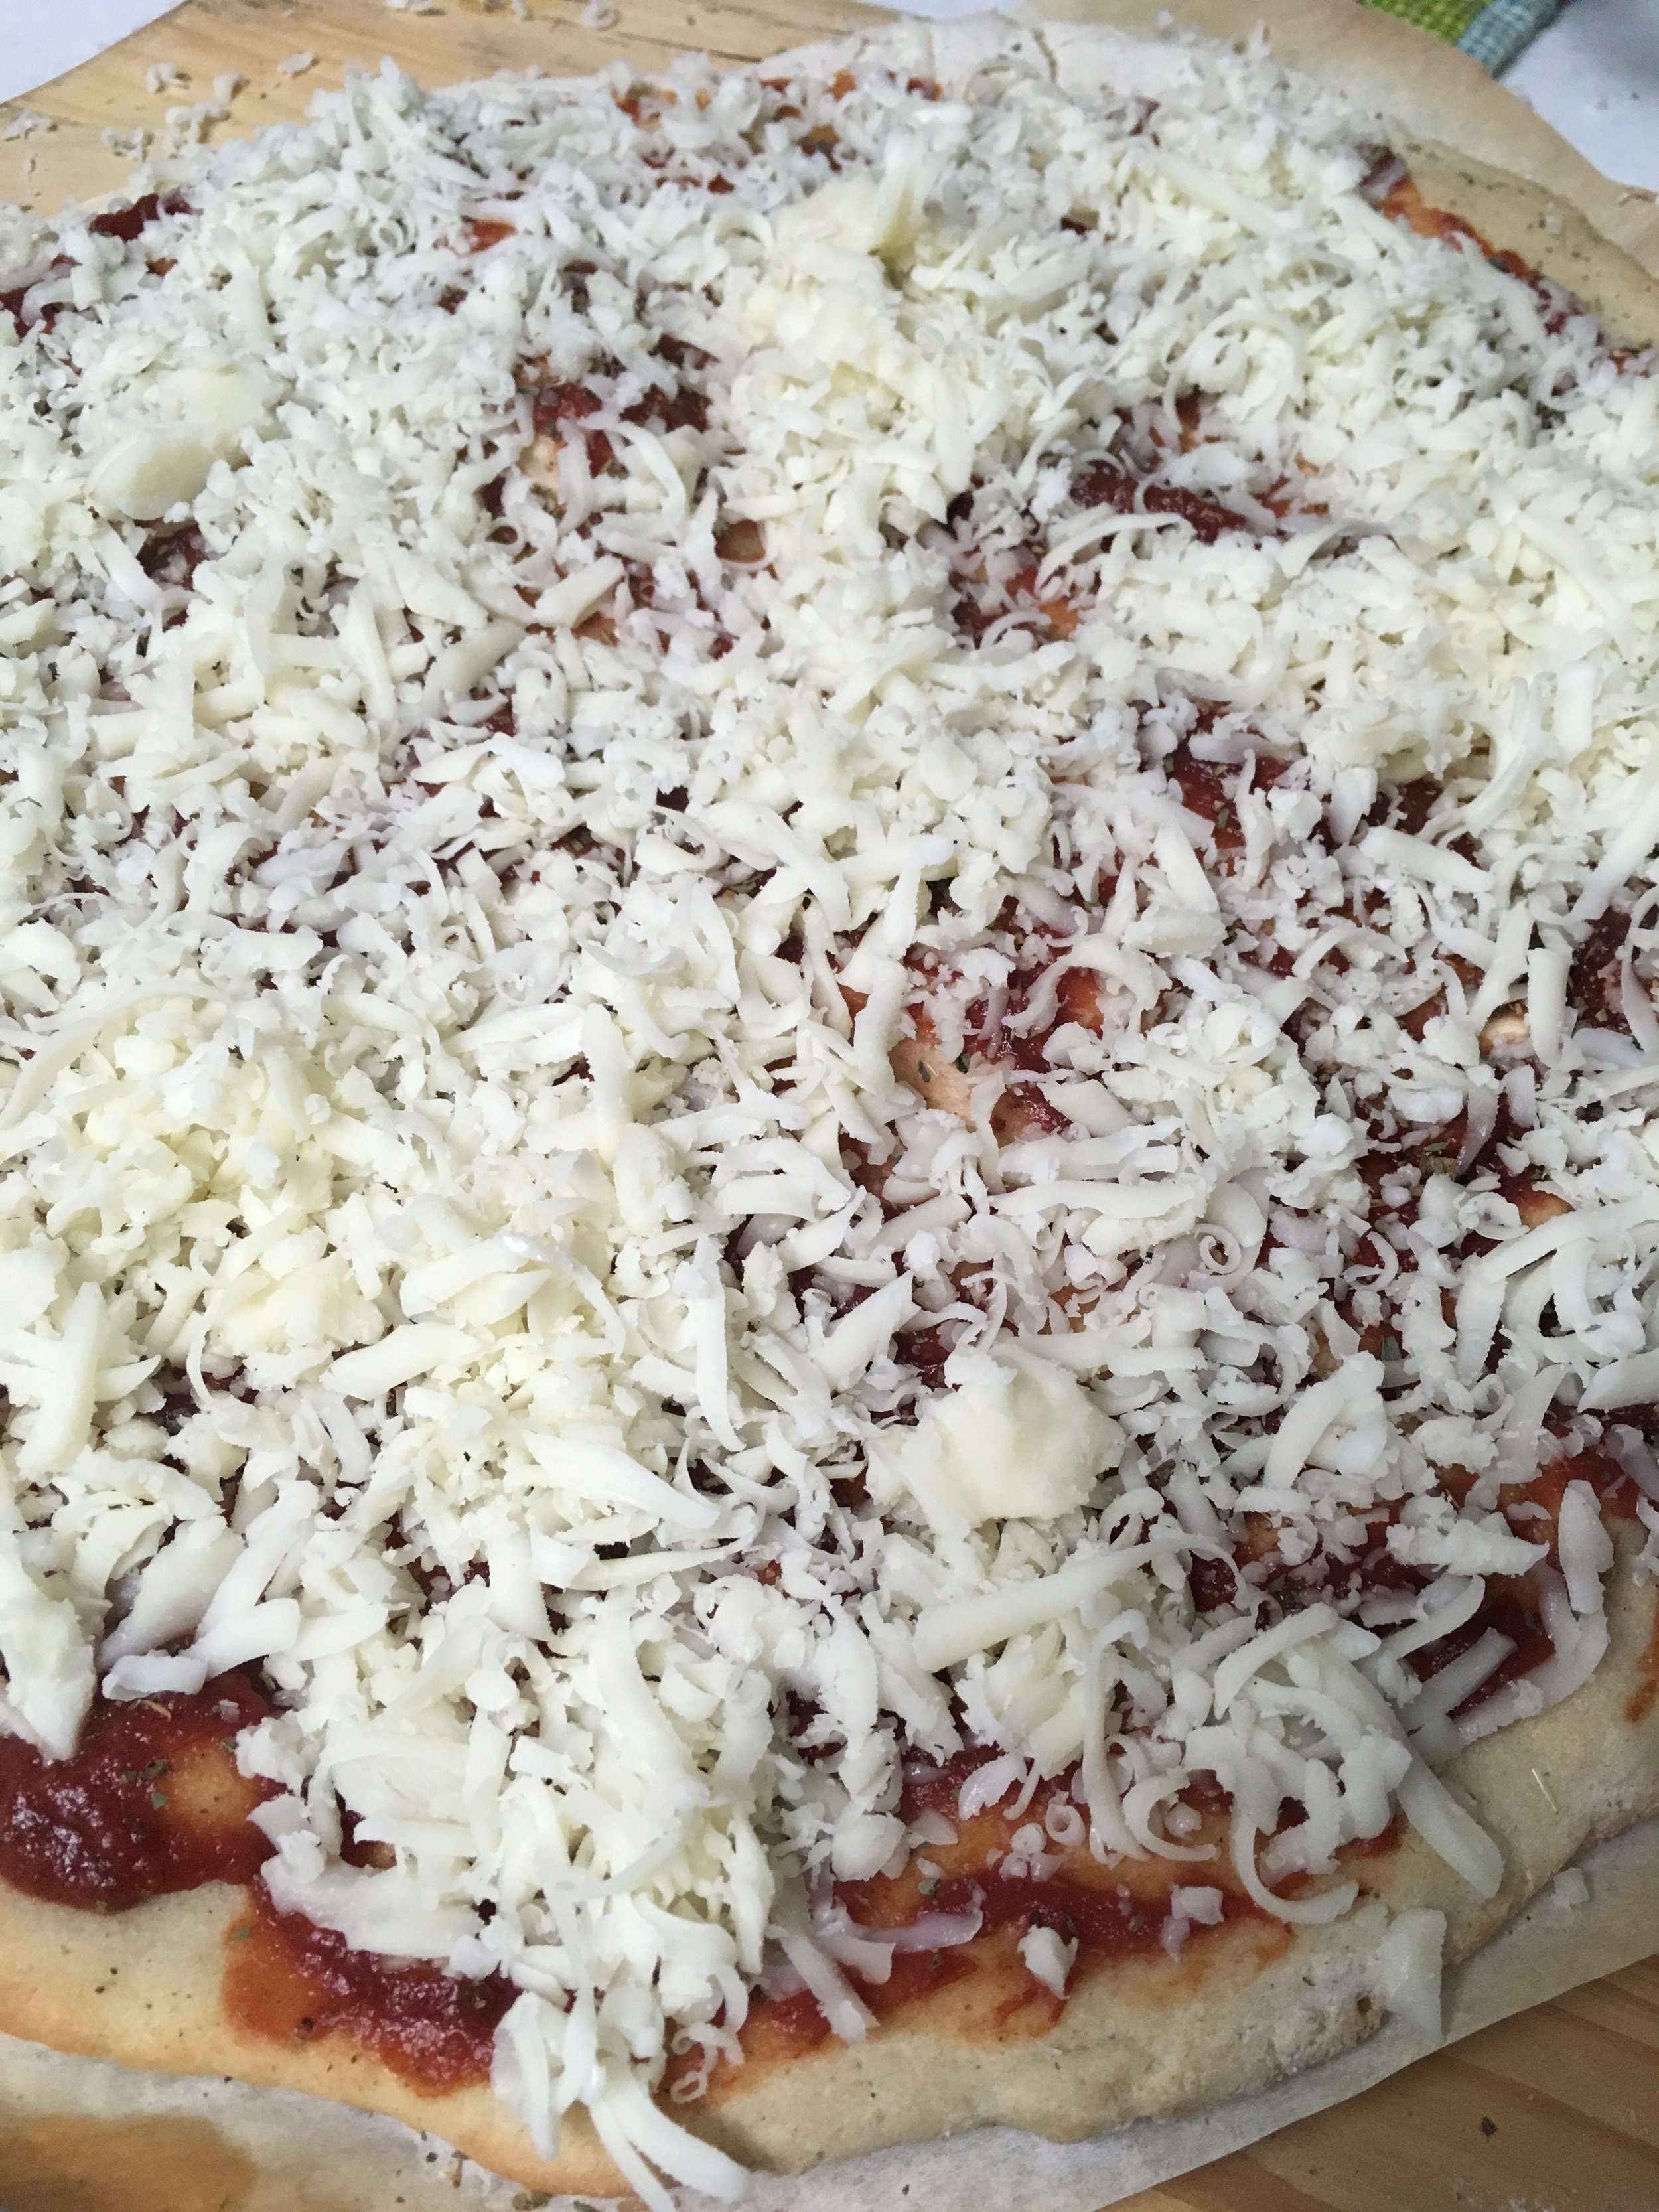
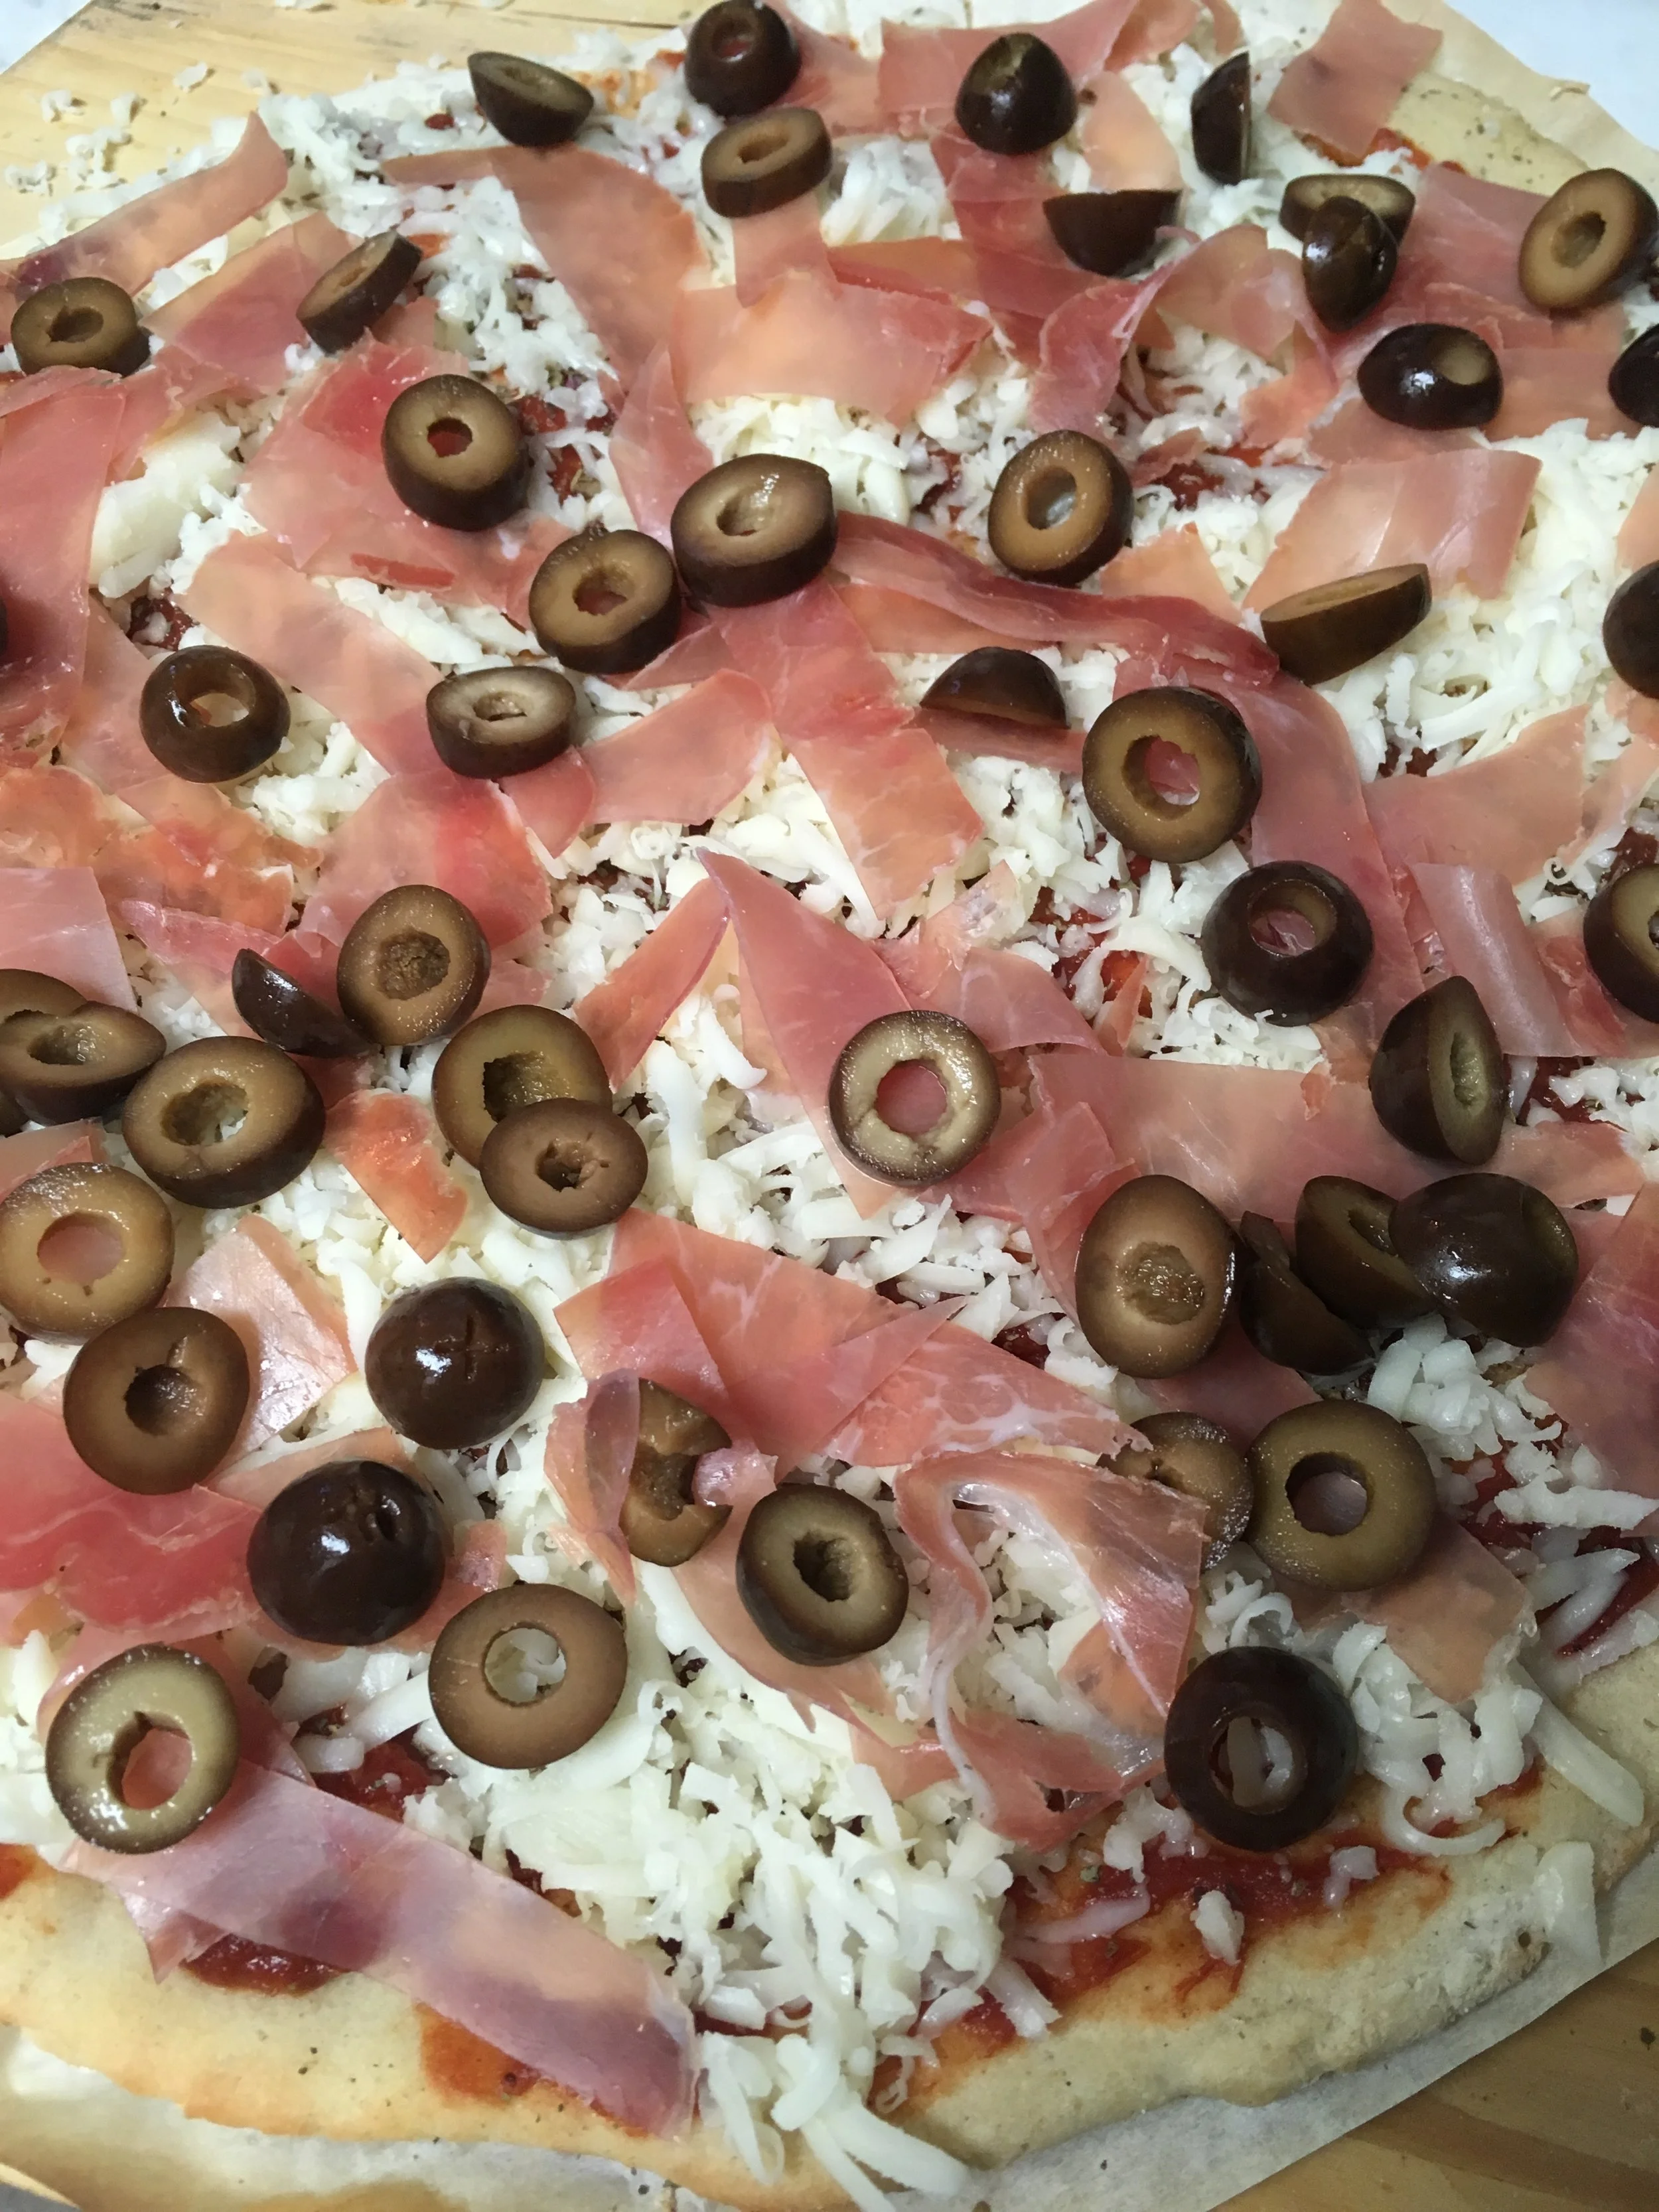
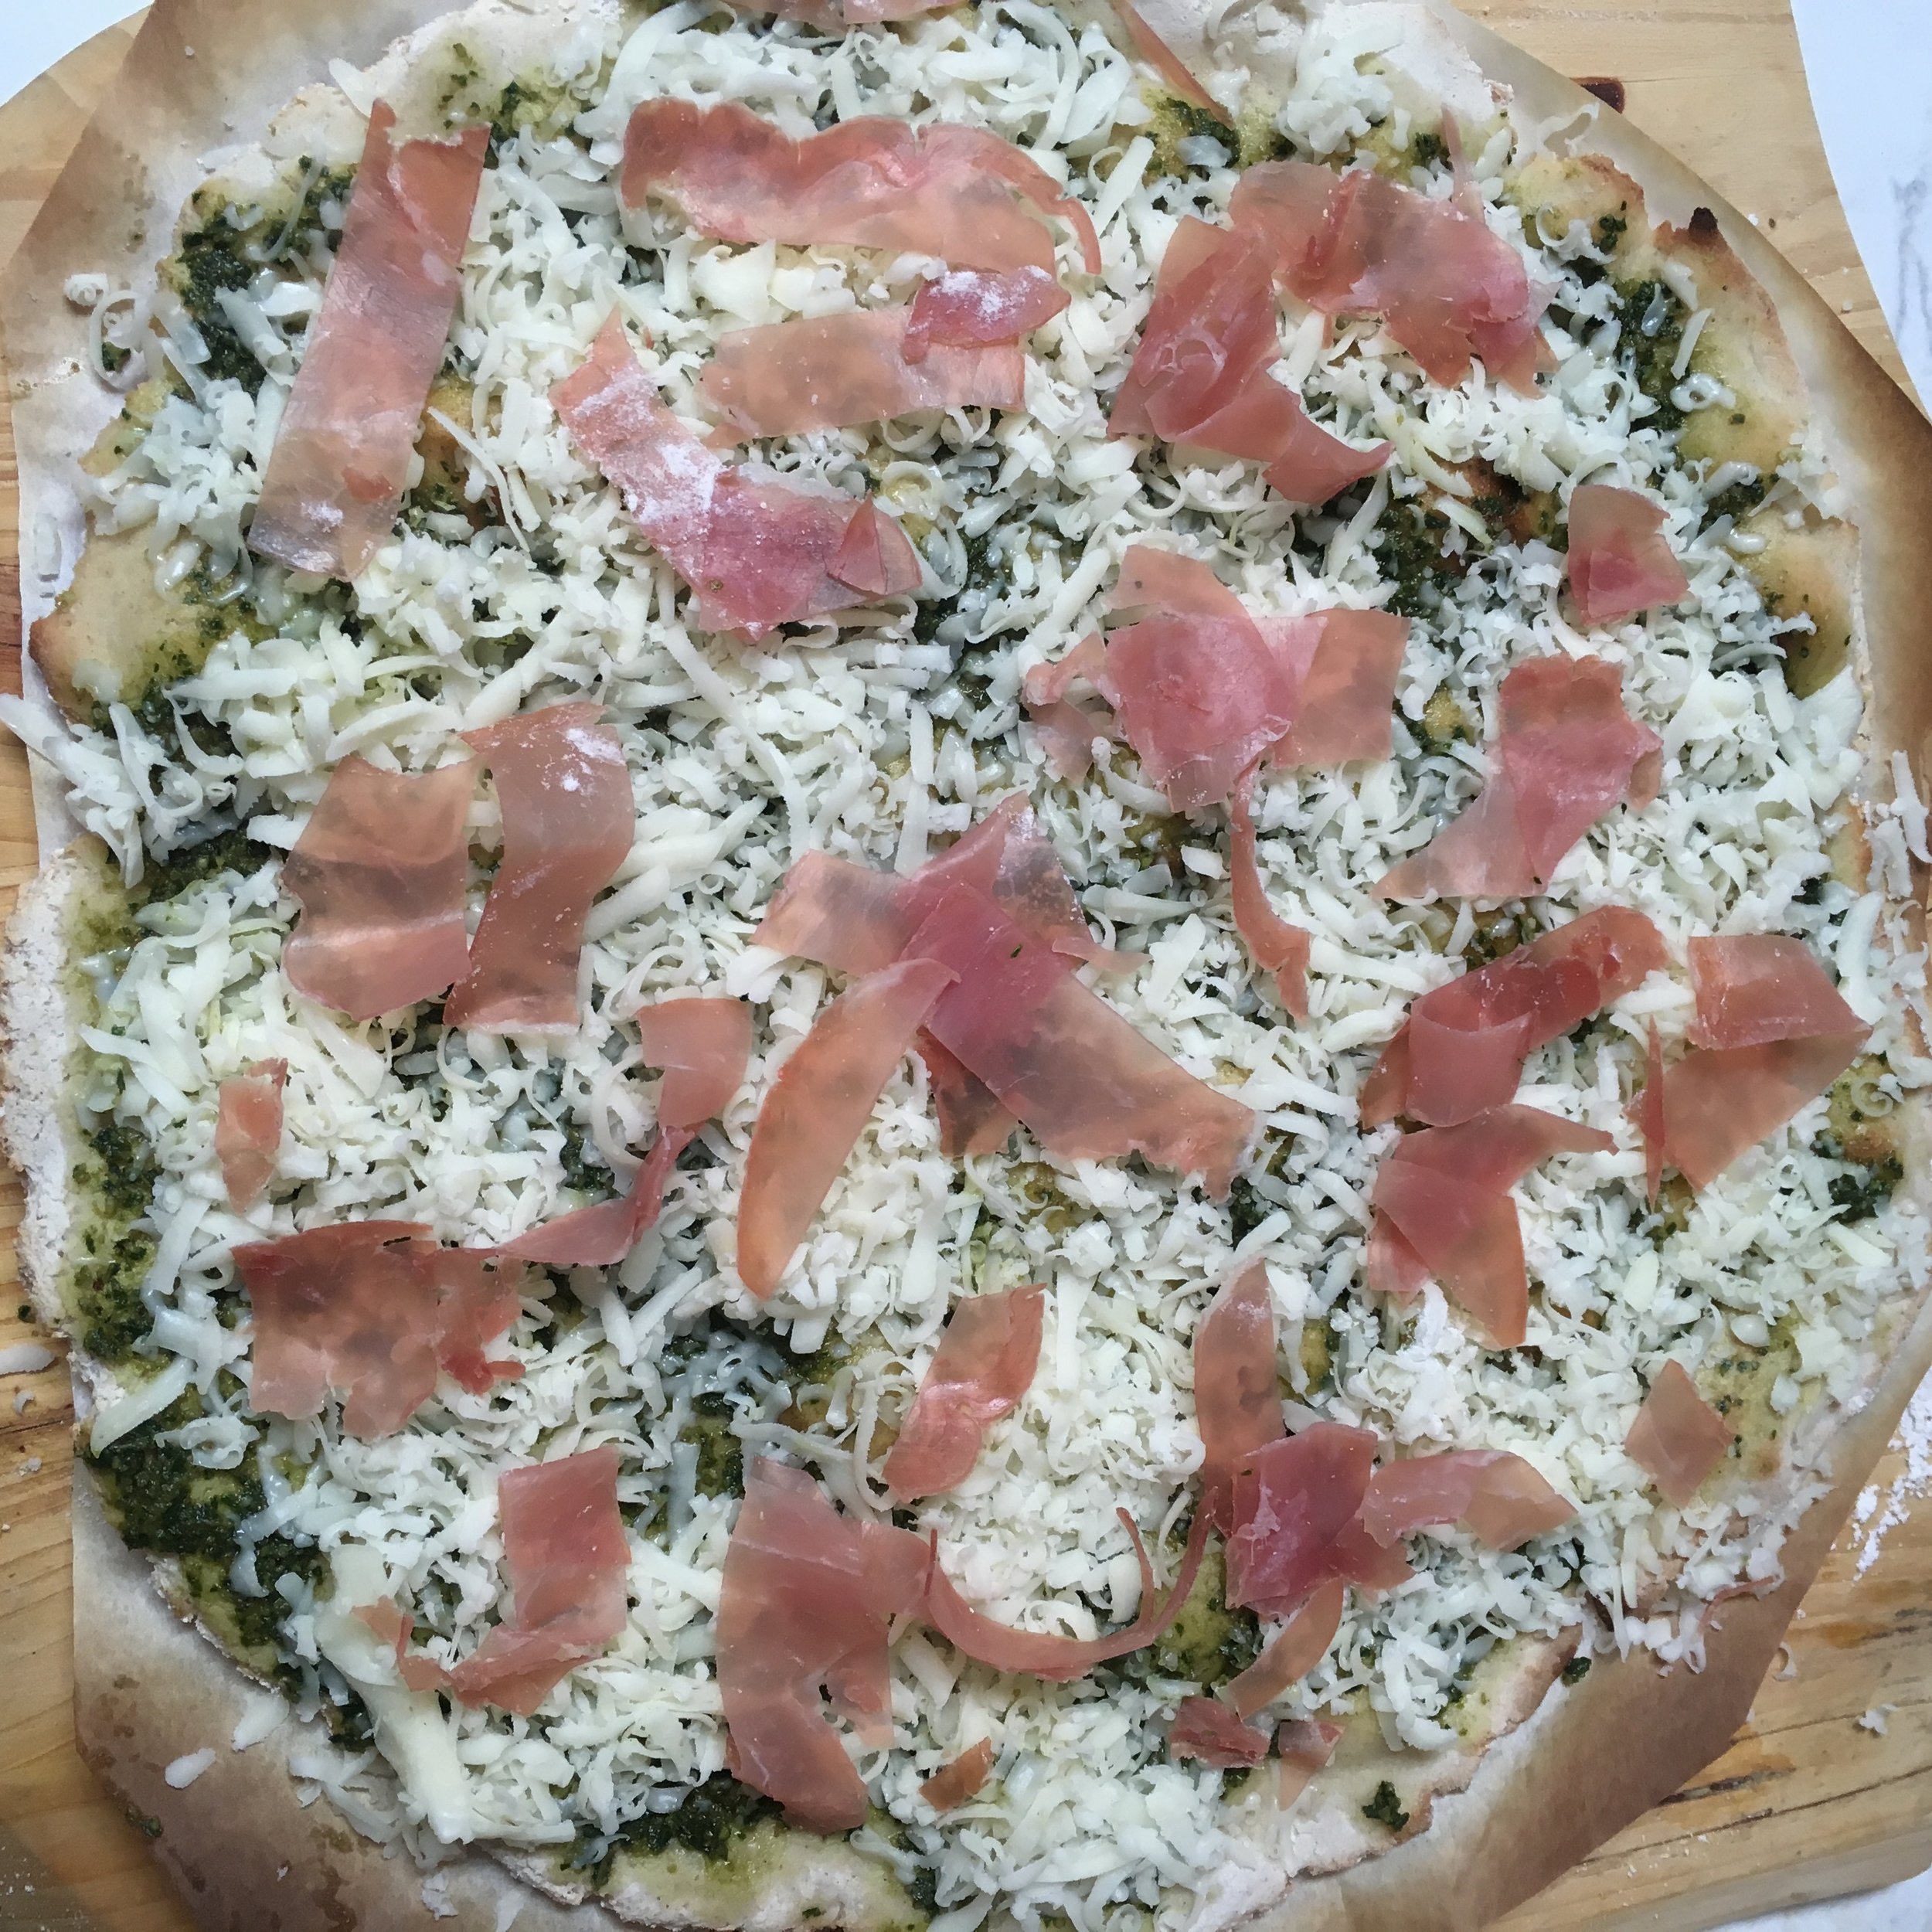
10. Now add your shredded mozzarella cheese 1st and then your chosen toppings.
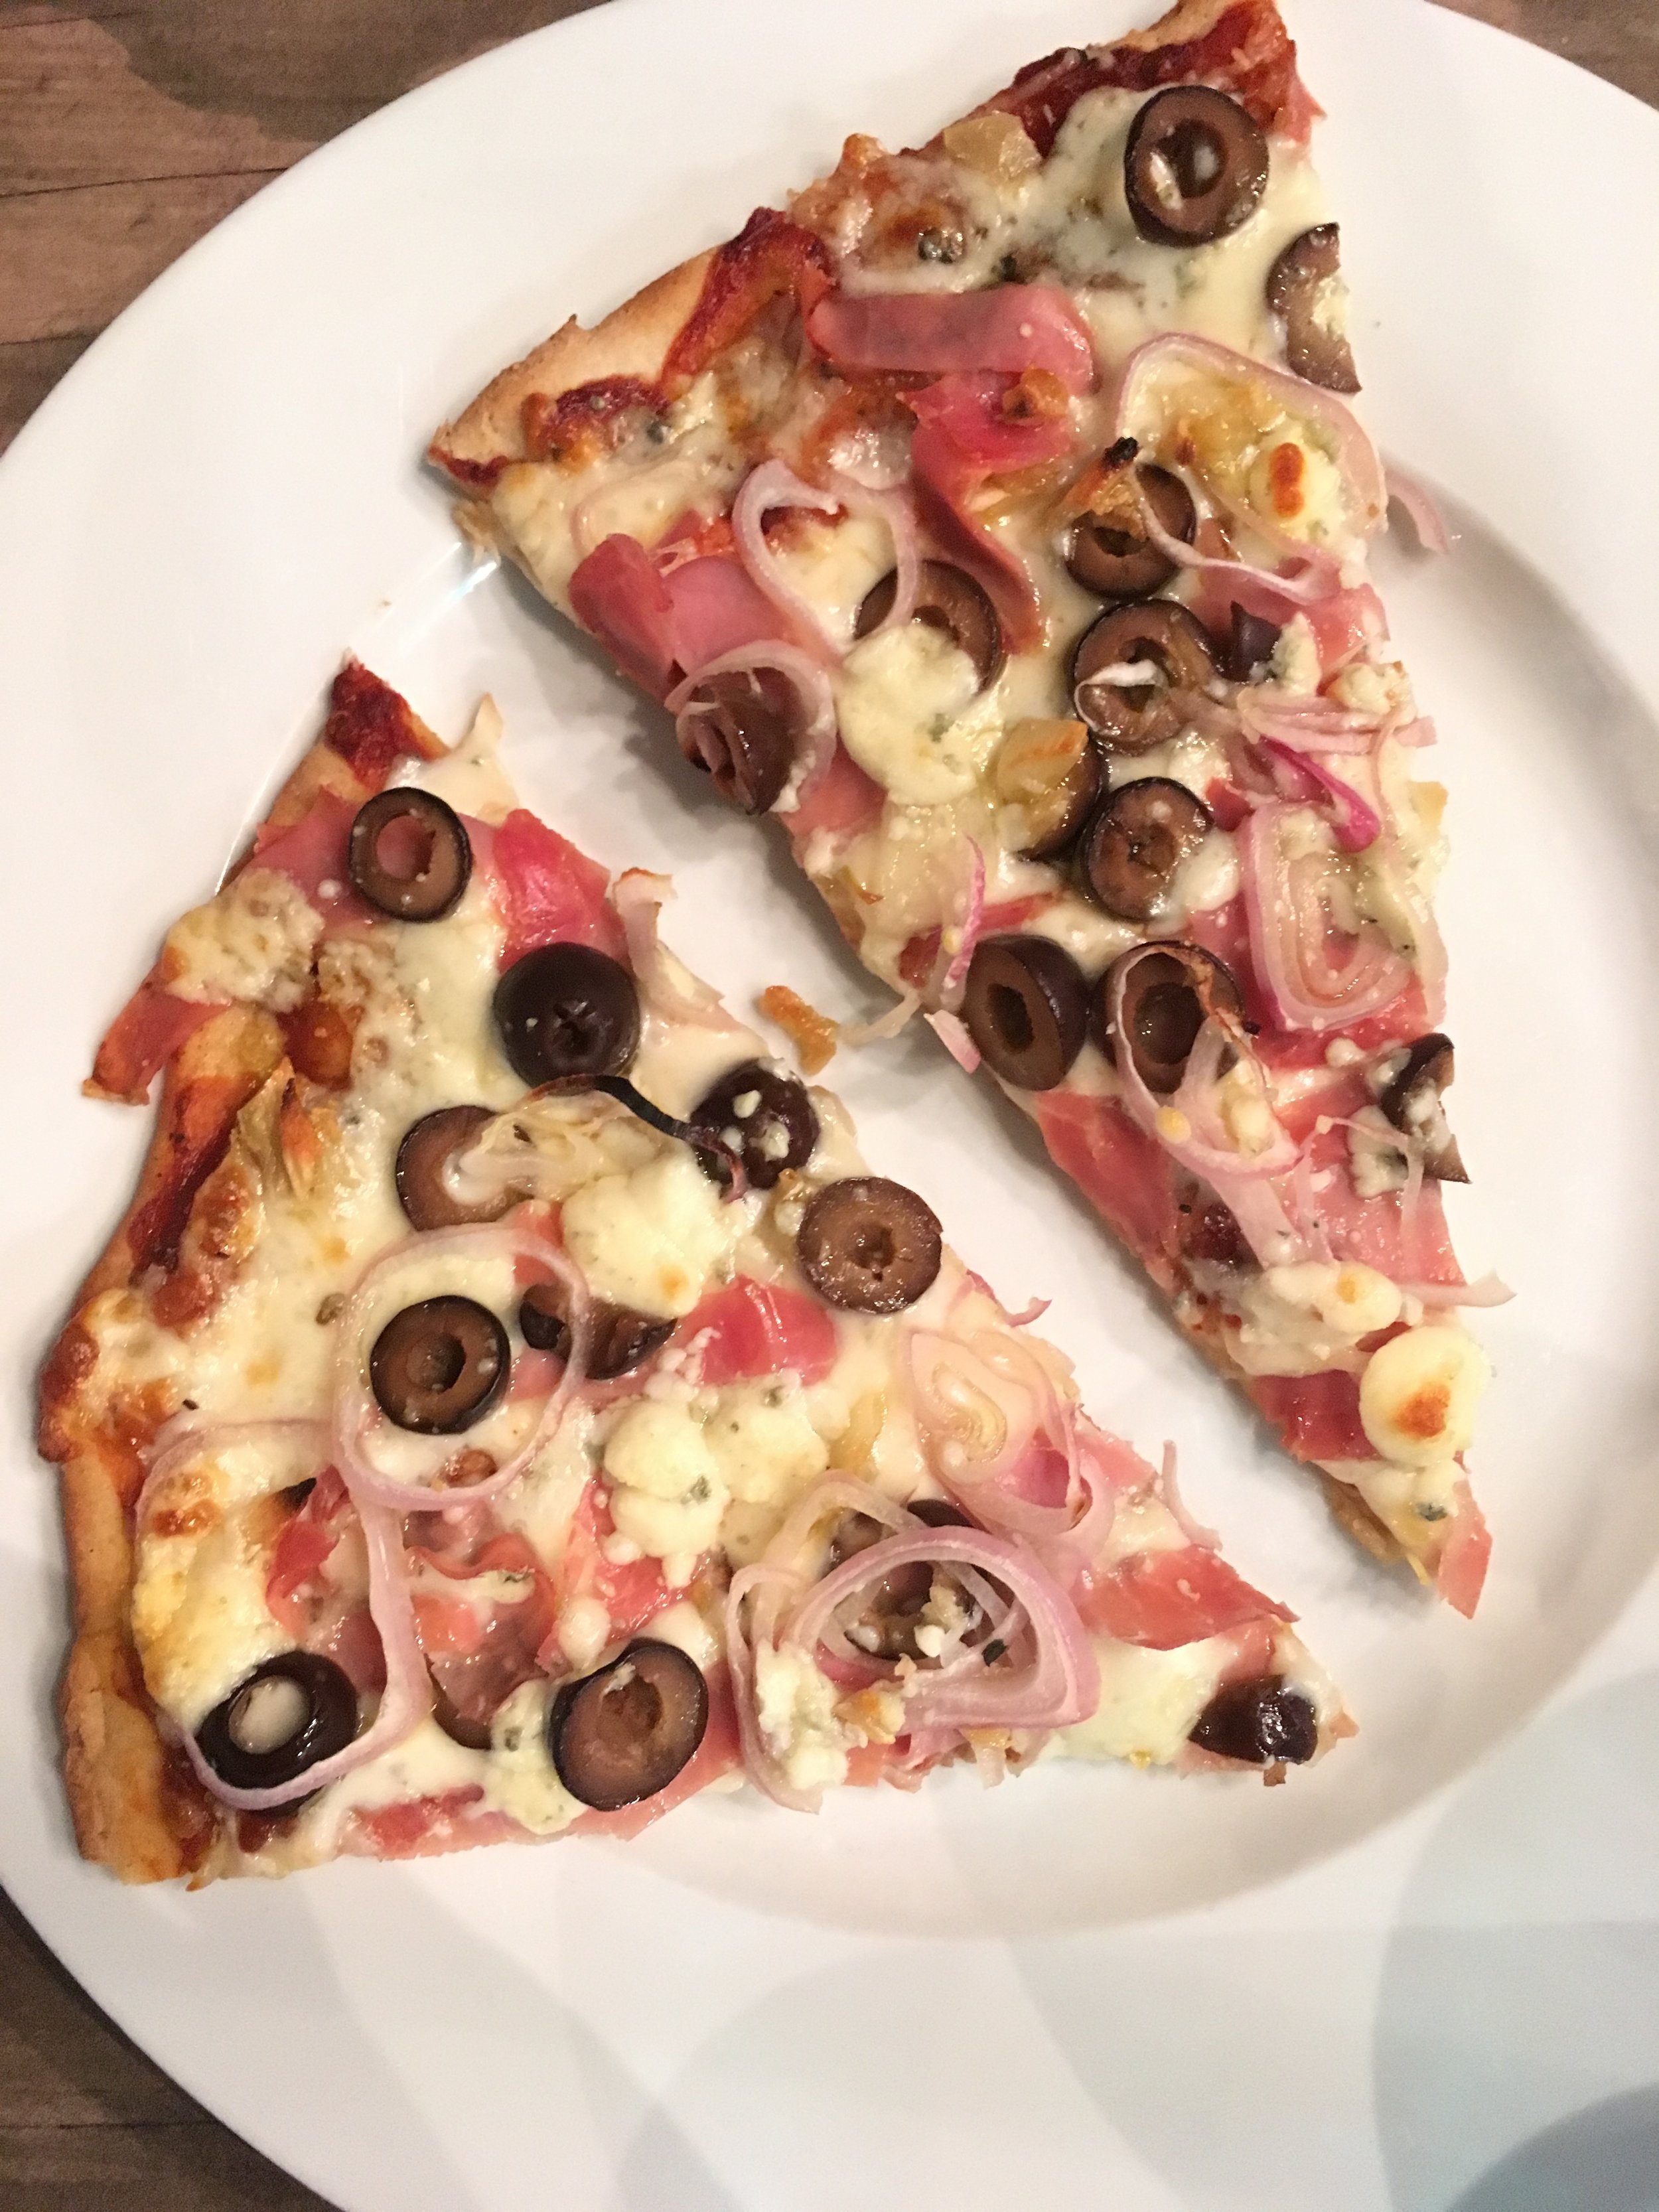
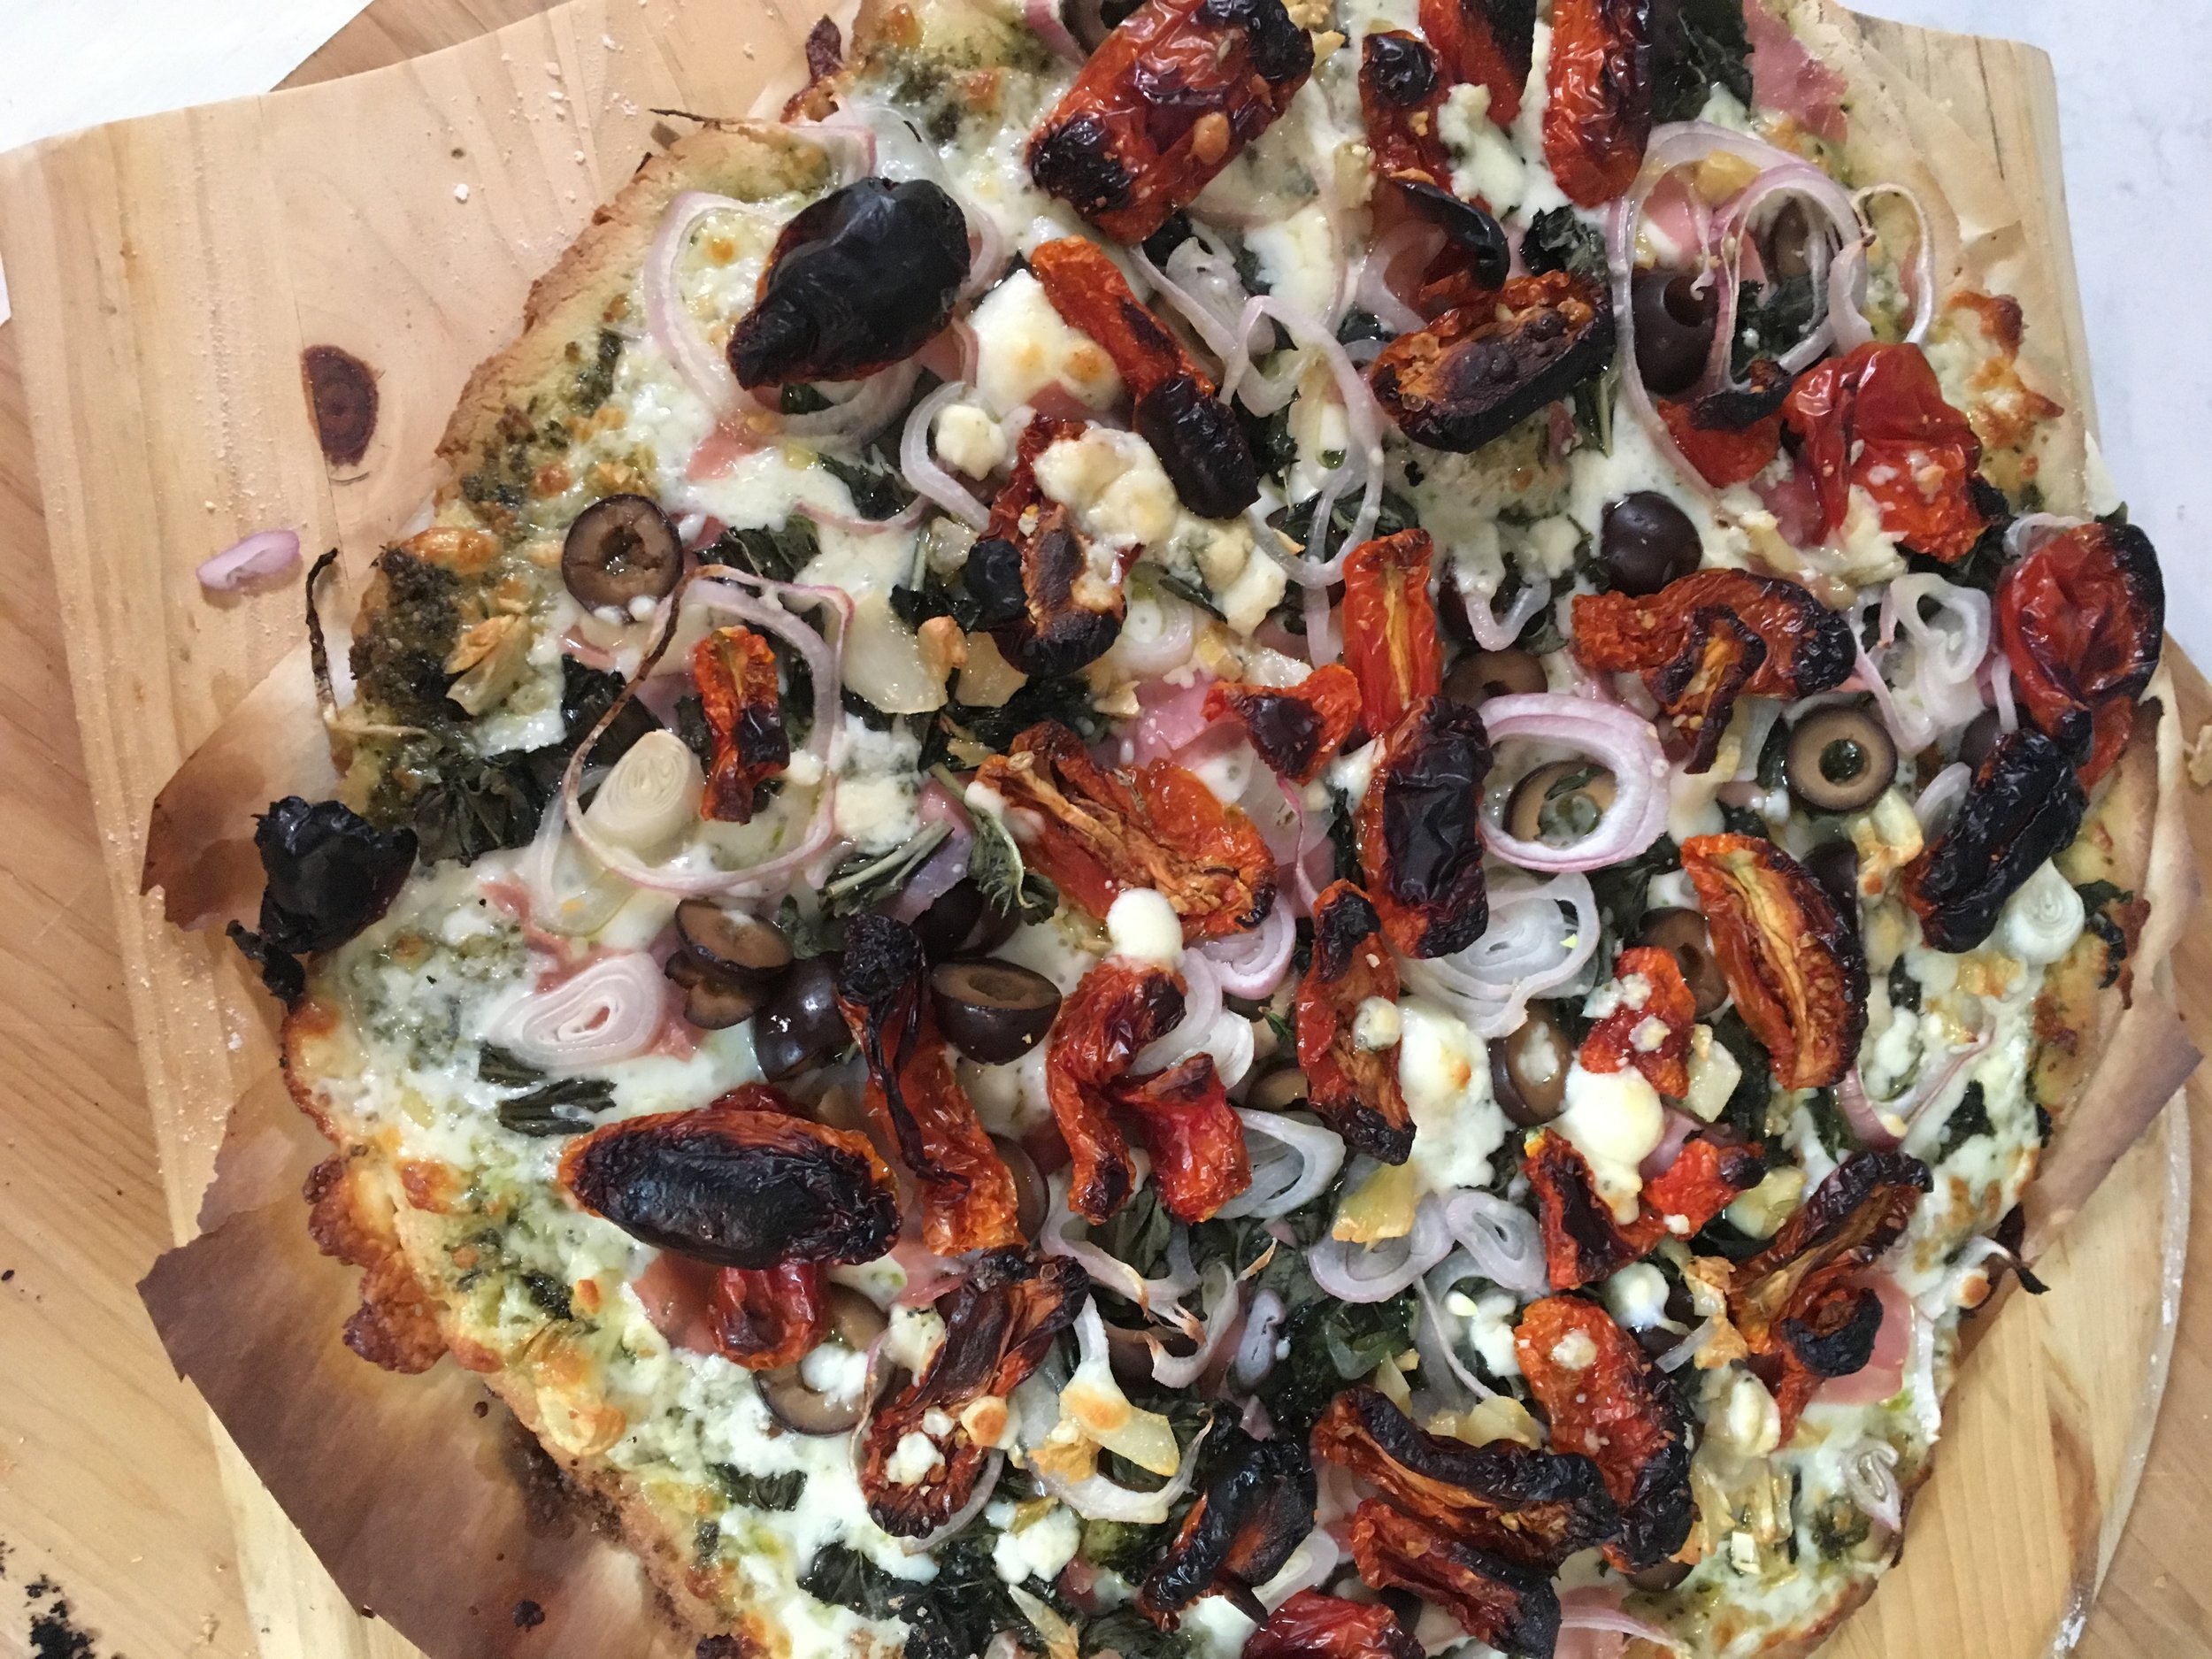
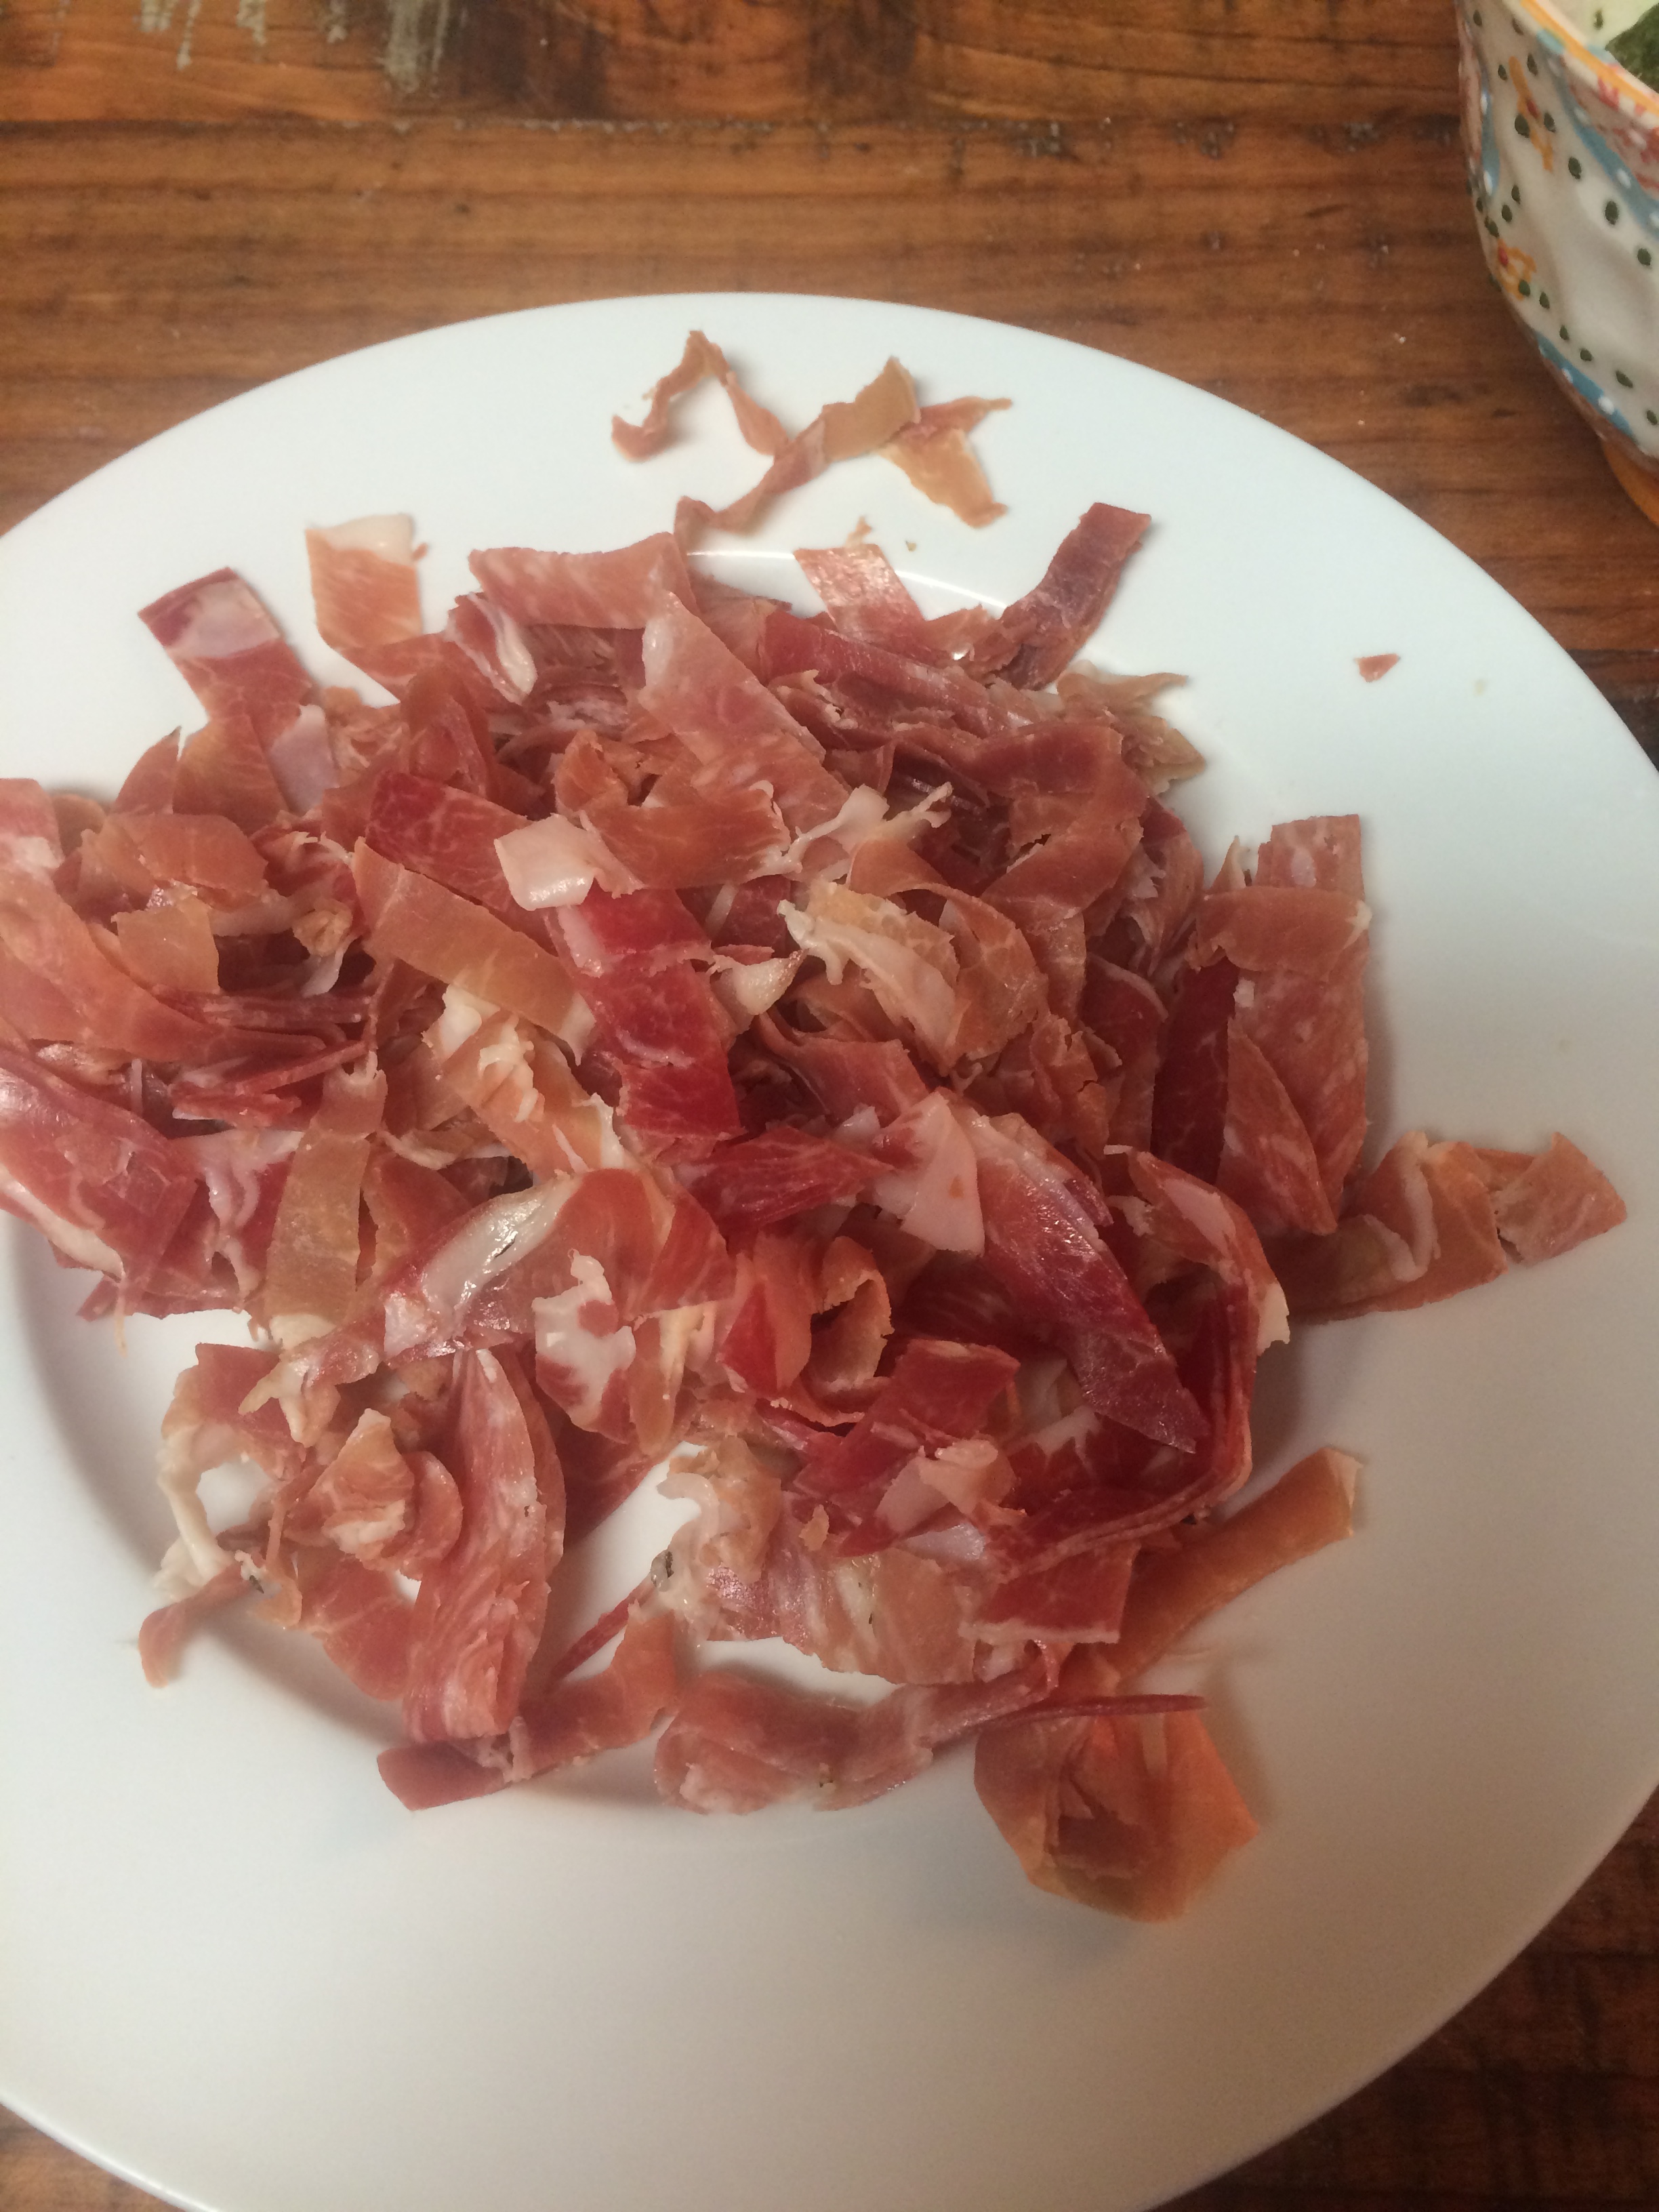
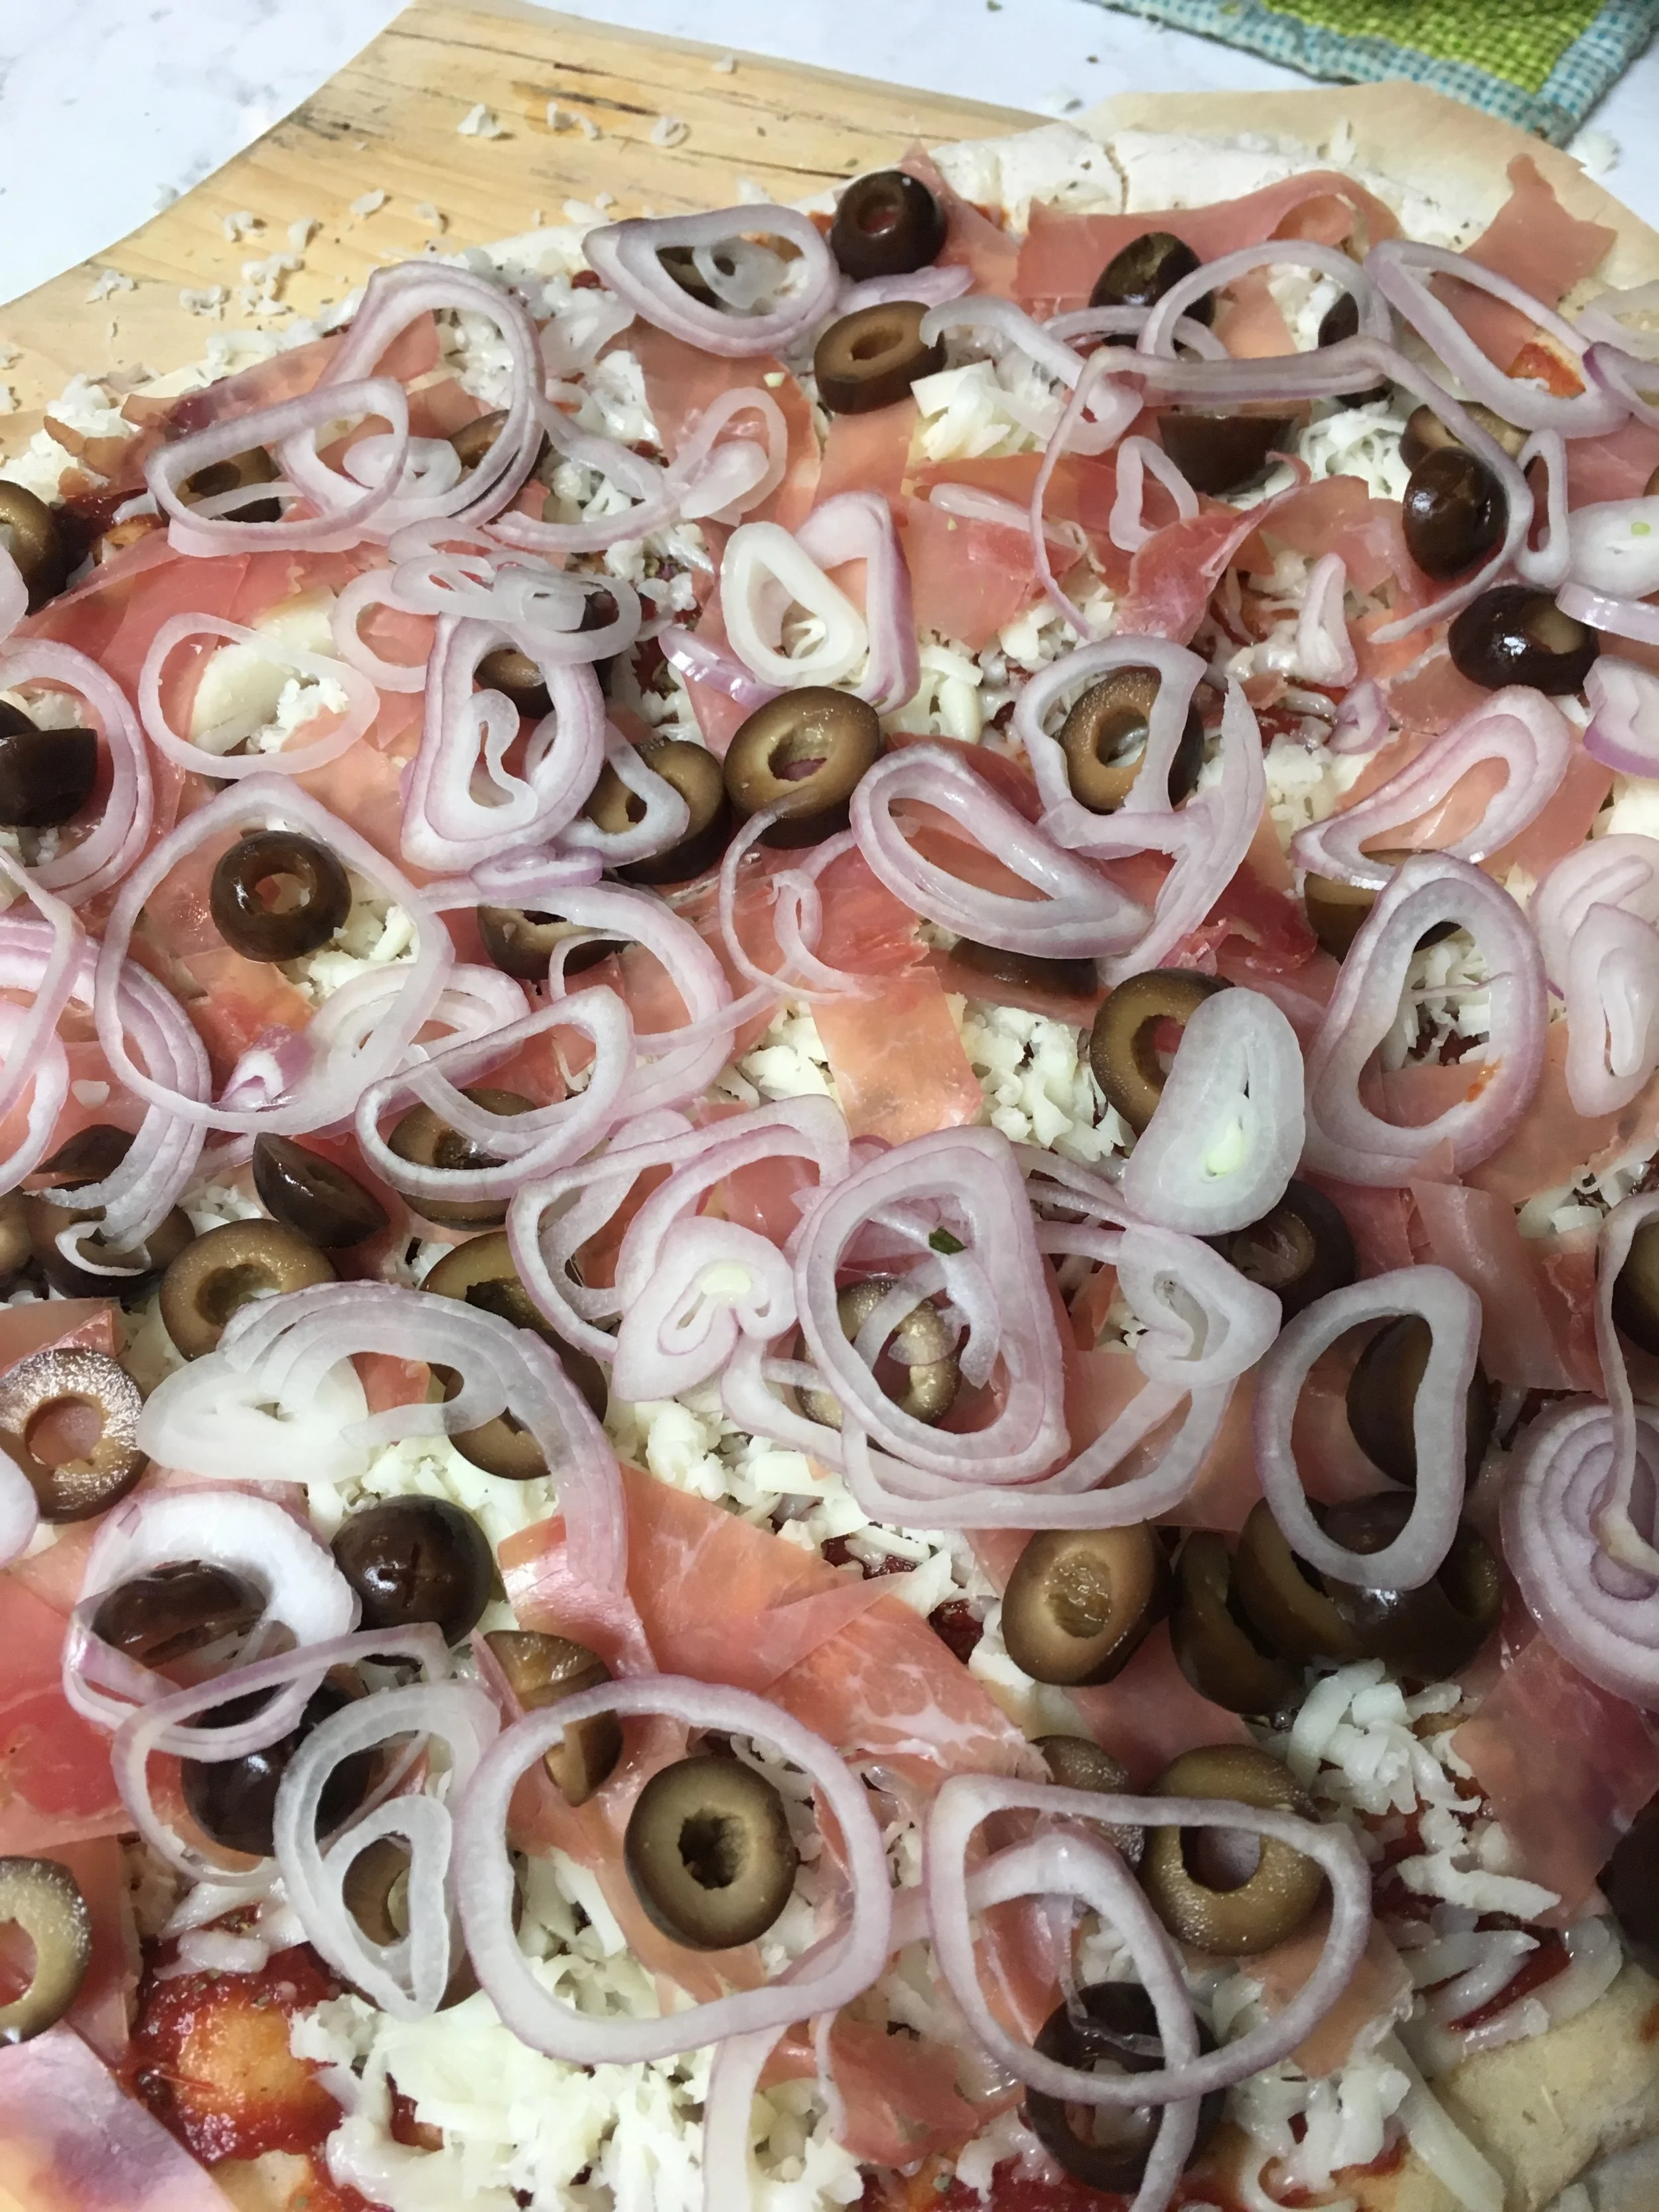
#1. red sauce with dried herbs, mozzarella, sliced prosciutto, sliced olives, thinly sliced shallots, a hefty drizzle of the garlic chunks in olive oil, gorgonzola cheese.
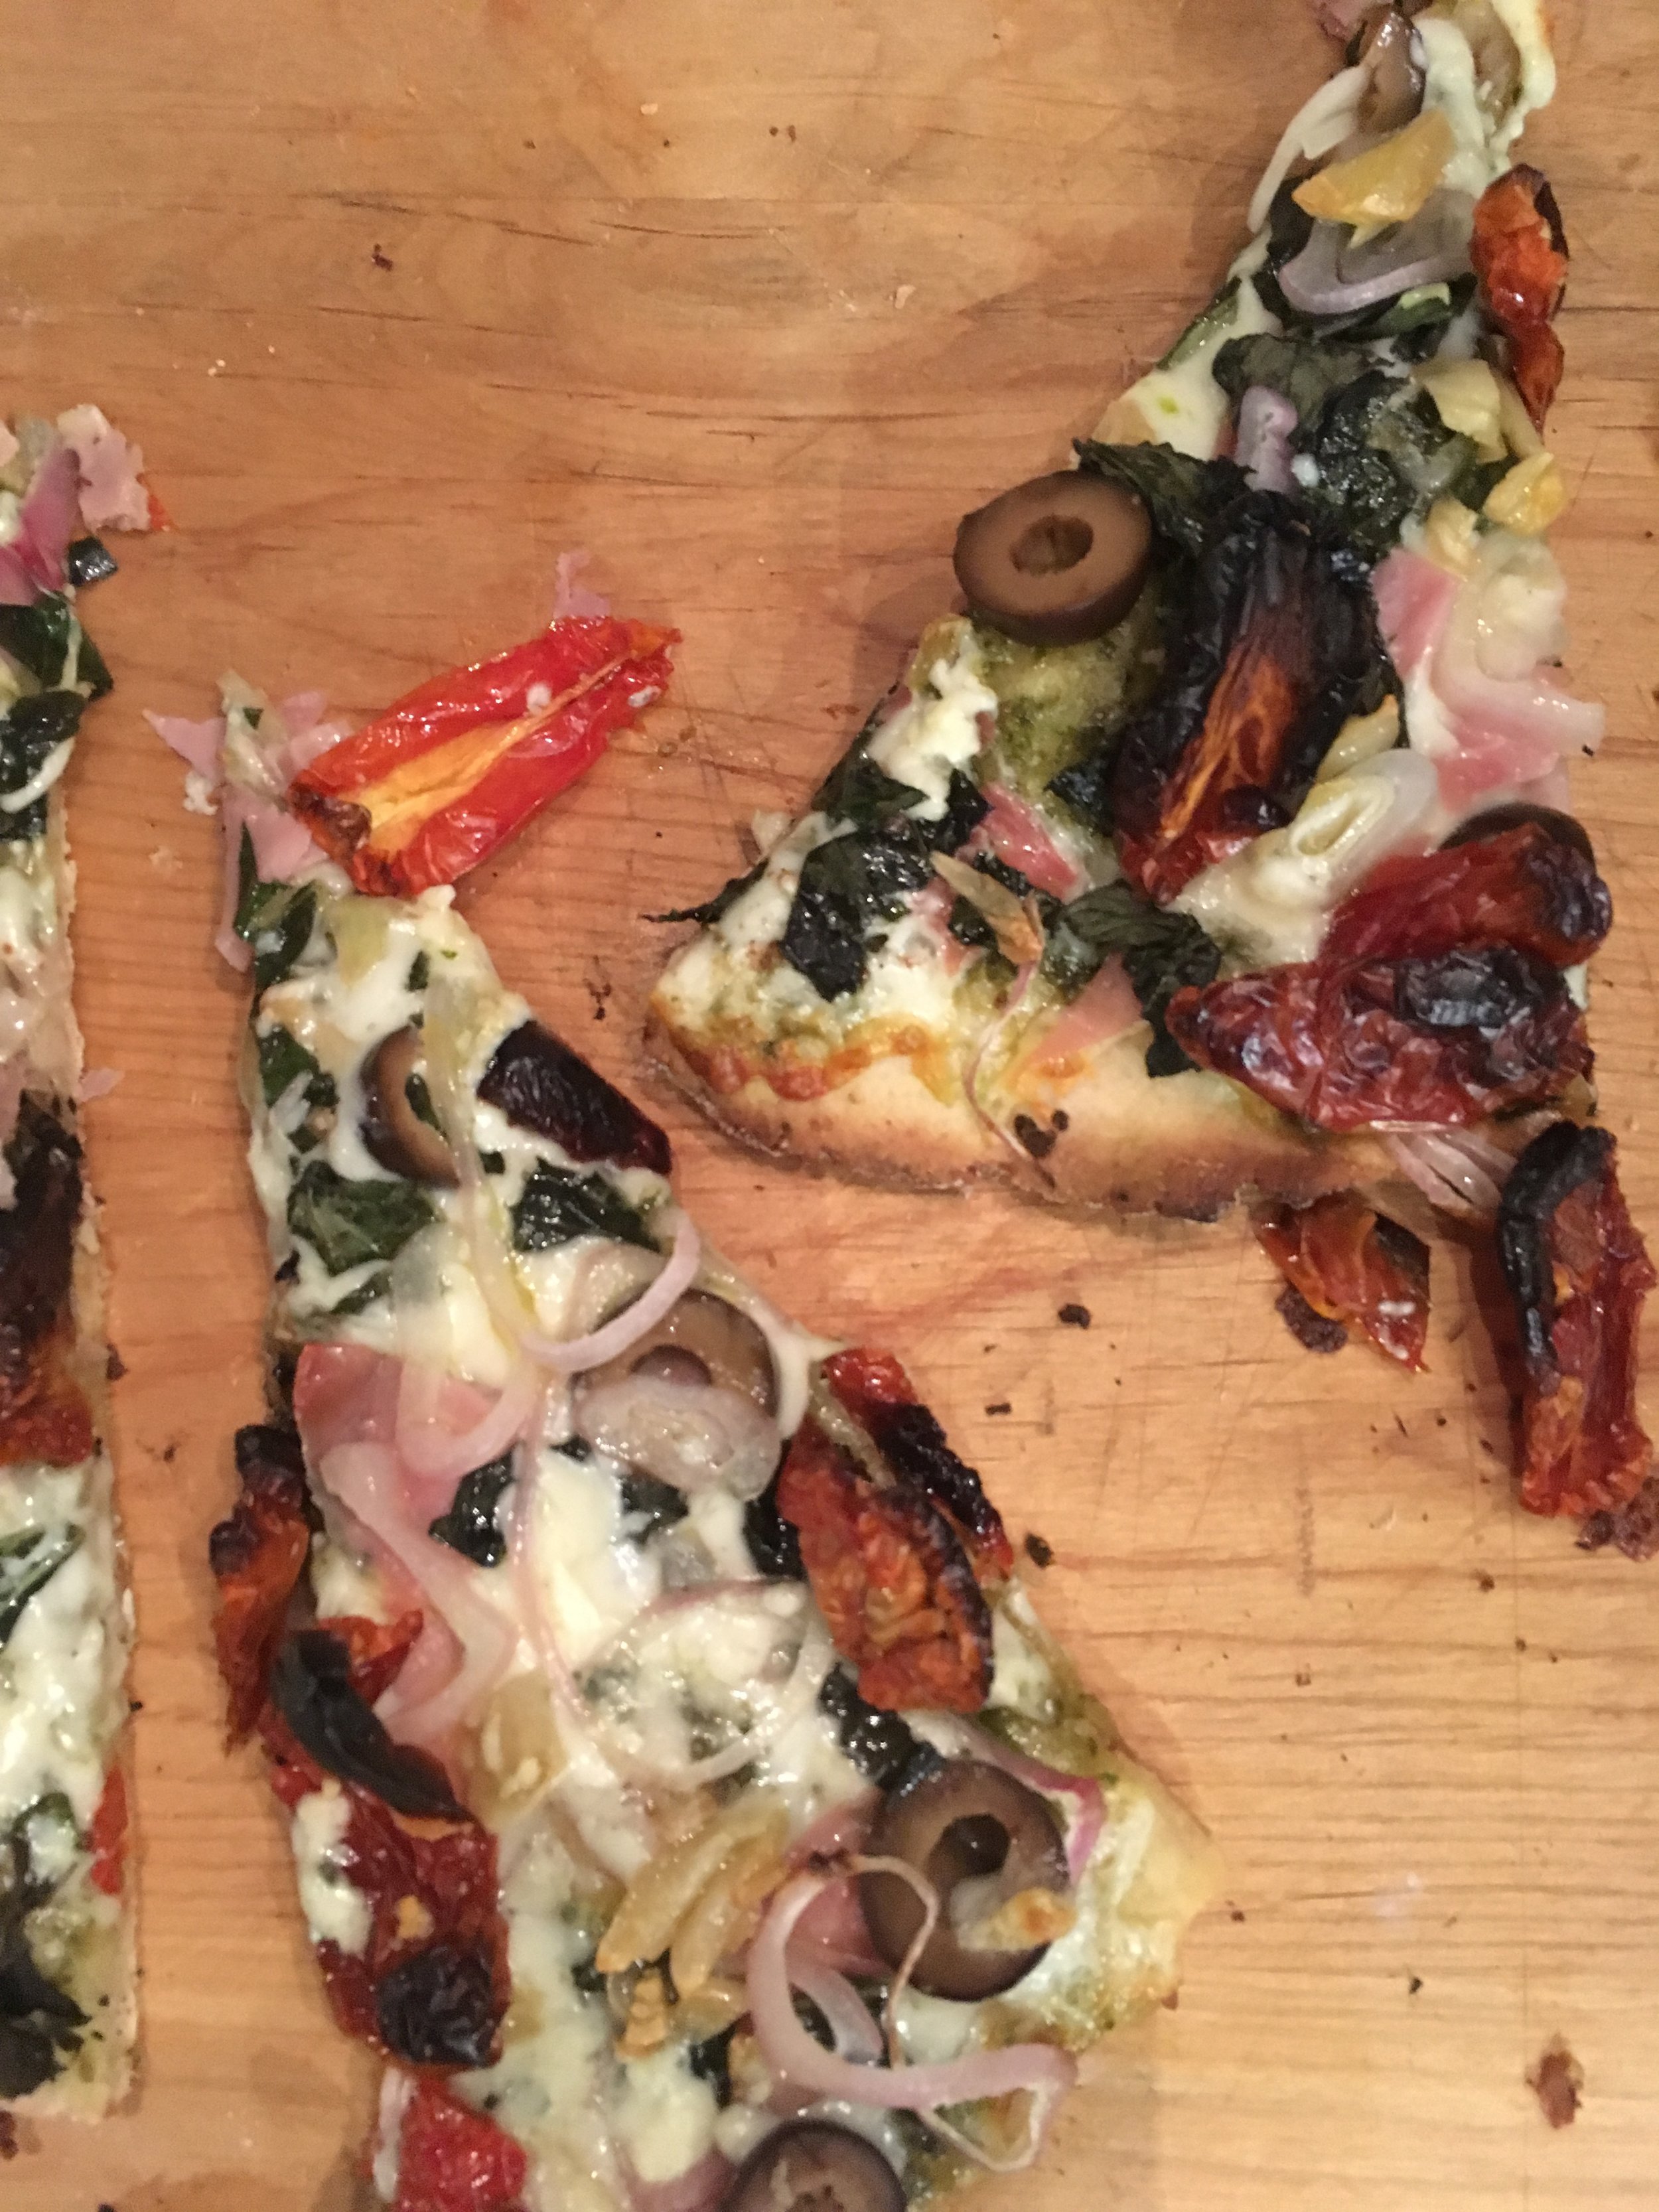
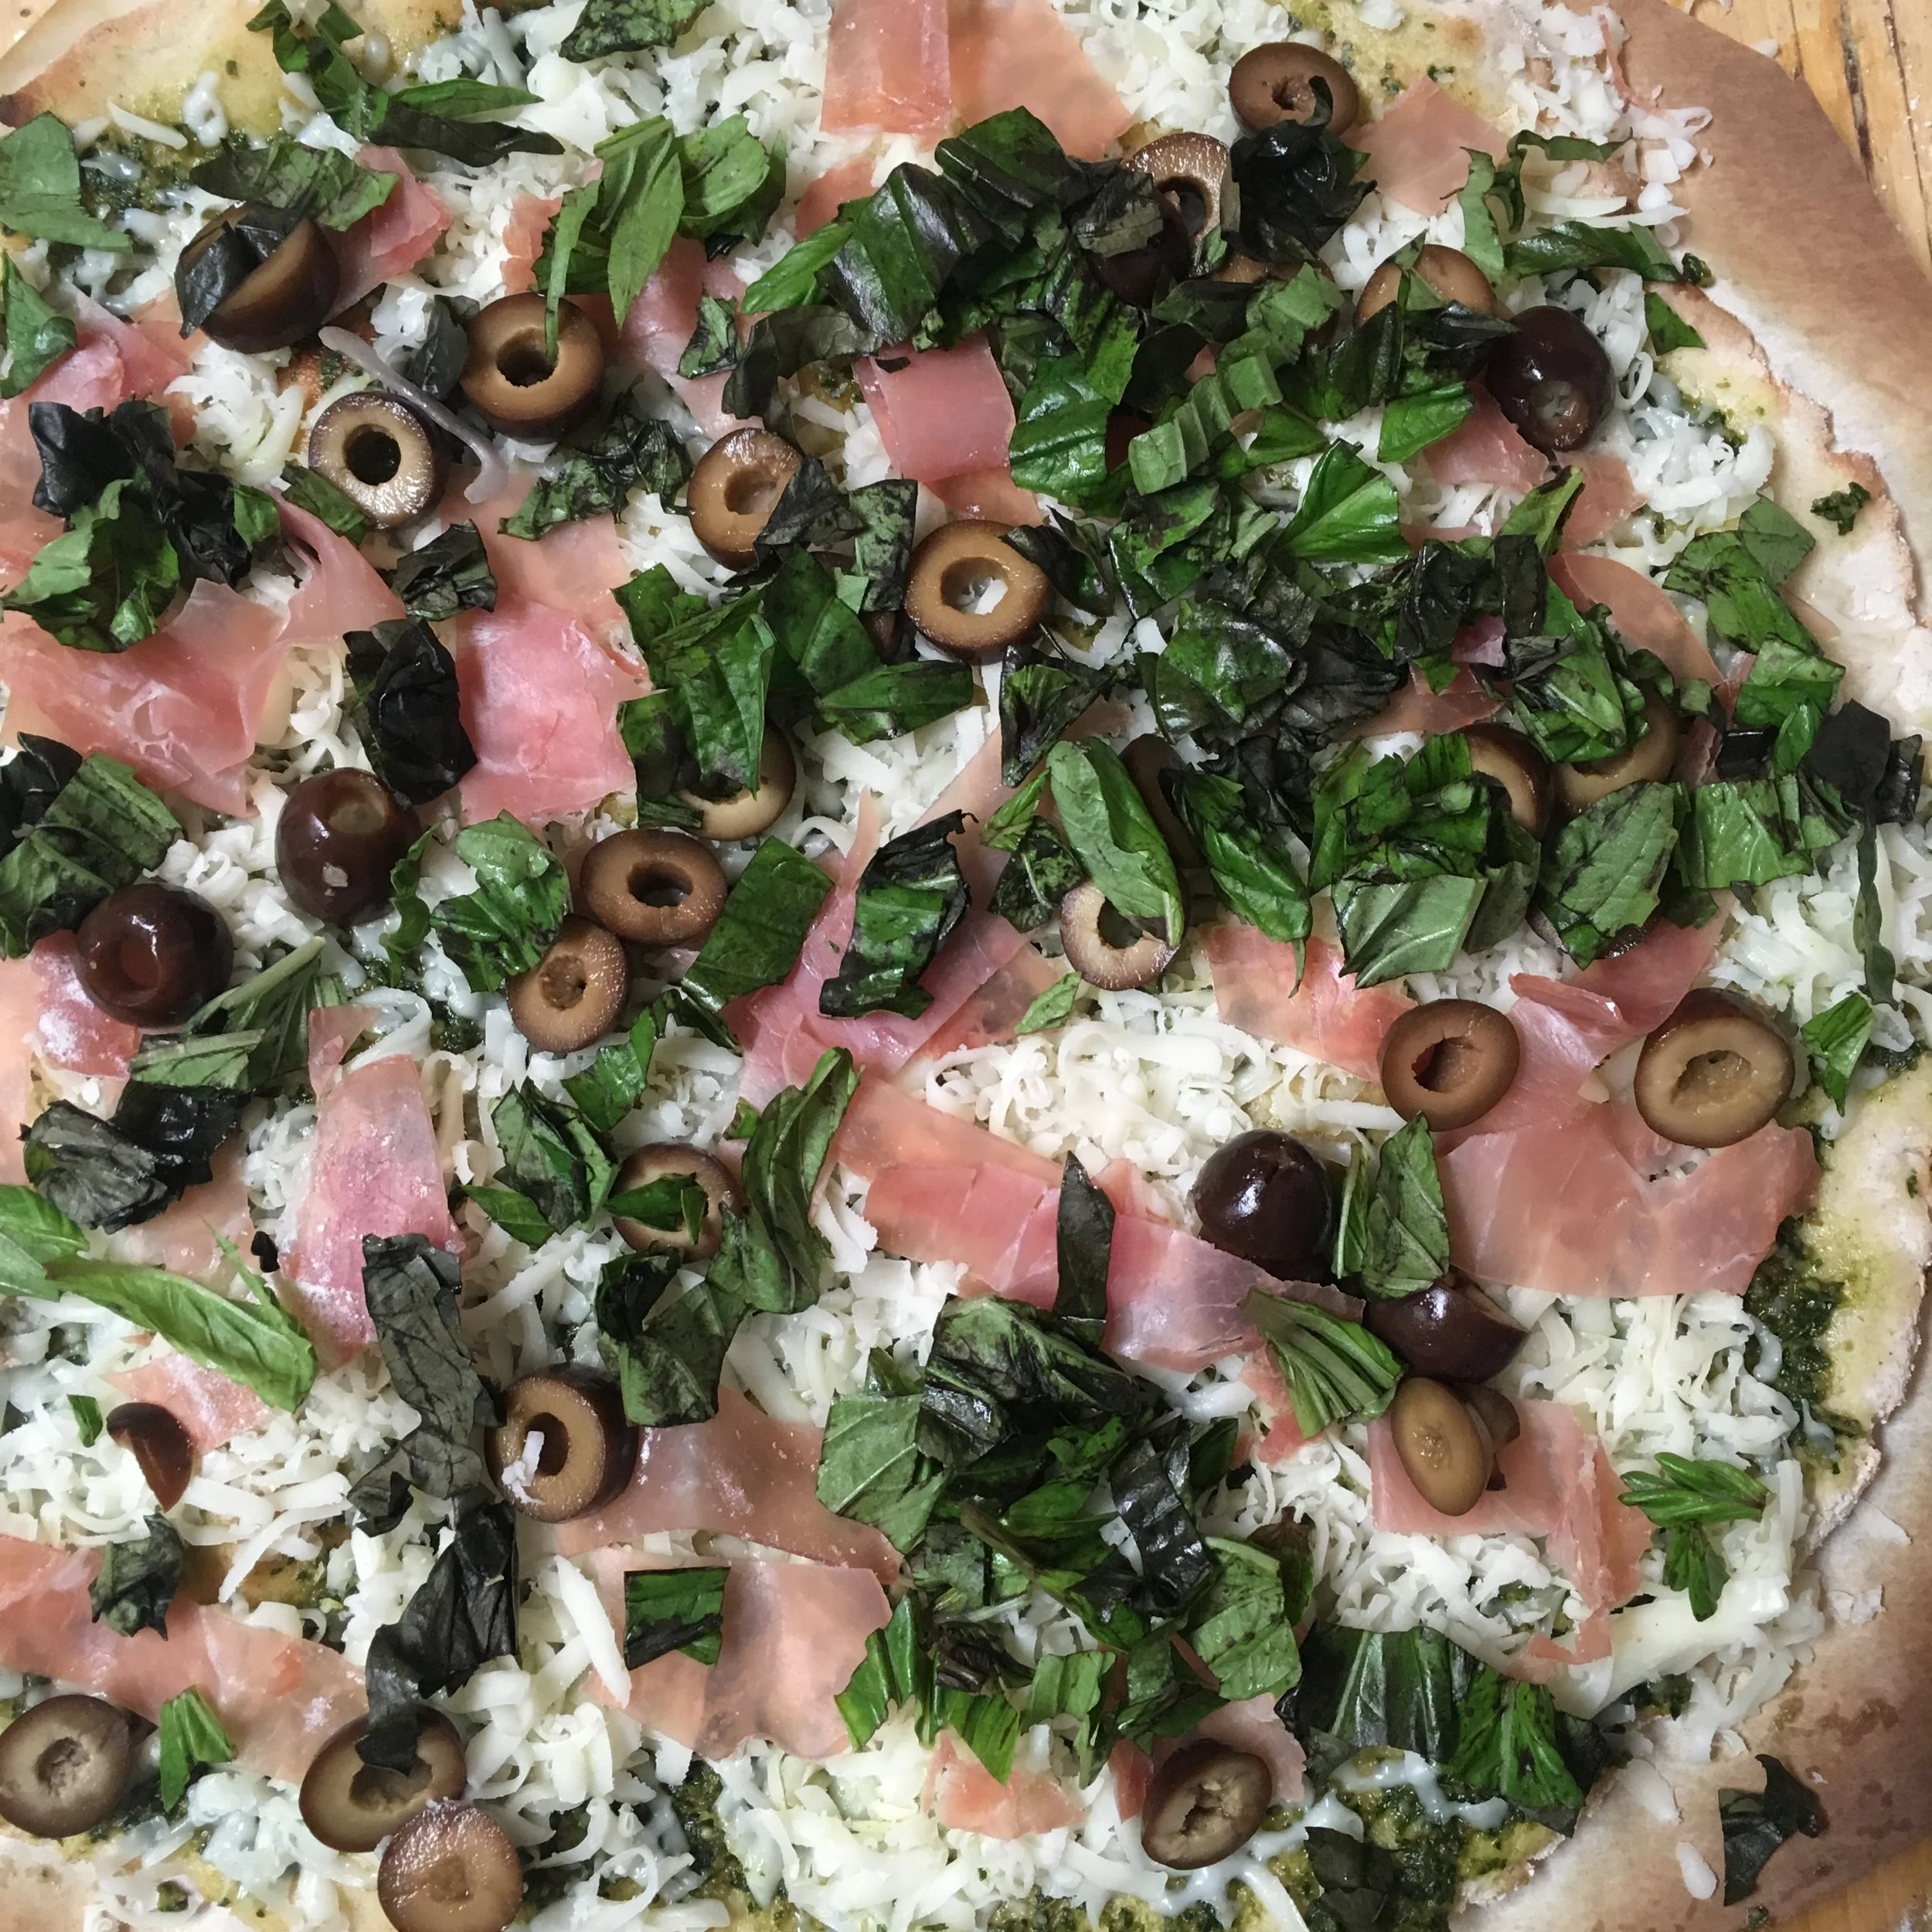
#2. Pesto sauce, mozzarella, prosciutto, olives, fresh basil, shallots, garlic/olive oil, dried tomatoes, gorgonzola.
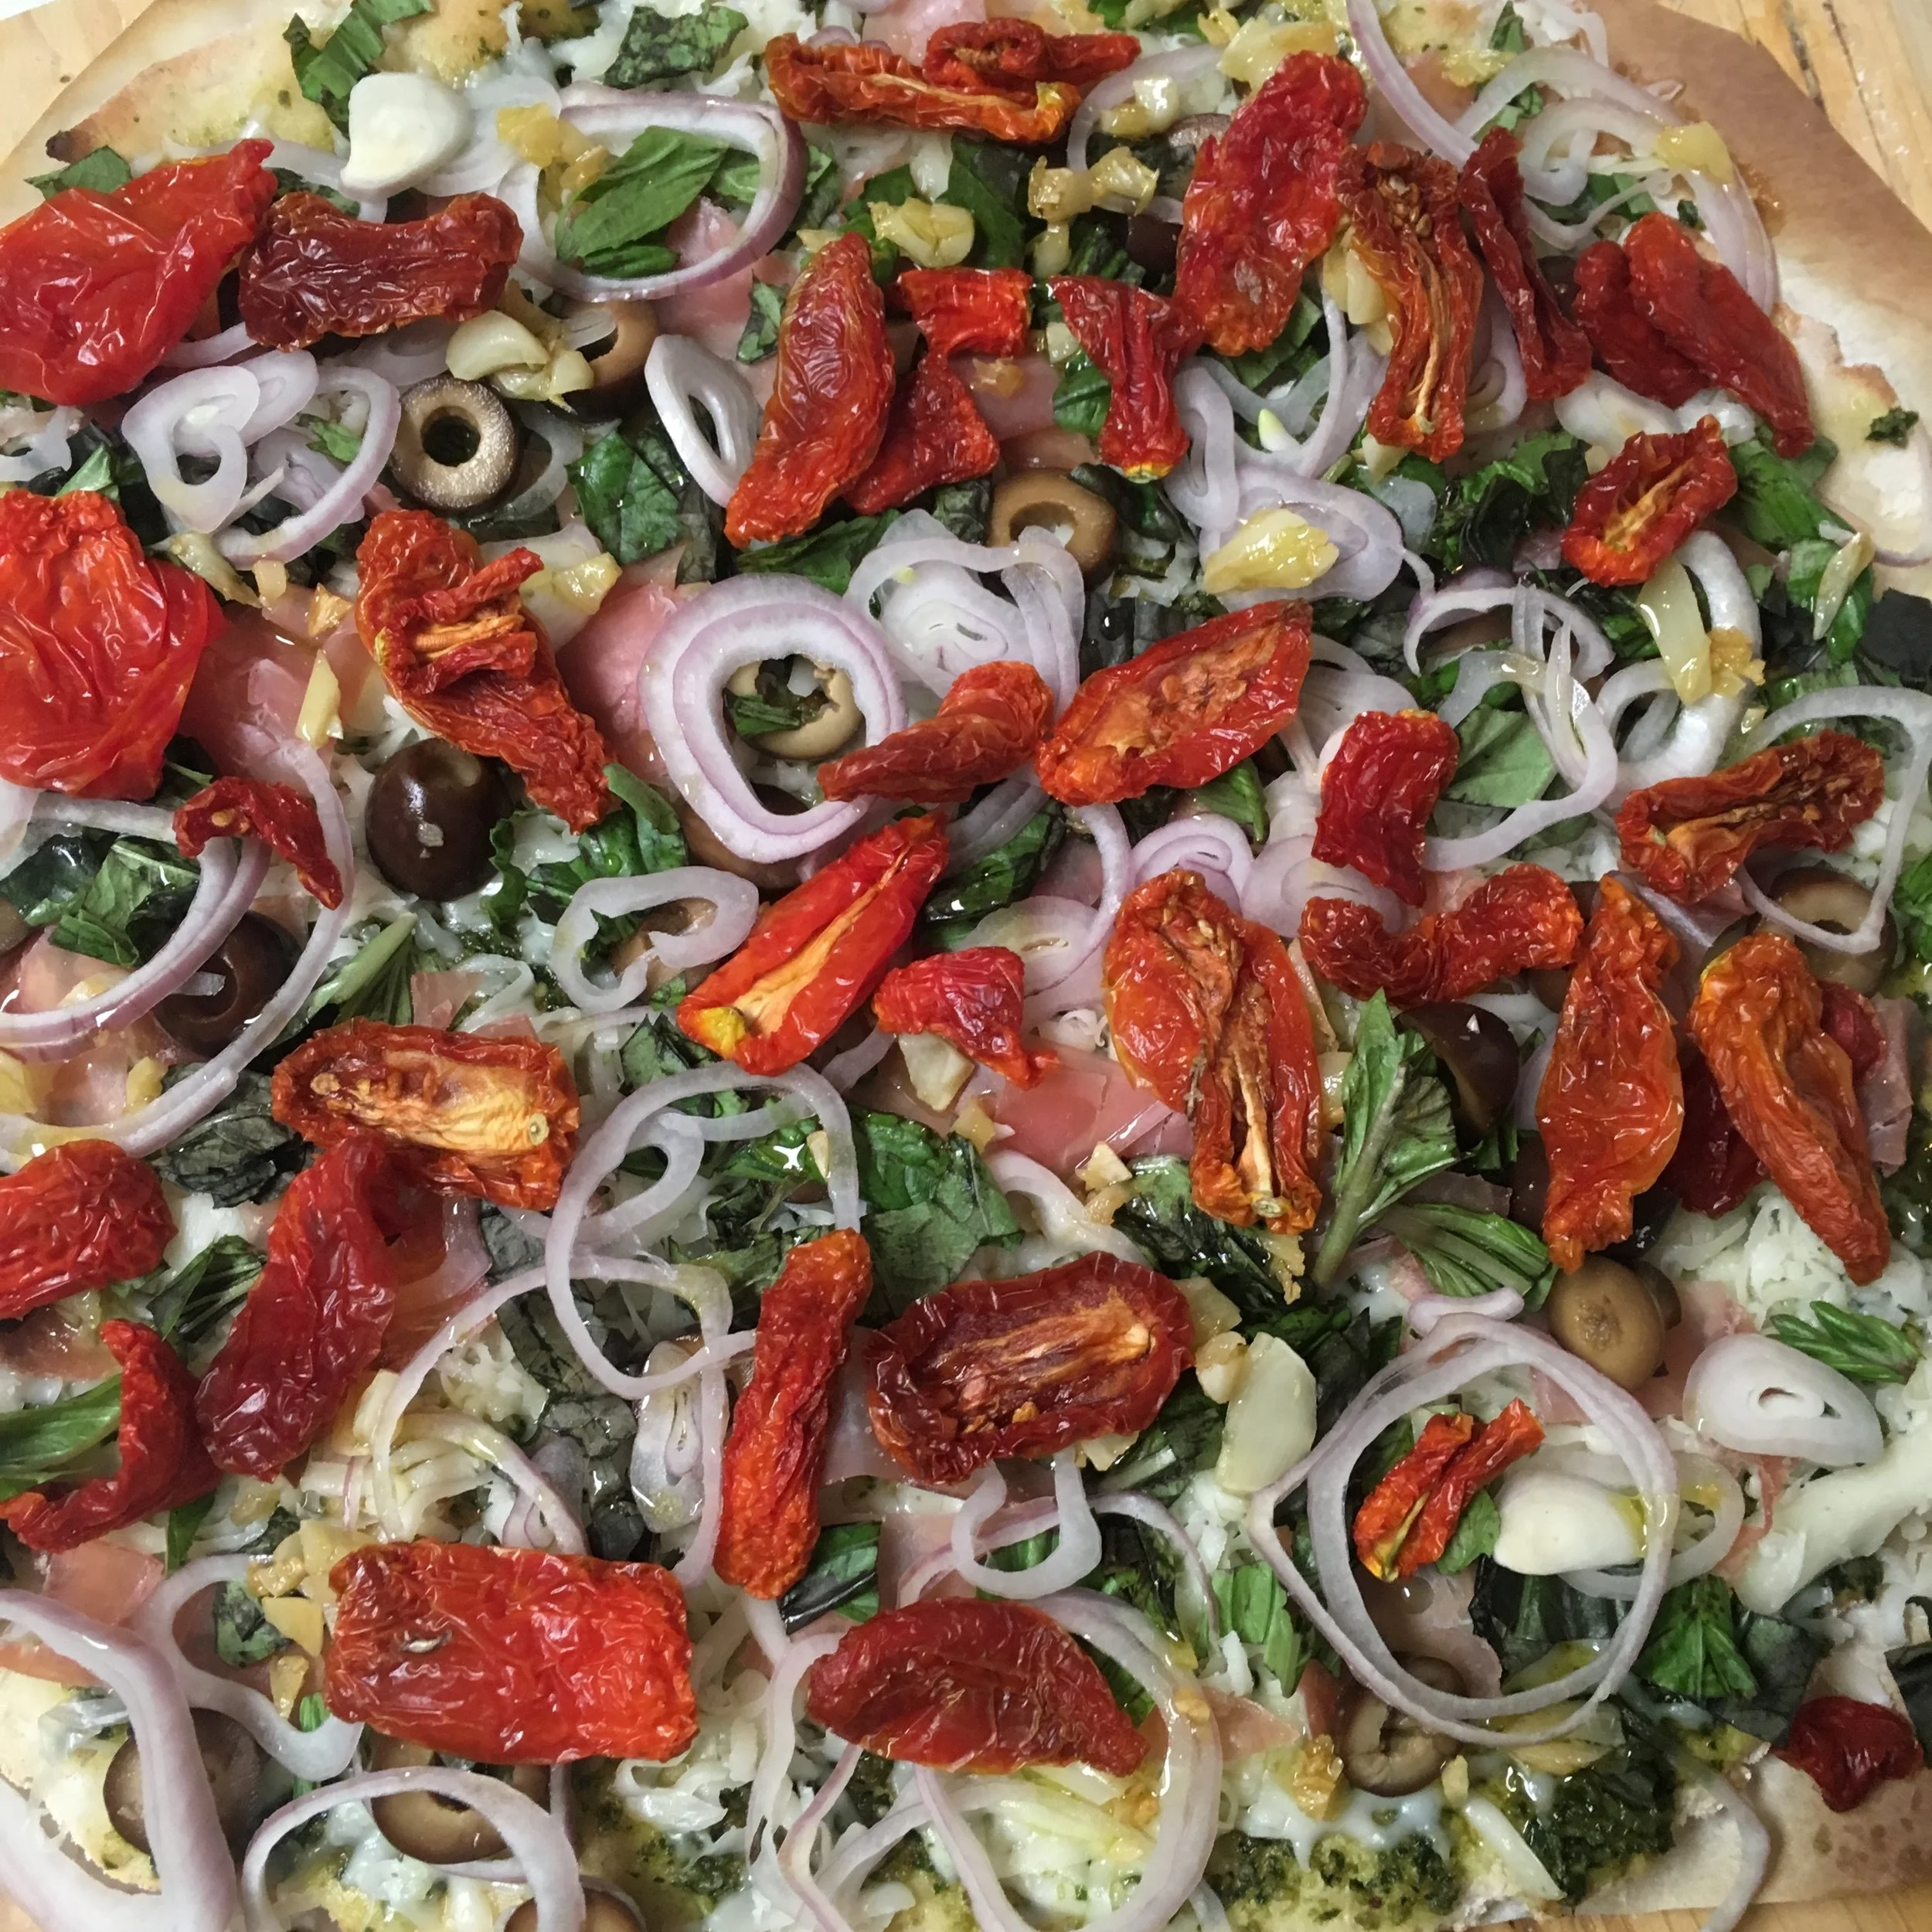
11. Finally I like to add a little gorgonzola, or blue cheese or grated parmesan or asiago on the top. Again… whatever your heart fancies… arrange it with an artistic flair if you want and then to the oven she goes! Slide the pizza and paper right back onto the stone.
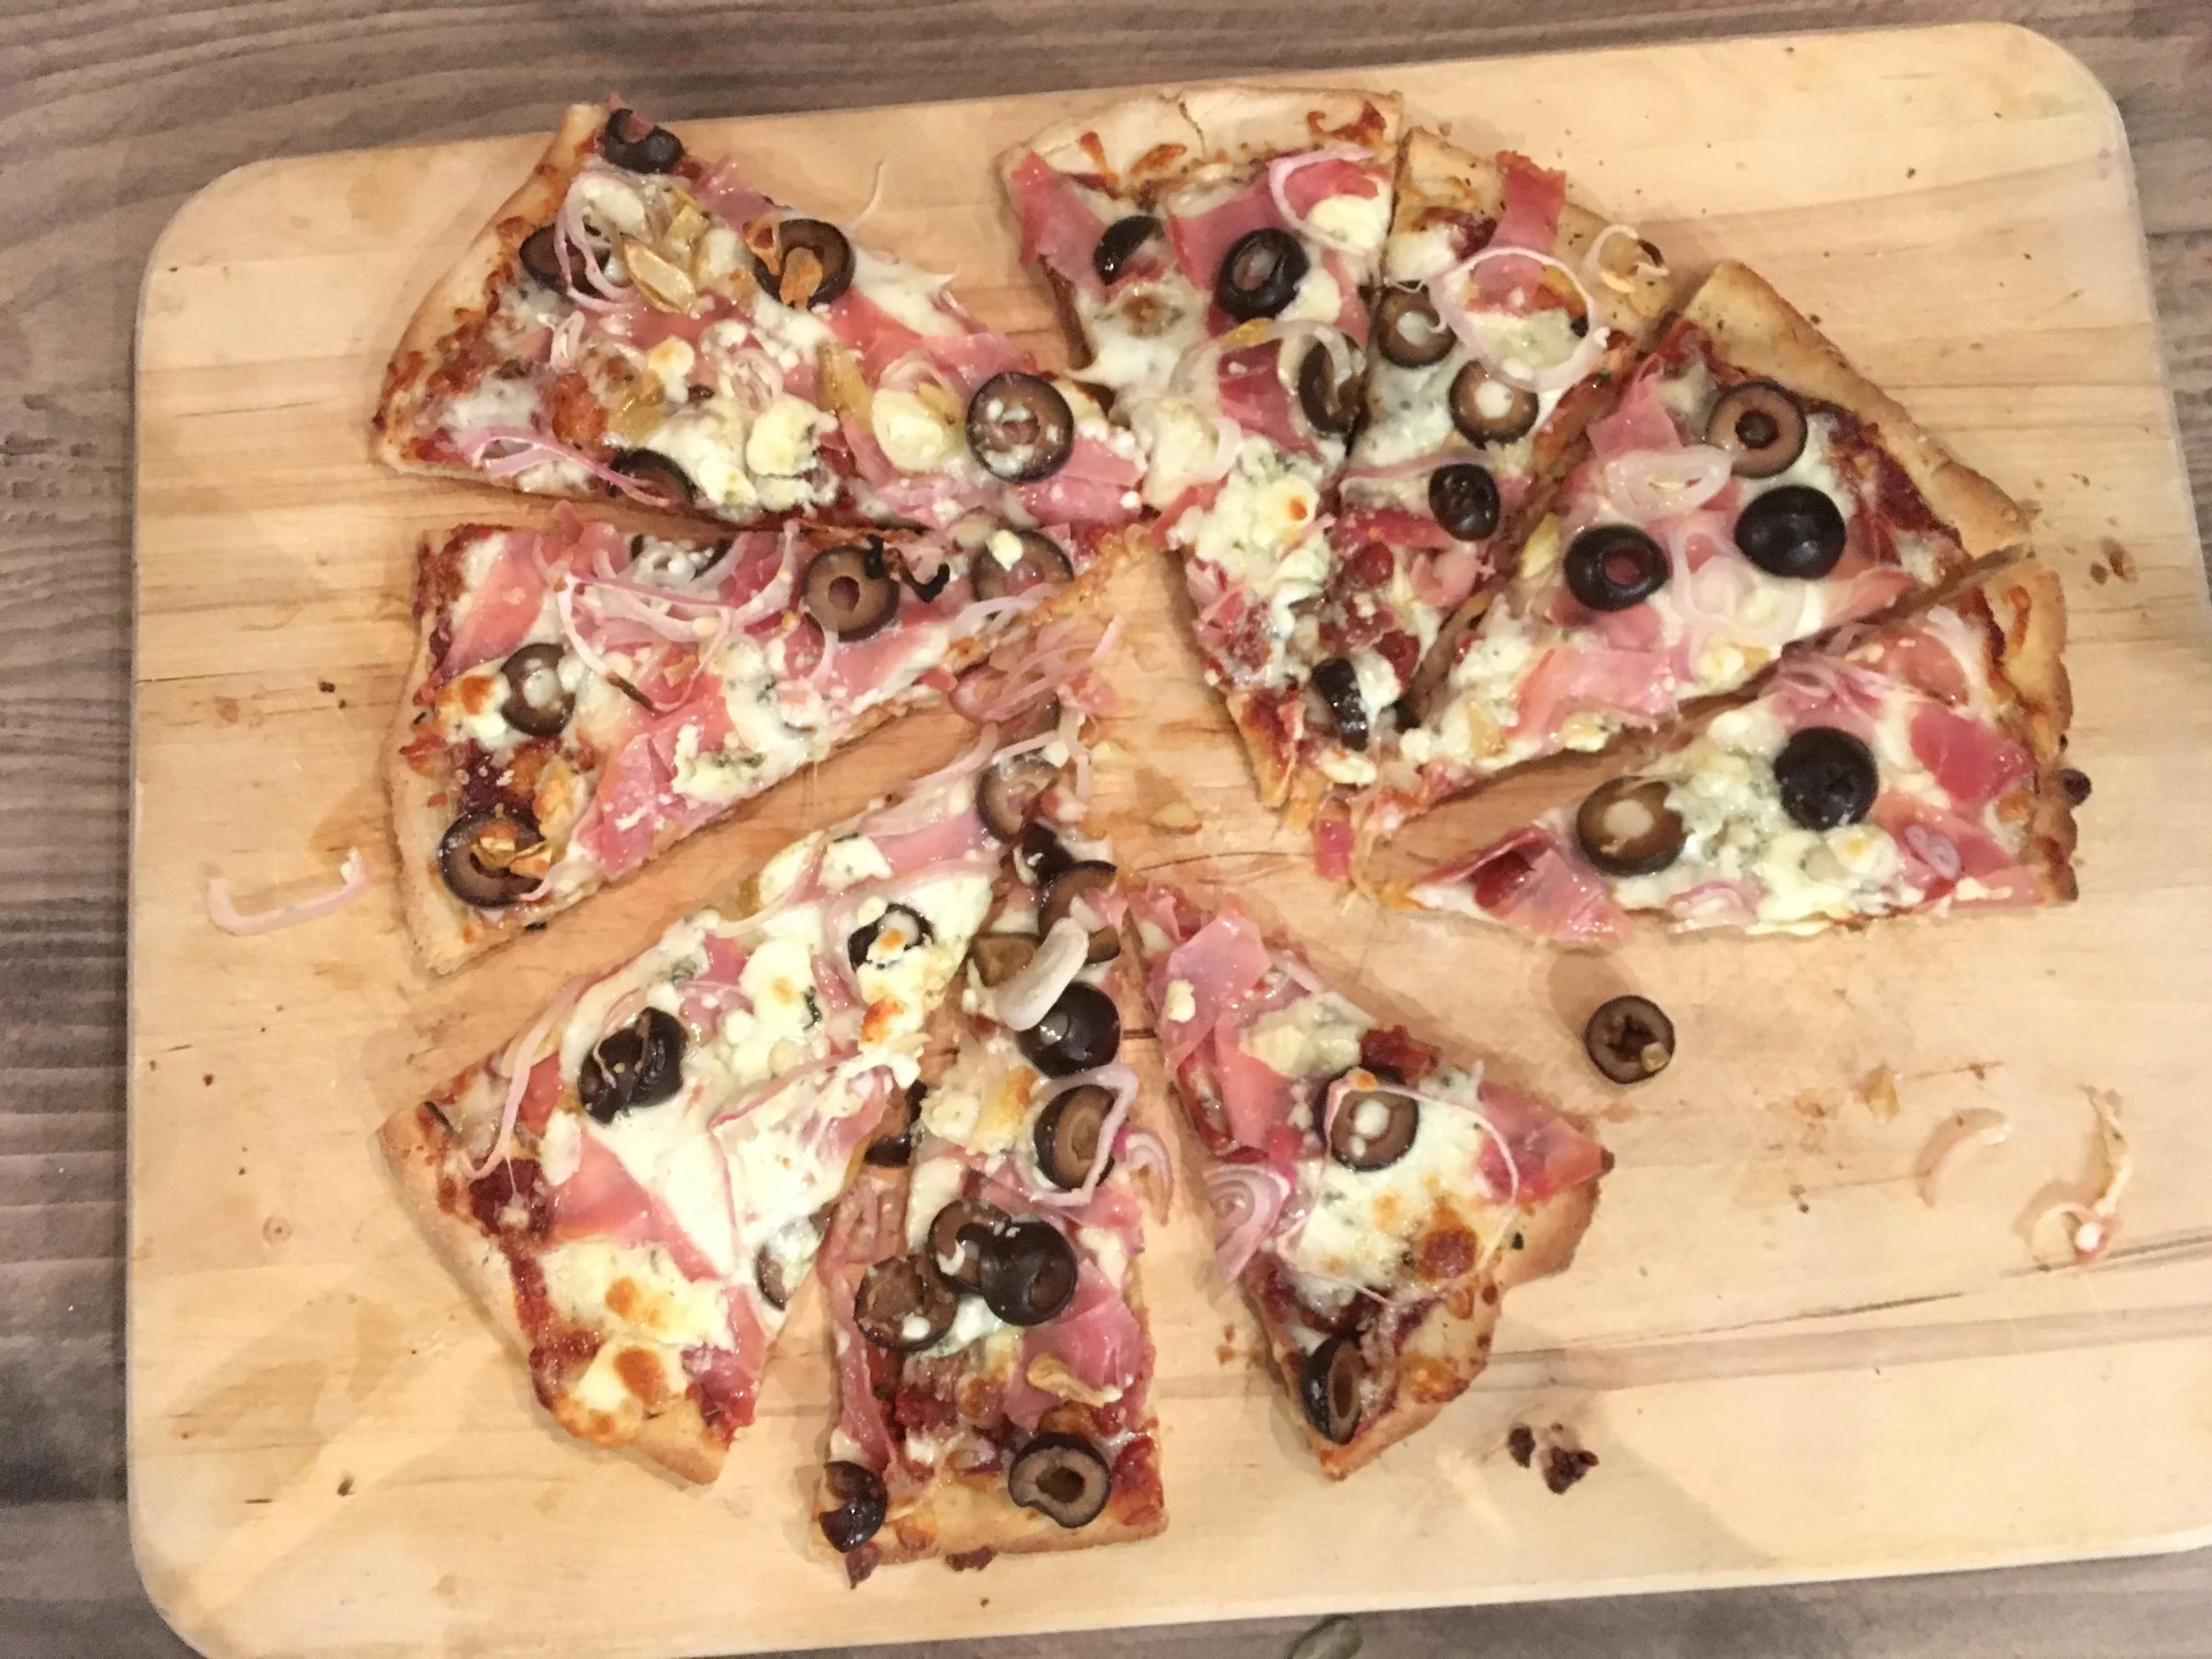
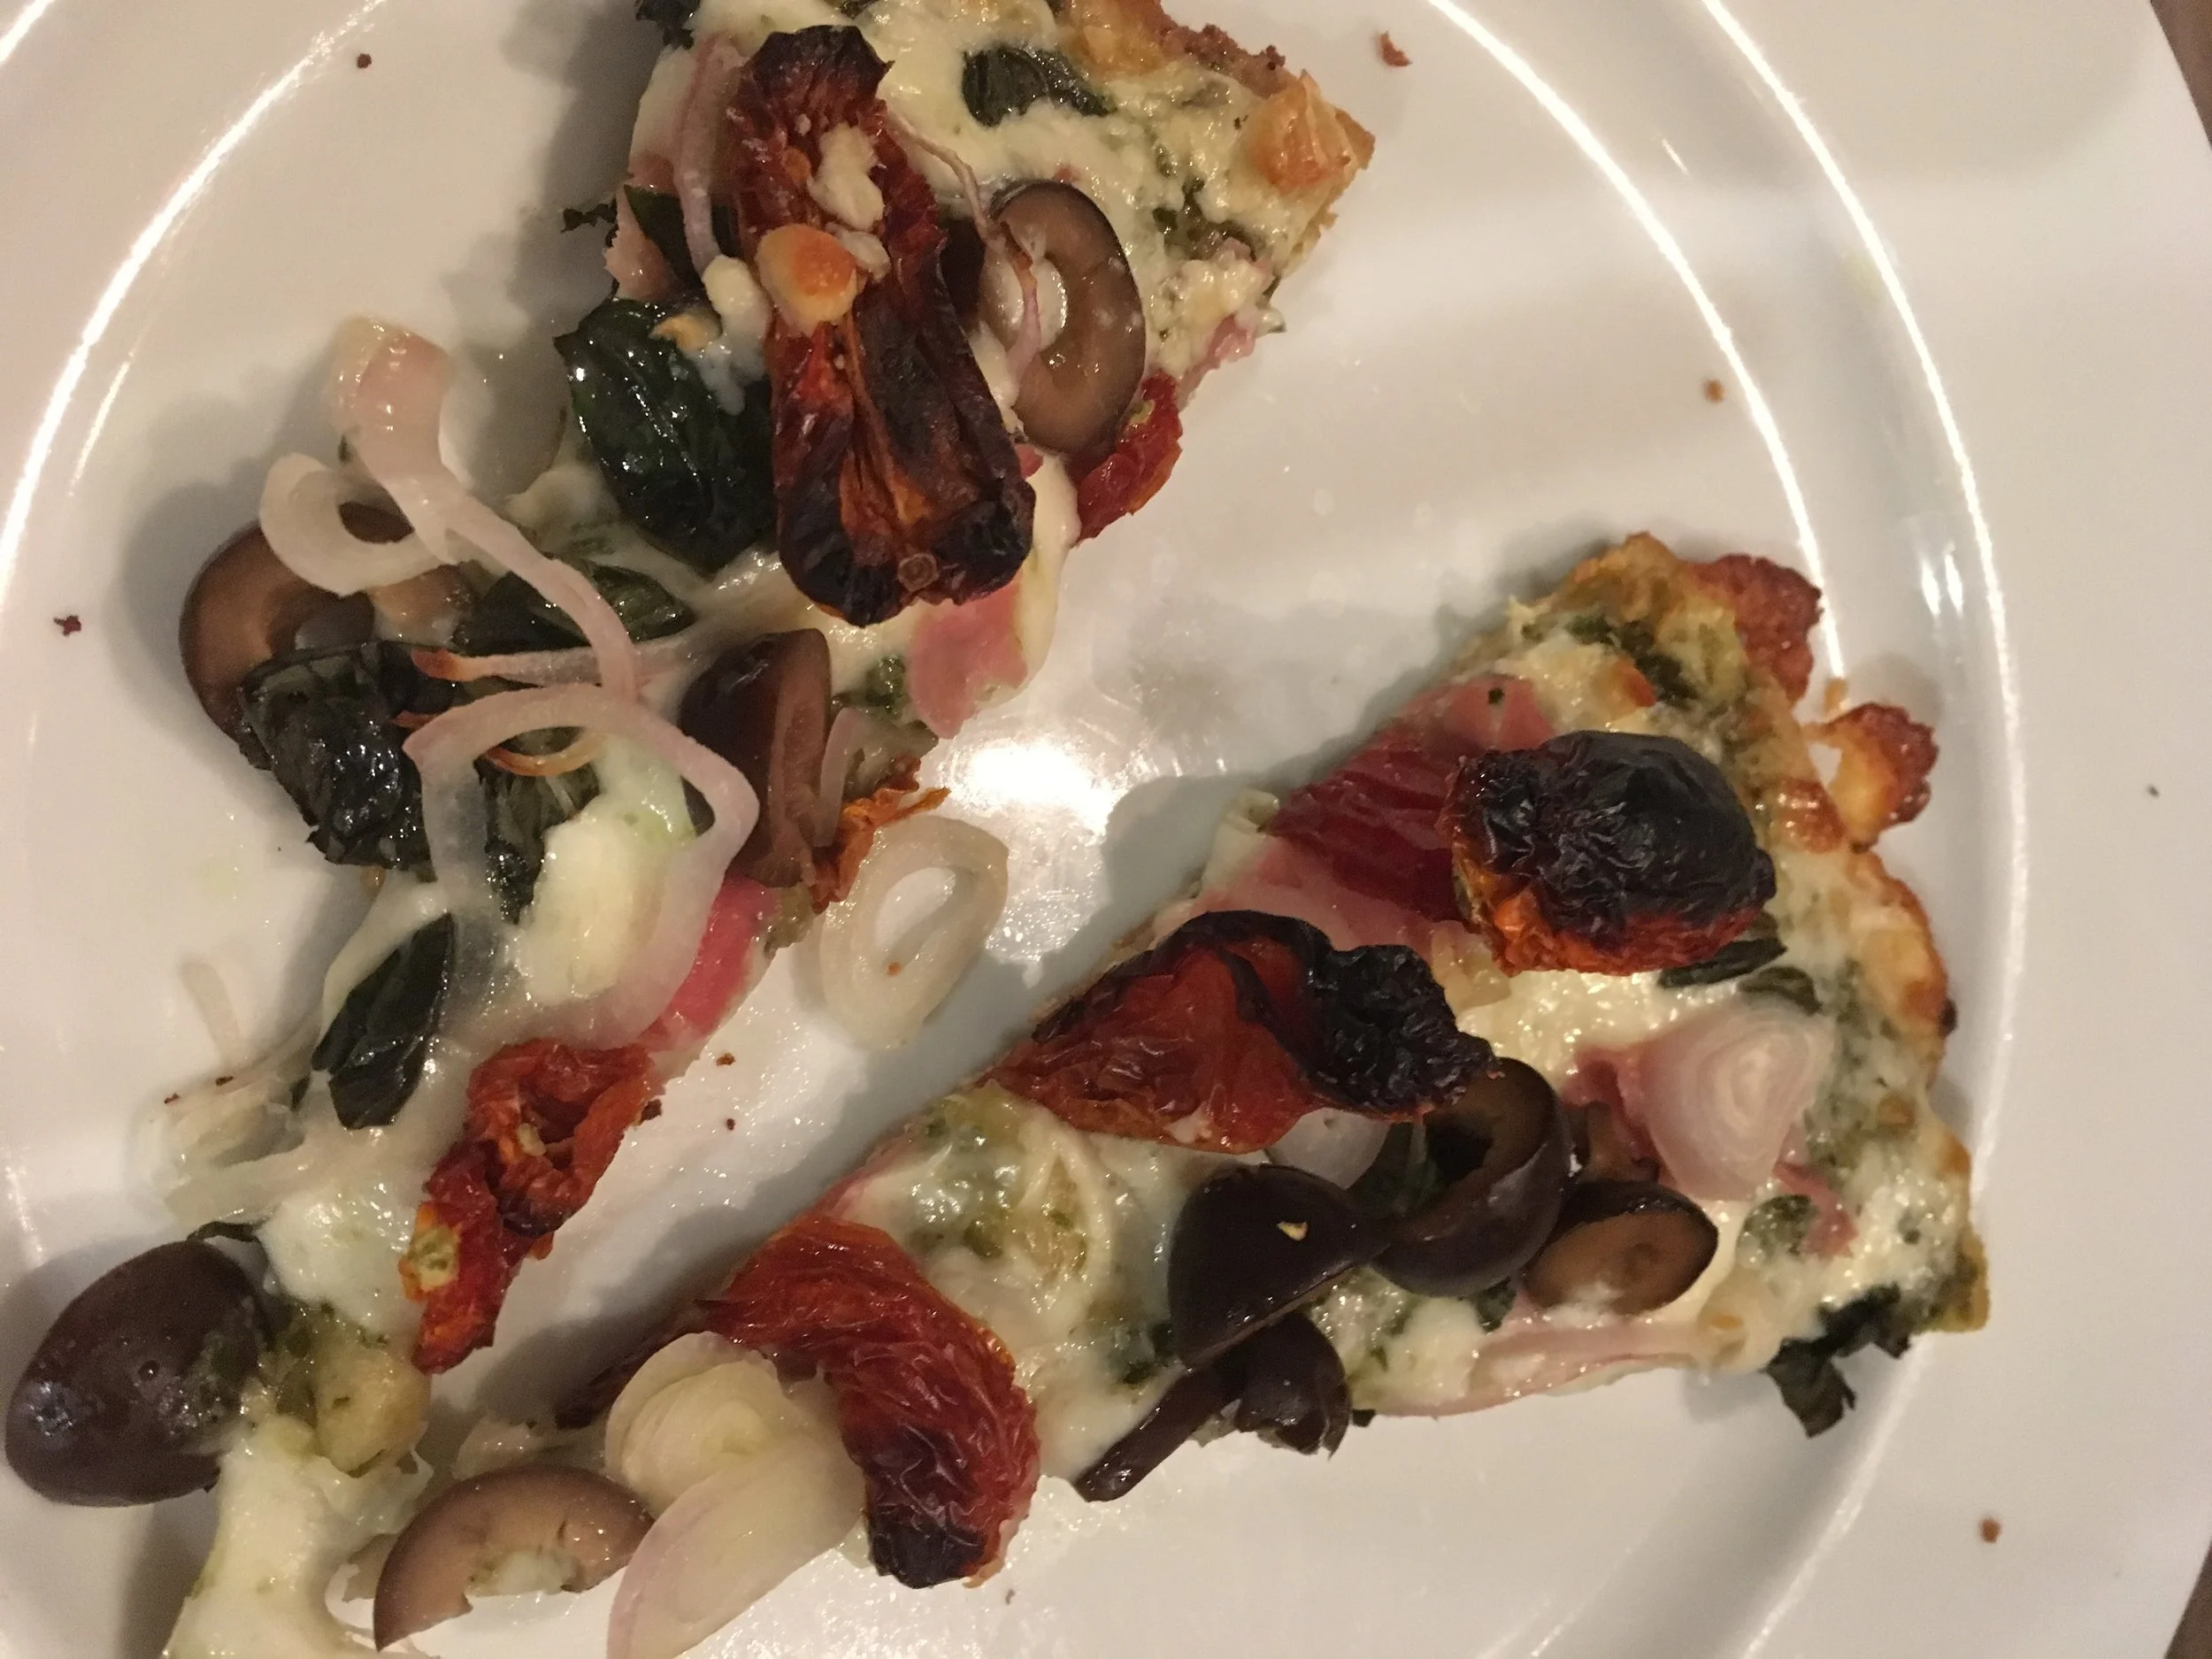
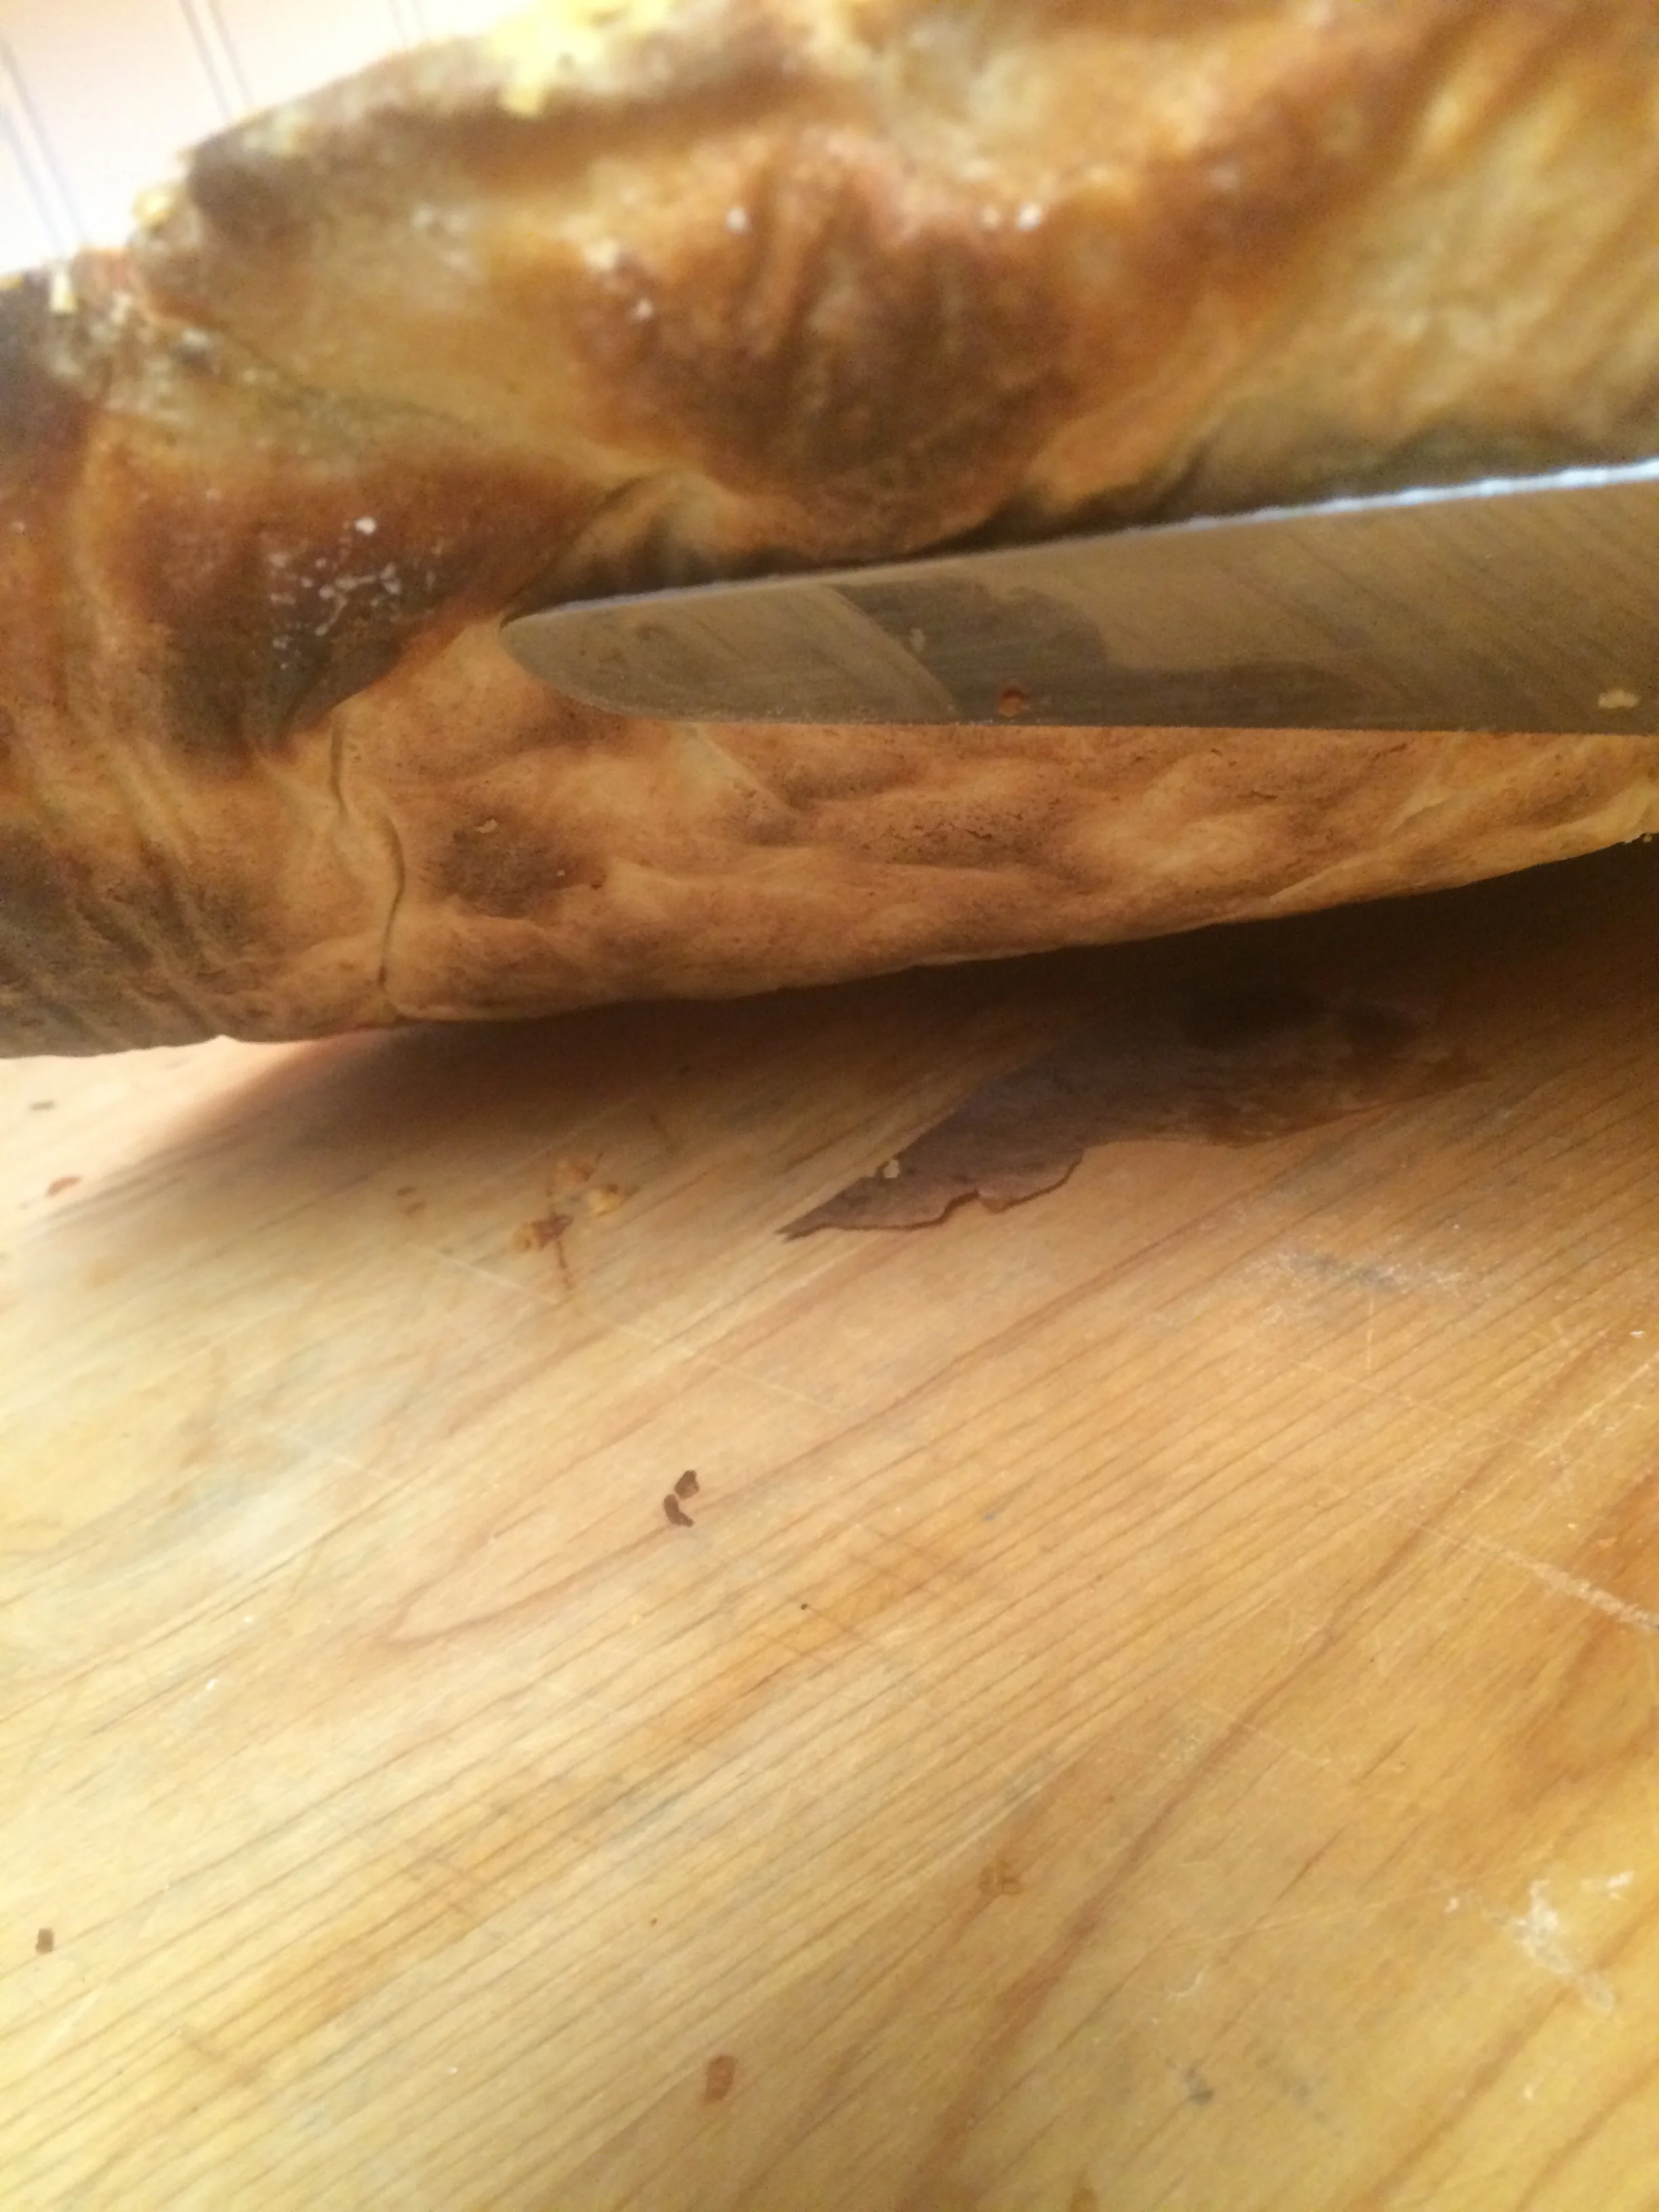
12. Bake for about 7-10 more minutes. You can lift the edge of the crust to check for crisp, browning, and of course the tell tale melty cheese. Pull it out and eat your pizza, happily ever after.